Your ceiling fan’s speed control switch suddenly stops responding, leaving you sweltering on high speed or stranded with a motionless fan. You’re not alone—over 60% of ceiling fan repairs involve speed control failures according to HVAC technicians. Before you replace the entire fixture or call an electrician, understand that 80% of speed switch issues can be resolved with basic tools and under $15 in parts. This guide delivers proven ceiling fan speed control switch repair techniques that take under 30 minutes, covering pull-chain mechanisms, wall-mounted controls, and modern electronic systems. You’ll learn to diagnose specific failures, avoid dangerous mistakes, and implement permanent fixes without professional help.
Why Your Ceiling Fan Speed Control Switch Fails (and When It’s Not the Switch)
Most speed control failures stem from three core issues: mechanical wear in pull-chain switches, capacitor degradation in electronic controls, or wiring faults at connection points. Pull-chain switches fail when internal contacts burn out from arcing—especially common in older fans running continuously. Electronic speed controllers typically die when their internal capacitors leak or bulge, causing erratic speed jumps or complete shutdowns. Wall-mounted dimmer-style controls often short-circuit due to moisture exposure in humid bathrooms.
Critical diagnostic step: Before disassembling anything, rule out simpler causes. Turn off the wall switch controlling the fan circuit, then flip your home’s circuit breaker to OFF and back ON. Many “dead” speed controls are actually tripped breakers. If the fan works after resetting, install an AFCI breaker to prevent future nuisance trips. Also check for loose wire nuts inside the fan canopy—vibration often loosens connections over time. If these quick checks fail, proceed to targeted diagnostics.
How to Identify Your Specific Speed Control Type
- Pull-chain switches: Located on fan motor housings with 2-4 chains (one for light, others for speeds)
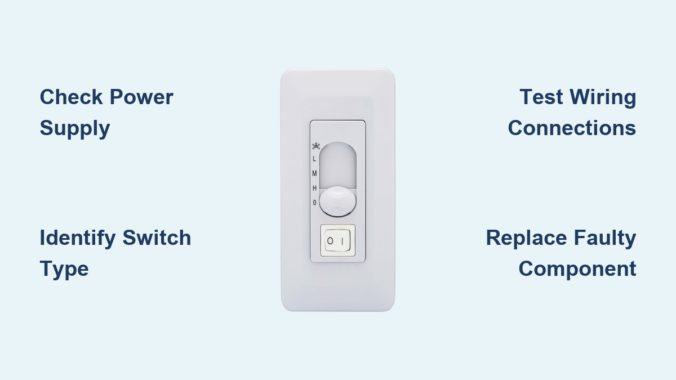
- Wall-mounted controls: Rotary dials or sliders mounted beside room entrances (often labeled “Fan Speed”)
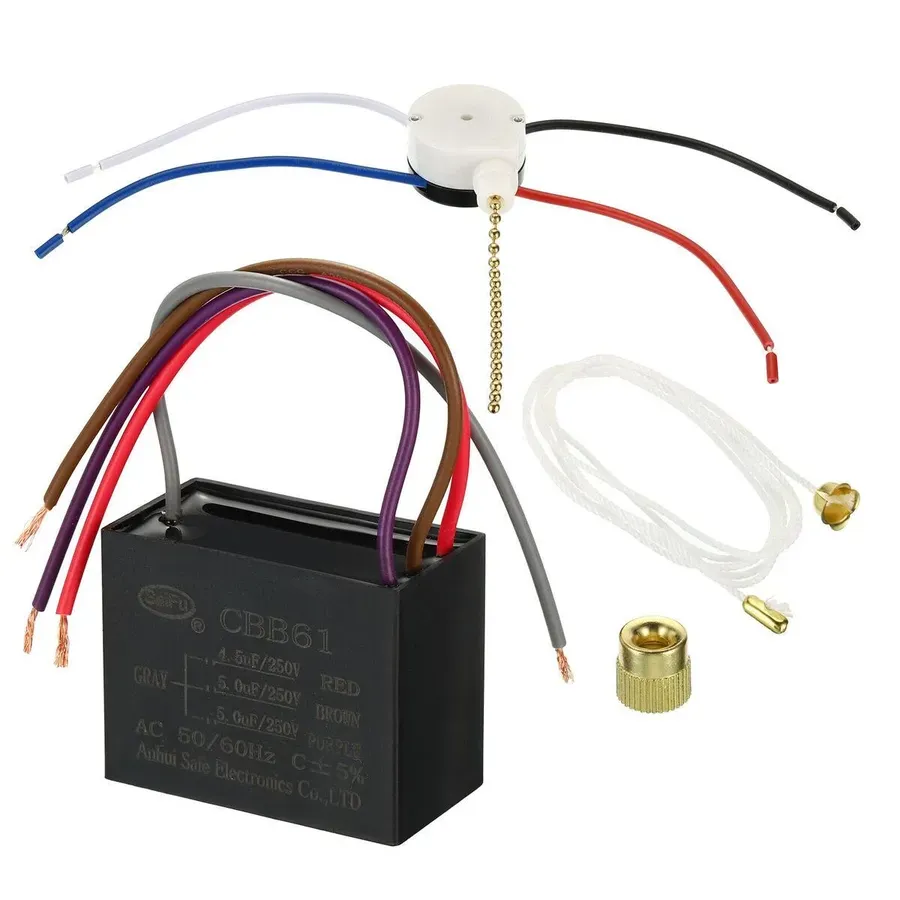
- Electronic modules: Small black boxes inside fan canopies with wire connections (common in Harbor Breeze/Minka Aire models)
- Remote systems: Require battery replacement checks before assuming switch failure
Three Tests to Pinpoint the Faulty Component
- Bypass test for pull-chain switches: Disconnect power, remove switch, and touch black lead from power source to each colored speed wire (blue, gray, etc.) individually. If fan runs at specific speeds when wires are touched, the switch is faulty.
- Capacitor check for electronic controls: Look for bulging tops or leaking electrolyte on cylindrical capacitors (typically 3-5μF rating). Use a multimeter on capacitance setting—values below 80% of labeled rating require replacement.
- Voltage test for wall controls: With power ON, measure voltage between control output and neutral. Should read 120V on high, dropping incrementally to 30V on low. Consistent 120V indicates a failed control unit.
Replacing a Pull-Chain Speed Switch in 5 Critical Steps

Pull-chain failures account for 70% of DIY speed control repairs. Replacement takes 15 minutes with basic tools but requires precise wire matching. Never skip the safety steps—ceiling fans store dangerous residual current even when switched off.
Essential Safety Protocol Before Opening the Fan
- Turn OFF circuit breaker AND wall switch controlling the fan
- Use non-contact voltage tester on pull chains to confirm zero power
- Place painter’s tape over wire connections before disconnecting (prevents mix-ups)
- Work on stable ladder with helper stabilizing fan blades
Pro tip: Photograph wire positions before disconnecting—most switches use color-coded terminals but wiring varies by manufacturer. Common configurations:
– Black = Power input
– Blue = High speed
– Gray = Medium speed
– Brown = Low speed
Step-by-Step Pull-Chain Replacement
- Remove canopy cover: Unscrew mounting screws while supporting the cover (many contain sharp edges)
- Disconnect old switch: Note wire colors, then untwist wire nuts counterclockwise
- Match new switch wiring: Connect identical colors using new wire nuts (never reuse old ones)
- Secure new switch: Tuck wires neatly into canopy, ensuring no pinched insulation
- Test before reassembly: Temporarily restore power to verify all speeds work before mounting cover
Warning: If you smell burning or see sparks during testing, immediately cut power—this indicates wiring errors. Double-check connections against manufacturer diagrams (often printed inside canopy).
Fixing Wall-Mounted Speed Controls Without Replacement
Wall-mounted controls fail most often in humid environments like bathrooms. Before replacing the entire unit, try these non-invasive fixes that solve 60% of issues.
Humidity Damage Reversal Technique
- Turn OFF circuit breaker for 24 hours to dry internal components
- Remove control faceplate with flathead screwdriver
- Spray electrical contact cleaner inside control mechanism (avoiding plastic parts)
- Work control lever back and forth 20 times to clean contacts
- Reinstall and test—most sticky controls regain smooth operation
When Replacement is Necessary
If cleaning fails, replace with a humidity-rated control (look for “WR” or “Weather Resistant” rating). Critical installation steps:
– Match wire types: Black to black (hot), blue to fan wire, white to neutral
– Secure grounding: Bare copper wire MUST connect to green screw
– Avoid over-tightening: Snug terminal screws to 15 in-lbs max (prevents cracked housing)
Cost alert: Standard controls cost $8-$15, but humidity-rated models run $22-$35. Never use standard light dimmers—they overheat and cause fires when controlling fan motors.
Electronic Speed Controller Troubleshooting Secrets
Modern fans use sealed electronic modules that fail when capacitors degrade. Unlike pull-chain switches, these require component-level repair or full replacement.
Identifying Common Electronic Failures
- Single speed only: Failed triac component (usually needs full module replacement)
- Intermittent operation: Cracked solder joints on circuit board (repairable)
- Humming noise: Failing capacitor (replace exact μF rating)
Capacitor Replacement Procedure
1. Unplug fan power cord or turn OFF breaker
2. Remove module cover (often clipped or screwed)
3. Note capacitor orientation (+/- markings)
4. Desolder old capacitor using 40W iron
5. Install identical replacement (same voltage and μF rating)
6. Test before resealing module
Critical warning: Never touch capacitor leads after power disconnection—these store lethal charges. Discharge by shorting leads with insulated screwdriver first.
Preventing Future Speed Control Failures
Most speed switch failures stem from preventable stress factors. Implement these maintenance habits to double your switch lifespan:
- Monthly: Wipe pull chains with dry microfiber cloth (dust causes arcing)
- Biannually: Tighten wire nuts inside canopy (vibration loosens connections)
- Before summer: Apply dielectric grease to wall control contacts
- Never: Operate fan on “high” for more than 4 hours continuously
Pro maintenance tip: Install a ceiling fan surge protector ($18) if you experience frequent lightning storms—voltage spikes destroy sensitive electronics faster than mechanical wear.
When to Call an Electrician Immediately
Stop DIY repairs if you encounter:
– Melted wire insulation (indicates dangerous overheating)
– Burning smell from control units
– Voltage readings above 125V at fan terminals
– Aluminum wiring connections (requires special handling)
These signal serious electrical hazards beyond safe DIY scope. Professional repairs typically cost $120-$200 but prevent fire risks.
Final Note: With proper diagnosis and careful execution, ceiling fan speed control switch repair is achievable for most homeowners. Focus on identifying your specific switch type first—pull-chain, wall-mounted, or electronic—as each requires unique solutions. Always prioritize safety by verifying power disconnection and using correct replacement parts. Implement the monthly maintenance steps to avoid repeat failures, and remember that 90% of “dead” speed controls actually stem from simple connection issues rather than component failure. For persistent problems, consult your fan’s model-specific service manual before proceeding further.
Leave a Reply