Removing a ceiling fan is a manageable DIY project that most homeowners can accomplish with basic tools and careful attention to safety. Whether you’re replacing an outdated model, upgrading to a more energy-efficient option, or simply removing a broken fan before selling your home, understanding the proper removal process protects both you and your home’s electrical system. The project requires methodical execution, with the most critical step being complete electrical disconnection before touching any wires or mounting hardware. Ceiling fans typically weigh between 15 and 50 pounds, and their complex mounting systems mean that understanding your specific fan type before beginning work prevents frustration and potential damage.
This guide walks you through the complete ceiling fan removal process, covering essential safety protocols, required tools, and step-by-step instructions for both flush-mount and downrod configurations. You’ll learn how to identify your fan type, disconnect electrical connections safely, and prepare your ceiling for whatever comes next—whether that’s installing a new fan, adding a light fixture, or simply covering the electrical box.
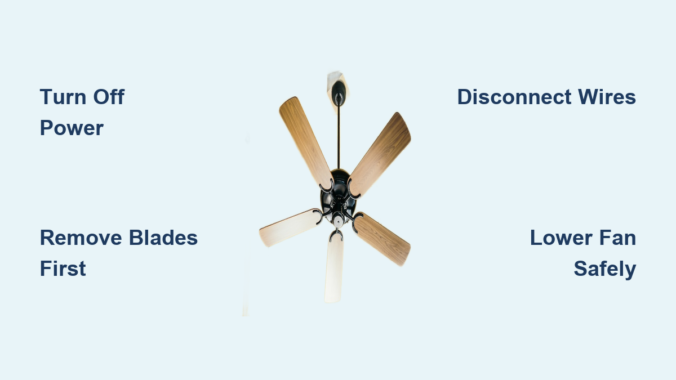
Turn Off Electrical Power Safely
Electrical safety forms the foundation of every successful ceiling fan removal project. Before touching any wires, screws, or mounting components, you must completely de-energize the circuit powering your fan. Locate your home’s circuit breaker panel and identify the specific breaker that controls power to the room containing the fan. If you’re uncertain which breaker corresponds to your ceiling fan, turn off breakers one at a time and test the fan switch until you find the correct circuit. For absolute certainty—especially if the breaker labels are unclear or missing—turn off the main breaker that powers your entire home. While this cuts power to your entire house temporarily, it eliminates any risk of accidental shock from mislabeled circuits or unexpected power sources.
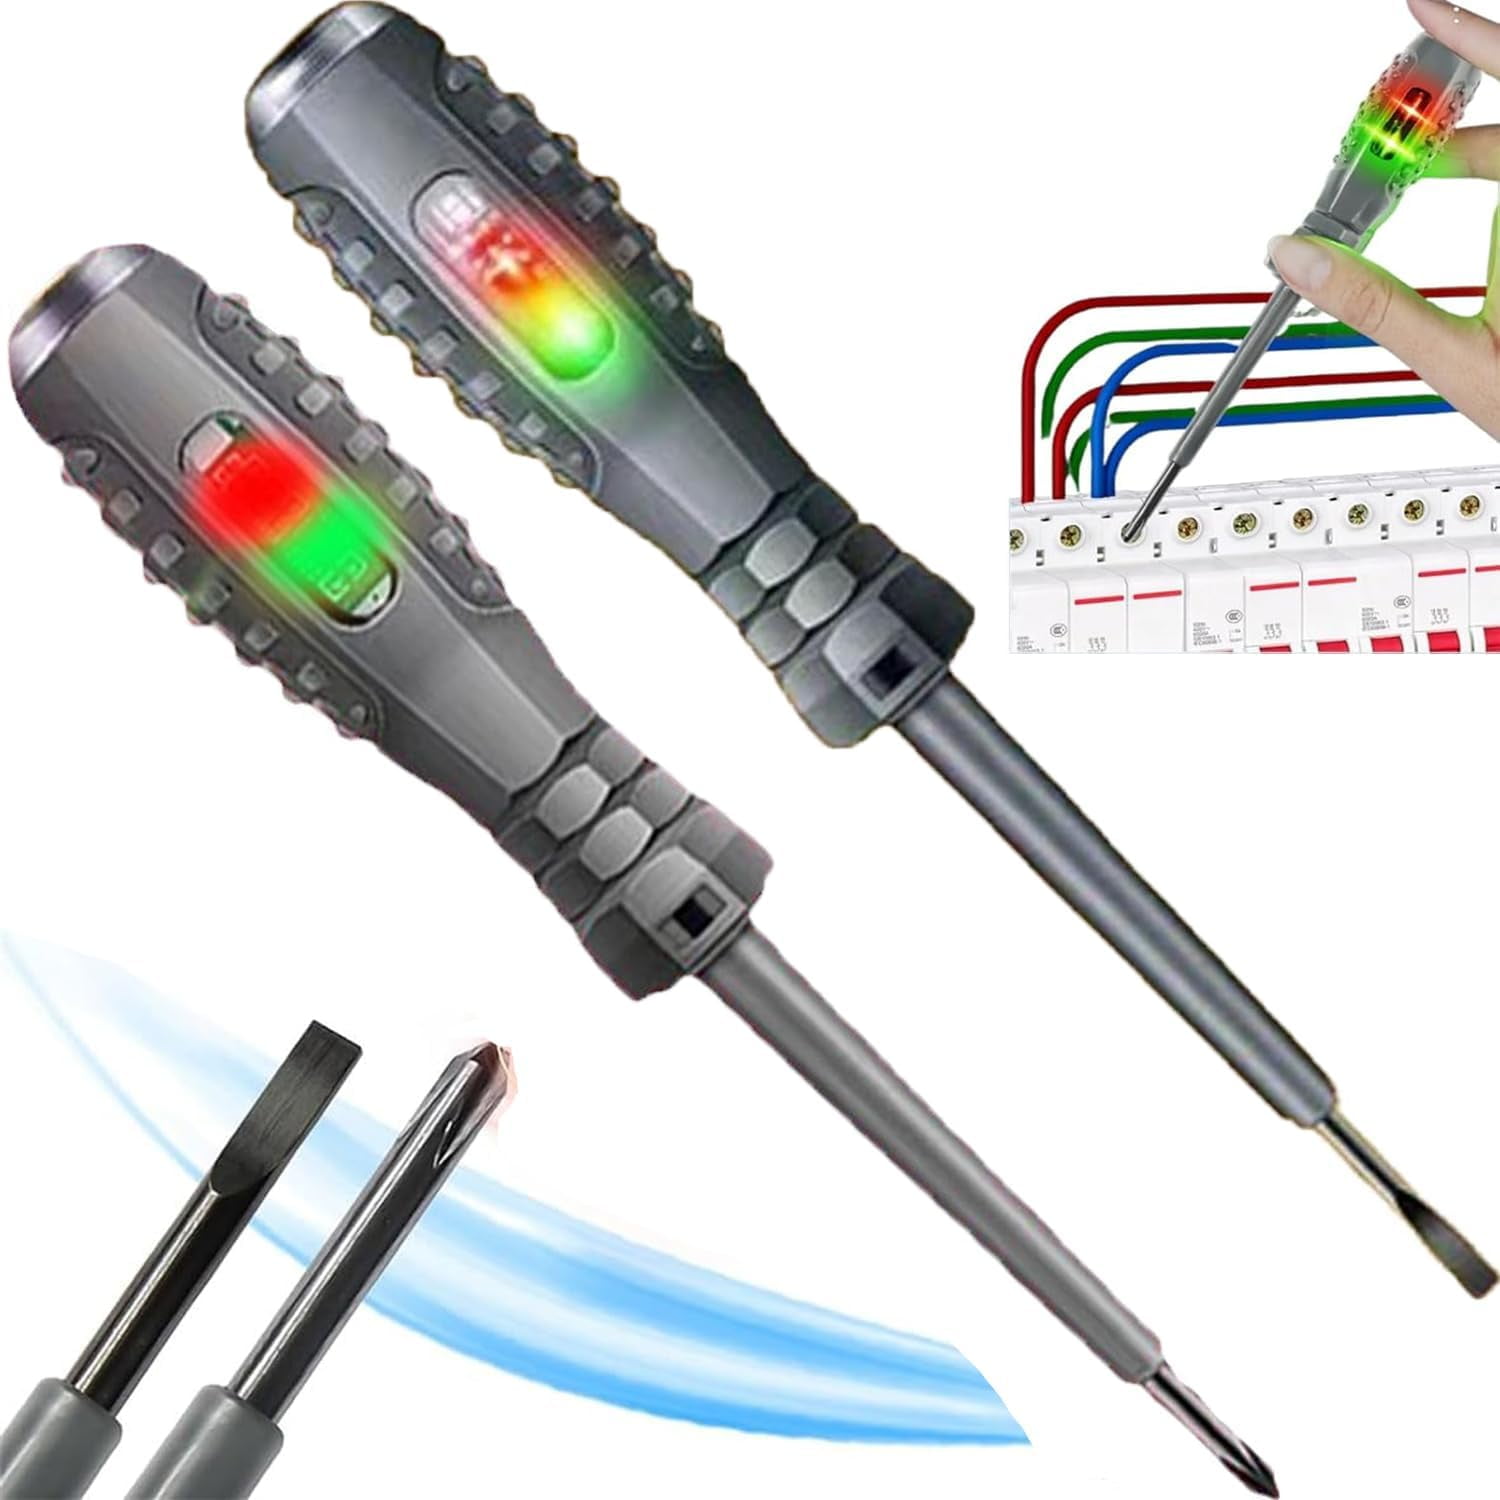
After switching off the breaker, never assume the power is disconnected based on breaker position alone. Use a voltage tester to confirm the absence of electrical current in the fan’s wiring. Both contact and non-contact voltage testers work effectively for this purpose, with non-contact models offering simpler operation by detecting electrical fields without direct wire contact. Test the voltage tester on a known live outlet first to verify it’s functioning correctly, then test the fan’s wire connections before proceeding. This verification step is essential because wires can sometimes be mislabeled during previous installations or connected to multiple circuits that aren’t immediately obvious.
Keep the power off throughout the entire removal process by placing a warning sign on the breaker panel and informing other household members that you’re working on electrical components. If you need to temporarily restore power for any reason, completely finish the fan removal and wire capping before reactivating the circuit. Taking these precautions might seem excessive, but electrical shocks from unexpected live wires cause hundreds of injuries annually—most of which occur during seemingly simple projects where safety protocols were skipped.
Gather Required Tools
Proper tool preparation makes ceiling fan removal significantly easier and safer than attempting the project with inadequate equipment. A tall ladder ranks as the most essential tool, allowing you to reach the ceiling mounting height while maintaining three points of contact (two feet and one hand) at all times. For rooms with standard ceiling heights, an 8-foot step ladder typically provides adequate reach, though a tall extension ladder with a top support platform offers superior stability for larger fans and allows you to rest the fan body on the ladder’s top section while disconnecting wires.
Screwdrivers in multiple sizes and types handle the various fasteners securing fan components. You’ll need both Phillips head and flathead screwdrivers, as blade attachment screws, canopy mounting screws, and bracket bolts come in different drive types depending on the manufacturer. Magnetic screwdrivers prove particularly valuable because they prevent dropped screws from falling into hard-to-reach areas above your ladder—retrieving lost hardware mid-project creates unnecessary frustration and potential safety hazards. Keep both magnetic and non-magnetic options available, as some electrical work benefits from non-magnetic tools that won’t interfere with sensitive components.
A voltage tester belongs in every tool setup for this project, as confirmed earlier. Needle-nose pliers help manipulate wire connections in tight spaces and twist off wire nuts that may have become fused over time. Wire strippers serve as backup tools if any wire damage occurs during disconnection, though ideally you won’t need them. A flashlight or headlamp illuminates the space above the fan where mounting hardware and wire connections are often partially obscured by the fan body. Finally, having a camera or smartphone available to photograph wire connections before disconnecting them provides an invaluable reference for reinstallation or professional consultation if complications arise.
Remove Fan Blades First
Detaching the fan blades before addressing the upper mounting assembly significantly simplifies the removal process and reduces the weight you’ll need to support simultaneously. Each blade attaches to the fan hub or blade arms via screws typically located where the blade meets its mounting point. Work systematically around the fan, removing one blade at a time and setting each aside in a safe location where it won’t be damaged or create a tripping hazard.
Removing blades first accomplishes several objectives beyond simple weight reduction. The process gives you close-up visibility of the fan’s upper components, making subsequent steps easier to navigate. Blades are also relatively fragile—particularly those made from wood or plastic—and removing them prevents accidental breakage while you’re maneuvering the heavier motor housing during final disconnection. If you plan to reuse the fan elsewhere, handling blades separately reduces the risk of cracks, chips, or bent mounting arms that might occur if the entire assembly were lowered carelessly.
Place removed blades flat on the floor or on a clean surface away from your work area. If you’ll be disposing of the fan rather than reusing it, wrapping blades in newspaper or placing them in a bag prevents them from becoming cluttered or causing injury during the final cleanup phase. Taking this step before tackling the upper assembly maintains an organized workspace and reduces the physical burden of managing multiple components simultaneously.
Detach Light Kit Components
Ceiling fans with integrated lighting require additional disassembly steps before the main body can be removed. Begin by removing any glass globes, shades, or decorative covers that shield the light bulbs. These attachments typically release through one of three mechanisms: screws visible around the perimeter, spring clips that release when pressure is applied, or twist-lock arrangements that require rotating the glass counterclockwise to release. Examine your specific fixture to identify its attachment method, then carefully remove the glass components without applying excessive force that might cause breakage.
Once glass components are removed, extract the light bulbs and set them aside for reuse or proper disposal. CFL bulbs require special handling due to mercury content, while LED and incandescent bulbs can typically be recycled with standard household materials. Removing bulbs before handling the fan body prevents accidental breakage during the removal process and eliminates potential injury from broken glass. If any bulbs are still functional, store them in a protective location where they won’t be damaged.
With bulbs and glass removed, you may need to disconnect the light kit wiring from the fan motor assembly if it’s not designed for simple removal. Some light kits unplug from the motor housing via a connector hidden beneath a cover, while others are permanently integrated into the fan design. Taking photographs of the light kit wiring before disconnection provides reference for reinstallation if needed. The goal at this stage is reducing weight and eliminating breakable components rather than complete light kit disassembly—full separation typically occurs when you remove the canopy and access the main wire connections.
Take Down the Canopy Cover
The canopy is the decorative cover that conceals the mounting hardware and electrical connections where the fan meets the ceiling. Removing this component varies slightly between flush-mount and downrod fans, but the fundamental process involves locating and releasing the fasteners that hold the canopy in place. On most fans, visible screws around the canopy’s perimeter secure it to the mounting bracket, though some models hide these screws beneath a decorative cap or ring at the center.
Flush-mount fans present the most straightforward canopy access because the design sits directly against the ceiling with minimal gap. Locate the screws—often two to four depending on the model—and remove them completely, supporting the canopy as the final screw loosens to prevent it from falling. Some flush-mount fans use a twist-lock mechanism where the canopy rotates to align slots with mounting pins, releasing when turned counterclockwise. If your canopy doesn’t release after screw removal, check for additional locking mechanisms or decorative elements that may need manipulation.
Downrod fan canopies attach similarly but require a modified removal sequence because the downrod passes through the center opening. Remove the canopy mounting screws, then lower the canopy down the downrod until it rests on top of the fan motor housing. Don’t attempt to remove the canopy completely at this stage—keeping it attached to the rod prevents it from falling and potentially causing injury or damage. The canopy will hang at the midpoint of the downrod, providing clear access to the wire connections where they emerge from the rod’s top section.
Disconnect Electrical Wiring
With the canopy lowered or removed, you can now access the electrical connections between the fan and your home’s wiring. These connections typically involve three wires: black (hot), white (neutral), and green or bare copper (ground). Match each fan wire to its corresponding ceiling wire by color, then twist counterclockwise to remove the wire nuts securing the connection. Work methodically, handling one wire pair at a time to prevent accidental contact between live wires.
As you disconnect each wire pair, immediately cap the ceiling wires with their original wire nuts to prevent accidental contact and maintain safety. If any wires appear damaged—showing frayed insulation, signs of overheating like discoloration, or corrosion—note this for future inspection by a professional electrician. These conditions may indicate underlying electrical problems that require attention before a new fixture is installed.
Photograph the wire configuration before disconnection if you haven’t already, as this visual reference proves invaluable during new fixture installation. The photograph captures not only wire colors but also any non-standard configurations that might cause confusion later. After all wires are disconnected and capped, the fan is held in place only by its mechanical mounting, and you can proceed to the final removal steps specific to your fan type.
Remove a Flush-Mount Fan
Flush-mount fans, also called hugger fans, sit directly against the ceiling with minimal clearance between the fan housing and ceiling surface. With wires disconnected and canopy removed, the fan body is secured to the mounting bracket by screws accessible through the bracket’s mounting holes. Before fully releasing these screws, ensure you have adequate support for the fan’s weight—15 to 50 pounds depending on model—by either resting it on a ladder platform or having a helper support it from below.
Remove the mounting bracket screws while maintaining control of the fan body, then carefully lower the fixture from the bracket. Some flush-mount fans include a safety chain connecting the fan to the mounting bracket for additional security—this should be disconnected before complete removal if present. Lower the fan steadily and completely, keeping it oriented to prevent any component from catching on remaining hardware.
With the fan body removed, you may choose to remove the mounting bracket from the electrical box if you’re replacing it with a different style. The bracket is typically secured by bolts or screws that can be removed with appropriate tools. However, if you’re installing a new ceiling fan, the original bracket may be reusable—check that it’s rated for fan support and shows no signs of damage or corrosion. Replace any removed mounting screws in the electrical box holes for future use, as these provide convenient anchors for covering the box or installing new fixtures.
Remove a Downrod Fan
Downrod fans feature a metal rod that suspends the fan body below the ceiling mounting point, and removing this style involves releasing the ball-and-socket joint that connects the downrod to the mounting bracket. With wires already disconnected and the canopy lowered down the rod, the fan is held in place only by the ball joint at the top of the downrod. This joint typically consists of a ball-shaped connector that rests in a socket on the mounting bracket, secured by a retaining pin or set screw.
Check for any securing pins, set screws, or locking mechanisms that might hold the ball joint in place before attempting to release the fan. Some designs simply release by lifting the ball upward and out of the socket, while others require loosening a set screw first. Once any securing elements are released, lift the fan assembly slightly to release the ball from the socket, then carefully lower the entire assembly to the floor. Due to the downrod’s length and the fan’s weight distribution, this step almost always requires two people—one to guide the ball joint out of the socket while another supports the lower end and guides the assembly safely downward.
After removing the fan body, proceed with removing the mounting bracket from the electrical box. Unscrew the bracket’s mounting bolts or extract the screws holding it in place, then carefully remove the bracket from the ceiling cavity. Store the bracket with its hardware if you plan to reuse it for a new fan, or dispose of it according to local regulations if replacing with a new bracket design. The electrical box remains in the ceiling, ready for your next fixture installation.
Handle Hunter Fan Systems
Hunter ceiling fans and certain other premium brands feature a specialized mounting collar system that differs from standard designs and requires specific manipulation techniques for successful removal. The distinguishing characteristic of this system is a black ring located at the top of the fan body, just below where it connects to the mounting bracket. This ring serves as the locking mechanism that releases the fan body from its ceiling mounting.
When removing a Hunter fan with this design, focus attention on the black ring after light kits and blades have been detached. The ring should be twisted approximately a quarter turn in either direction—experimentation with both clockwise and counterclockwise rotation may be necessary depending on the specific model. After rotating, attempt to slide the ring downward to expose the mounting screws that secure the bracket. If the ring rotates freely without any resistance or clicking sensation, the locking mechanism hasn’t engaged properly.
When the ring resists proper engagement, try pulling it downward while simultaneously rotating it through a full 360-degree range. Some Hunter fan models incorporate an internal slot mechanism that requires both pulling action and rotational movement to properly release the fan body. The combination of these motions typically causes the ring to catch and allow the downward sliding motion that reveals the mounting hardware. Applying gentle pressure while manipulating stubborn rings often helps engage locking components that may have accumulated dust or experienced slight corrosion over the fan’s lifespan.
Once the ring is manipulated correctly and slid downward, the mounting screws become visible and accessible for removal. Standard screwdriver techniques apply from this point, allowing complete detachment of the fan body from the ceiling mounting system. If you encounter persistent difficulty with this mechanism despite trying all variations, consider consulting Hunter’s specific installation documentation or contacting a professional installer who has experience with these specialized mounting systems.
Complete Post-Removal Steps
After successfully removing the ceiling fan, proper cleanup and preparation for subsequent steps ensures your ceiling is ready for whatever comes next. Inspect the electrical box that housed the ceiling fan connections to verify it’s in good condition and securely mounted. The box should be firmly attached to a ceiling joist or support brace and show no signs of damage, overheating (indicated by discoloration or melted components), or deterioration. If the box appears damaged or wasn’t originally rated for fan support—which requires special electrical boxes designed to handle the dynamic weight and vibration of operating fans—replace it with an approved ceiling fan electrical box before installing a new fixture.
Cap and secure the electrical wires protruding from the ceiling box using wire nuts, then tuck them carefully into the box itself. This prevents accidental contact with the wires and maintains a clean, safe configuration until you’re ready to install a new fixture. For added safety during this interim period, consider covering the electrical box with a protective cover plate designed for this purpose. If you plan to leave the installation incomplete for an extended period, a simple cover plate provides both safety and a finished appearance.
If you removed the fan to reinstall it elsewhere, carefully pack all components—including the fan body, blades, downrod, mounting bracket, and hardware—in their original packaging if available, or wrap each component in protective material to prevent damage during storage. Label any bags or containers containing hardware to simplify reinstallation, and store the packaged fan in a dry location away from potential impact hazards. For fans being discarded, consider environmentally responsible disposal options: the metal motor housing, steel mounting hardware, and copper wiring are all recyclable. Check with local recycling facilities for their policies regarding electrical fixtures, or contact scrap metal dealers who may accept these materials.
Most ceiling fan removal projects take between 30 minutes and two hours depending on your experience level and the fan’s configuration. First-time removal typically falls toward the longer end of this range as you familiarize yourself with the process. Complications like stripped screws, stubborn mounting hardware, or unexpected wiring issues can extend the timeline significantly, so allocating several hours provides adequate buffer for addressing challenges without rushing. If you encounter wiring configurations that don’t match standard conventions, visible damage to electrical components, or any situation where you feel uncertain about proceeding safely, consulting a licensed electrician is the wisest choice. The cost of professional assistance is modest compared to potential consequences of electrical accidents, and many electricians offer same-day service for fixture removal projects.
Leave a Reply