Your ceiling fan lights up or responds to the remote but refuses to spin, leaving you sweltering in the heat. This frustrating situation—where your ceiling fan has power but won’t turn on—is one of the most common electrical issues homeowners face. The good news is that in most cases, this problem isn’t dangerous and doesn’t mean you need to replace the entire fixture. Instead, it typically points to a specific component failure that’s relatively simple to diagnose and fix.
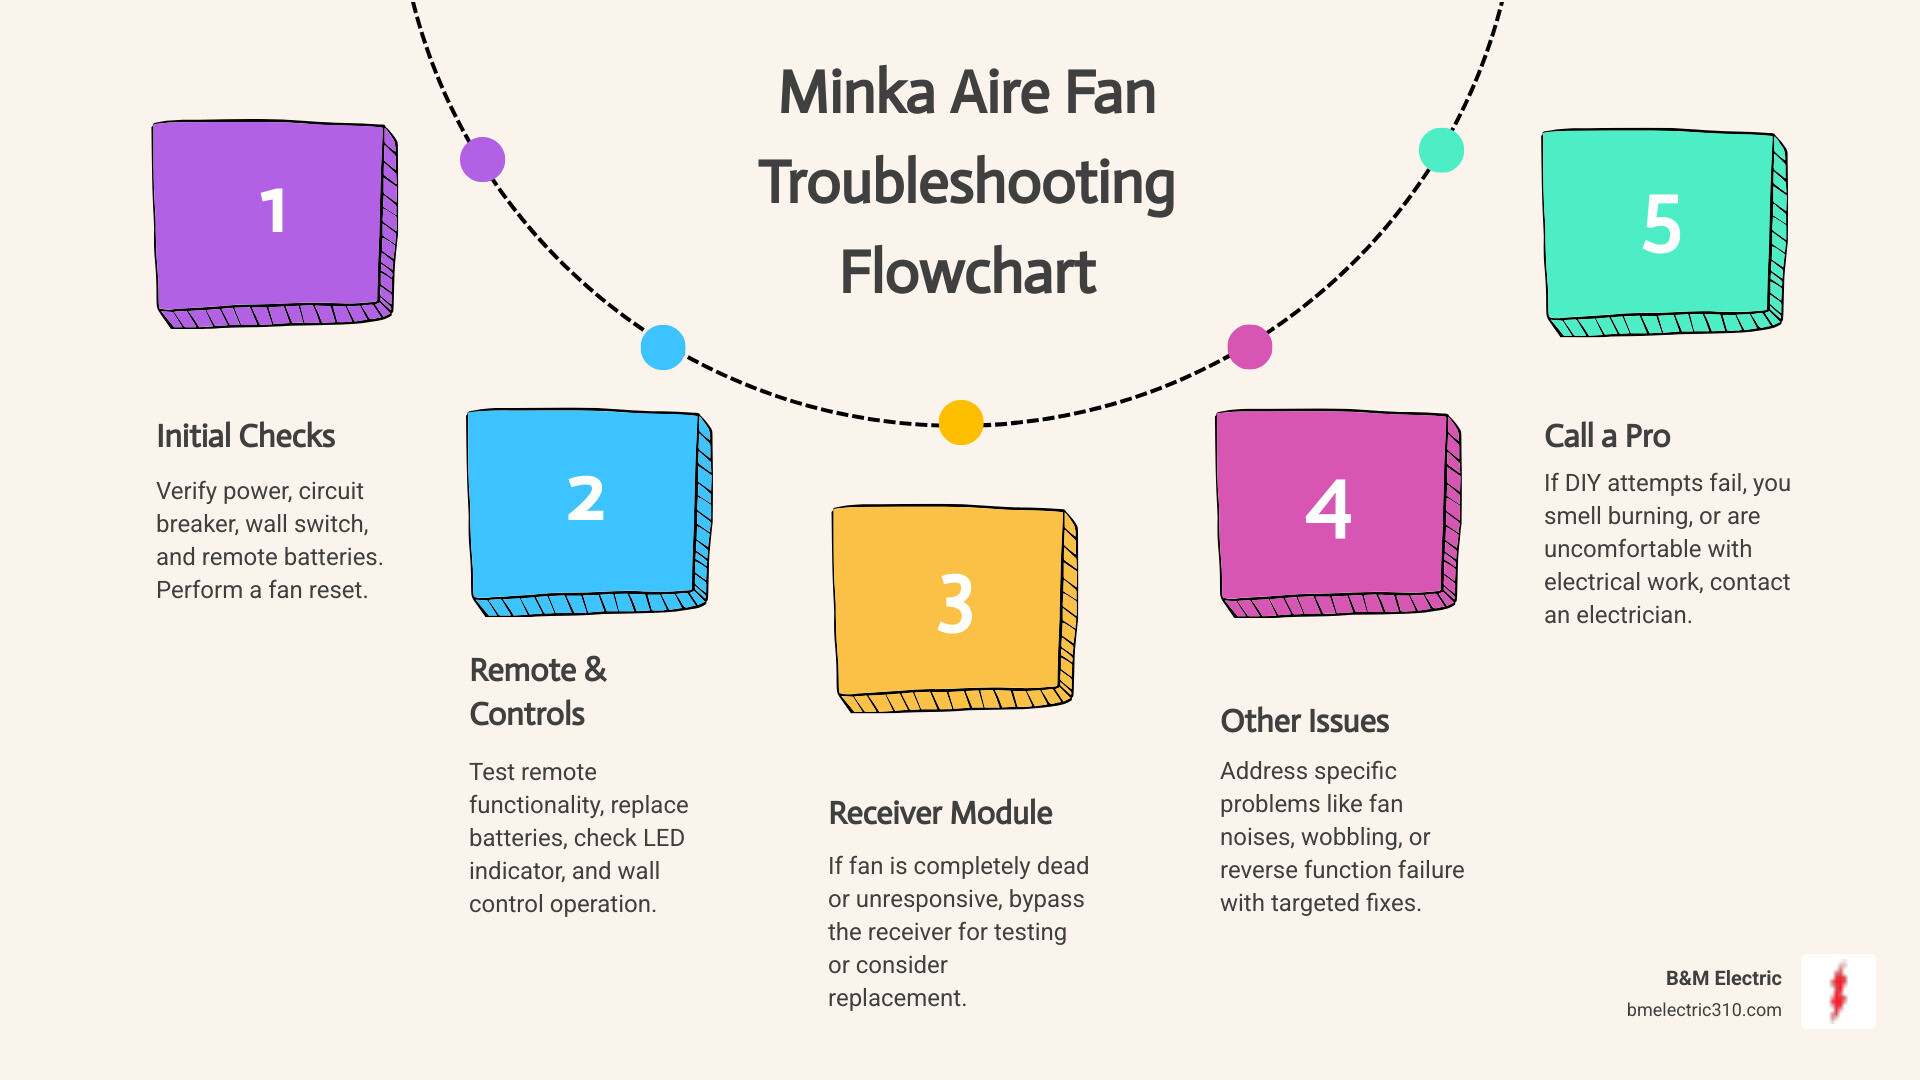
Understanding why your ceiling fan has power but won’t turn on helps you avoid unnecessary expenses and wasted time. Most commonly, the culprit is a failed capacitor, a stuck motor shaft, or a malfunctioning control mechanism. This guide provides a systematic approach to identifying and resolving the exact issue with your fan, whether it’s a quick DIY fix you can complete in minutes or a more complex problem requiring professional assistance. By following these steps, you’ll restore airflow to your room without replacing components unnecessarily.
Safety First: Essential Precautions Before Troubleshooting
Before examining any internal components, switch off the circuit breaker controlling your ceiling fan. Never rely solely on the wall switch—electricity remains live in the wiring even when the switch is off. Verify power is disconnected using a non-contact voltage tester on both the switch housing and wiring connections. Working on live electrical components risks severe shock or electrocution.
Allow the fan motor to cool for at least 20 minutes if it was recently running. Overheated motors can trigger thermal protection circuits that prevent operation. Gather essential tools: a sturdy ladder, screwdriver set, wire connectors, and a multimeter. Ensure you have adequate lighting to see small components clearly. If you notice any signs of electrical damage—such as burning smells, melted insulation, or discolored wires—stop immediately and call a licensed electrician before proceeding.
Identify the Specific Symptoms
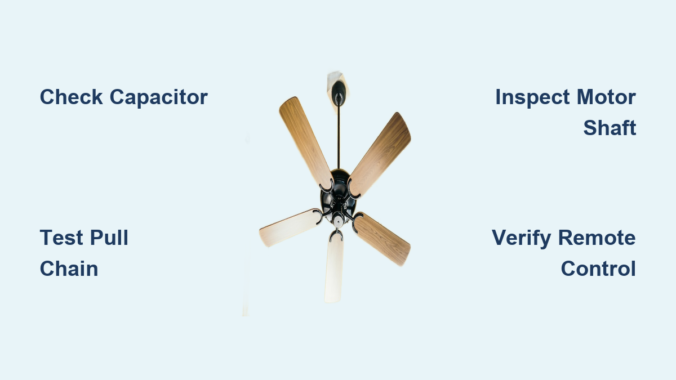
Your fan’s behavior provides critical diagnostic clues. Does it emit a low humming sound while refusing to spin? This typically indicates the motor receives power but lacks sufficient starting torque—often pointing to capacitor failure. A complete absence of sound suggests a control or wiring issue rather than a motor problem. Note whether the light kit operates normally while the fan remains stationary, as this isolates the problem to the fan motor circuit rather than the main power supply.
Test all control methods systematically: wall switch, pull chain, and remote control. If the fan operates using the wall switch but not the remote, you’ve narrowed the problem to the remote system. Document exactly how the fan responds to each control method—this information saves time during troubleshooting and helps professionals diagnose the issue if you need to call for assistance.
Check the Pull Chain Switch
The pull chain switch inside the fan housing frequently causes power-without-rotation problems. Even when electricity reaches the motor, a worn or damaged pull chain mechanism prevents the circuit from completing. Locate the pull chain—it’s usually a small chain hanging from the fan body near the light kit or switch housing. Pull it several times firmly but gently, listening for a distinct clicking sound that indicates the switch is engaging.
If you don’t hear clicking or the chain feels loose, sticky, or doesn’t pull smoothly, the switch likely needs replacement. Remove the fan canopy to access the switch housing, disconnect the wires, and install a matching replacement switch from your local hardware store. Pull chain switches are inexpensive and straightforward to replace, making this one of the most cost-effective DIY fixes for a ceiling fan that has power but won’t turn on. When replacing, take photos of the wiring configuration first to ensure correct reconnection.
Inspect the Capacitor
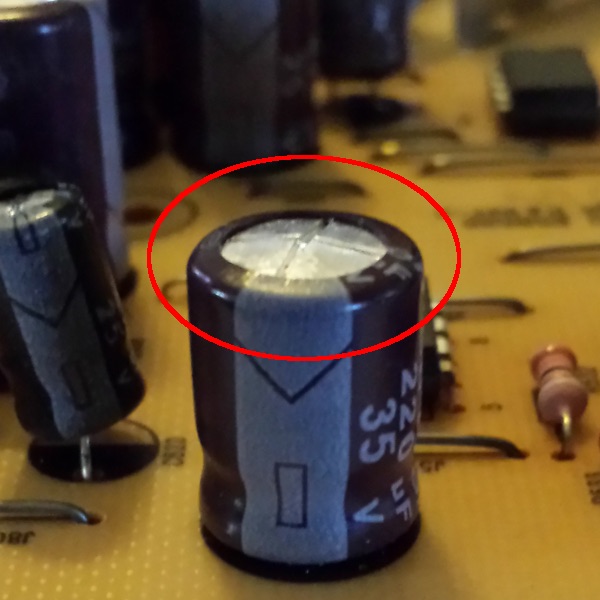
The capacitor stores electrical energy and provides the initial “kick” that starts the fan motor spinning. When a capacitor fails, the motor receives enough power to hum and attempt rotation but cannot generate sufficient starting torque to overcome static friction. This creates the characteristic humming sound that many homeowners describe as “the fan is trying to start but can’t.”
Capacitors are small cylindrical components usually located in the fan’s switch housing or motor compartment. Look for visible signs of failure: bulging, leaking fluid, discoloration, or burn marks. If the capacitor appears damaged, replace it with an identical replacement matched to your fan’s specifications. Capacitor replacement requires opening the fan housing, disconnecting the old component, and connecting the new one to the same wire terminals. Always match the microfarad (mfd) rating and voltage specifications exactly—using an incorrect capacitor can damage your fan motor. Capacitors typically cost $5-$15 and take less than 15 minutes to replace.
Examine Motor Windings and Bearings
Over time, ceiling fan motors can develop binding in the shaft bearings or experience winding failures. Manually check whether the motor shaft can rotate freely by carefully spinning the fan blades by hand while the power is off. The blades should spin smoothly through multiple rotations without resistance, grinding sounds, or wobbling. If the blades catch, grind, or won’t turn freely, the motor bearings may be failing or the shaft may have accumulated dust and debris.
Cleaning accumulated dust from the motor housing and lubricating the motor bearings (if your fan model allows) often resolves binding issues. Use a small amount of electric motor oil or silicone-based lubricant on the bearing surfaces, working the oil in by manually rotating the blades. However, many modern fans have sealed bearings that cannot be lubricated—in these cases, bearing failure typically requires motor replacement or professional service. If the motor windings have failed, you’ll notice a distinct burning smell and possibly visible scorch marks inside the motor housing.
Test the Remote Control and Receiver

If your fan includes remote control functionality, the problem may lie in the remote transmitter or receiver unit rather than the fan itself. Remote controls can experience button failures, battery depletion, or signal transmission issues that prevent commands from reaching the fan motor. Start by replacing the remote’s batteries with fresh ones, ensuring correct polarity during installation.
Test the fan using the wall switch instead of the remote. If the wall switch works reliably, you’ve isolated the problem to the remote system. Check the receiver module—it’s typically located in the fan canopy and can fail due to power surges or age. Many receiver units plug into the fan’s wiring harness, making replacement relatively simple. If the remote still fails after battery replacement and receiver inspection, the remote itself may need replacement. Ensure you purchase a compatible replacement model that matches your fan’s specifications.
Verify Wall Switch Functionality
The wall switch controlling your ceiling fan can fail even while remaining functional for other fixtures on the same circuit. Test the switch by turning it on and listening for clicking sounds—faint clicking indicates the switch is operating, while complete silence suggests internal failure. Use a multimeter to test for continuity across the switch terminals when activated. No continuity means the switch has failed and requires replacement.
In some cases, the wall switch may appear functional but fail to send the correct signal to the fan motor. This occurs with dimmer switches incorrectly installed on fan circuits or with smart switches that require specific configuration. Ensure your wall control is designed specifically for ceiling fans and compatible with your fan’s motor type. Non-fan switches can cause erratic behavior or prevent operation entirely. Most fan-specific wall controls cost $15-$30 and take under 30 minutes to install.
Check for Overheating Protection Activation
Many ceiling fans include thermal protection features that automatically shut down the motor when it overheats. This protective mechanism prevents fire hazards and motor damage but can sometimes trigger unnecessarily due to dust accumulation, high ambient temperatures, or voltage irregularities. If your fan runs briefly before stopping, makes a clicking sound as it powers down, or refuses to restart immediately after running, overheating protection may be the culprit.
Allow the fan to cool completely for at least 30 minutes before attempting to restart. Clean dust accumulation from the motor housing and blades using a soft brush or vacuum with a brush attachment. Improve ventilation around the fan by ensuring adequate clearance from ceilings and walls. If the problem recurs frequently, evaluate whether the fan is undersized for the room or operating in an unusually warm environment. Thermal cutouts typically reset automatically once the motor cools to a safe temperature.
Inspect Wiring Connections
Loose or corroded wiring connections can deliver intermittent power to your ceiling fan, causing it to behave erratically or fail entirely. Turn off the breaker and remove the fan canopy to examine all wire connections in the electrical box and fan housing. Look for wires that have pulled loose from wire nuts, connections that show signs of corrosion or burning, and any frayed or damaged insulation.
Tighten all wire connections securely, ensuring each hot, neutral, and ground wire maintains solid contact. Replace any wire nuts that show damage or signs of heating. If you discover melted plastic, blackened wires, or burning smells during inspection, discontinue use immediately and contact an electrician—this indicates a serious fire hazard requiring professional attention. Proper wire connections should feel snug when gently tugged and show no signs of arcing or discoloration.
When to Call a Professional Electrician
Some ceiling fan power problems require licensed electrician intervention. Contact a professional if you discover damaged or melted wiring, experience repeated capacitor failures, find evidence of pest damage or water intrusion in the electrical box, or encounter complex wiring configurations you don’t understand. Electricians can also verify that your home’s electrical system meets current codes and that your fan is properly grounded.
Professional service becomes essential when the problem involves your home’s electrical infrastructure rather than the fan itself. Flickering lights throughout your home, frequently tripping breakers, or burning smells from the fan area all indicate potentially dangerous electrical issues requiring immediate expert attention. The cost of professional diagnosis typically pales compared to the expense of fire damage or personal injury. Most electricians charge $75-$150 per hour for diagnostic and repair services.
Preventing Future Problems
Regular maintenance extends your ceiling fan’s lifespan and prevents power-without-rotation issues. Dust the fan blades and motor housing monthly using a soft cloth or duster. Annually, turn off power and open the canopy to inspect wiring and internal components for signs of wear or damage. Lubricate motor bearings if your fan model allows, and test all control methods to ensure consistent operation.
Avoid running your fan at maximum speed continuously, which generates excess heat and accelerates wear on electrical components. During seasons when you don’t need cooling, occasionally run the fan briefly to keep motor components lubricated and functional. Investing in a quality surge protector for your fan’s electrical circuit protects sensitive electronic components from power spike damage. These simple maintenance steps can extend your fan’s operational life by several years.
Key Takeaways
A ceiling fan with power but no rotation typically points to capacitor failure, pull chain issues, motor binding, or control system malfunctions. Systematic troubleshooting helps you identify the specific cause without replacing unnecessary components. Always prioritize electrical safety by turning off breakers before inspection, and don’t hesitate to call professionals when problems exceed your comfort level or show signs of electrical hazards.
Most power-without-rotation issues are repairable without replacing the entire fan. Capacitors, pull chains, and remote receivers are inexpensive components that commonly fail and are simple to replace. By understanding your fan’s electrical system and following these troubleshooting steps, you can restore functionality quickly and confidently—whether through a simple DIY fix or by knowing exactly what to tell your electrician.
Leave a Reply