You flip the switch, but instead of the familiar glow, your ceiling fan’s lights remain stubbornly dark. This frustrating issue affects millions of homeowners each year, leaving rooms in unexpected darkness and disrupting your carefully designed lighting scheme. When ceiling fan lights stop working, it’s rarely a single cause but rather one of several possible failures in the electrical pathway between your wall switch and the light bulbs themselves. Understanding why this happens—and knowing how to safely diagnose and address the problem—can save you both time and money while restoring proper lighting to your space. In this guide, you’ll discover the seven most common reasons your ceiling fan lights quit functioning and exactly how to determine which issue is affecting your specific fixture.
Identifying the Exact Failure Point in Your Lighting System
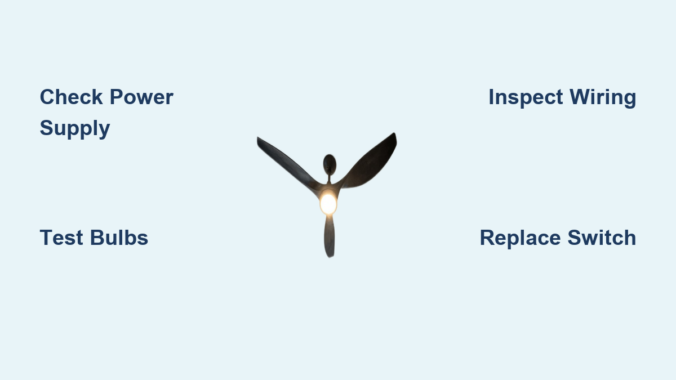
Before grabbing tools or replacing parts, you need to pinpoint where the breakdown is occurring in your lighting circuit. This systematic approach prevents wasted effort and ensures you address the actual problem rather than symptoms.
Checking Power Supply to the Ceiling Fan Unit
Begin your diagnosis at the source by verifying electrical power is reaching your ceiling fan fixture. Locate your home’s circuit breaker panel and identify the breaker controlling the room’s lighting circuit. Ensure it hasn’t tripped—sometimes breakers appear in the “on” position but have actually tripped internally. Reset the breaker completely by switching it off then back on. If the breaker trips again immediately, this indicates a more serious electrical fault requiring professional attention. While the breaker is off, test the wall switch controlling your fan lights by flipping it several times to ensure it hasn’t become stuck in the off position.
Testing Individual Light Bulbs Before Replacing Components
Many homeowners immediately assume the worst when lights fail, but often the solution is as simple as replacing burned-out bulbs. Remove each bulb and inspect the filament for breaks or darkening—clear signs of failure. For LED bulbs, look for discoloration or visible damage to the internal components. Test questionable bulbs in a known-working lamp to confirm they’re actually faulty. Remember that ceiling fan light kits typically use smaller bulbs than standard lamps, so verify you’re using the correct bulb type specified in your fan’s manual. When installing new bulbs, never exceed the maximum wattage rating printed inside the light housing—over-wattage bulbs can damage sockets and wiring.
Replacing Faulty Components That Cause Light Failures

Once you’ve eliminated simple causes like power issues and bad bulbs, it’s time to investigate the more complex components that frequently fail in ceiling fan lighting systems.
Resetting or Replacing the Wall Switch Controlling Your Fan Lights
Wall switches receive constant use and eventually wear out, especially if they control multiple functions like fan speed and lighting. Turn off power at the breaker before removing the switch plate. Carefully pull the switch out from the wall box and inspect for loose wires, burn marks, or melted plastic—immediate signs of failure requiring replacement. If the switch appears intact but doesn’t click when toggled, it’s likely worn out internally. When installing a new switch, match the wiring configuration exactly—ceiling fan light switches typically have black (hot), blue (light), and ground wires. For three-way switches controlling lights from multiple locations, ensure you purchase an identical replacement to maintain proper functionality.
Diagnosing and Fixing Faulty Pull Chain Switches on the Fan
Many ceiling fans incorporate pull chain switches directly on the fan housing for light control. These mechanical switches fail frequently due to worn internal contacts or broken chains. With power off at the breaker, remove the light kit housing to access the pull chain mechanism. Inspect the chain for breaks or disconnection from the internal switch. Gently pull the chain while listening for a distinct click—absence of this sound indicates switch failure. Replacement pull chain switches are inexpensive and model-specific; consult your fan’s manual for the correct part number. When installing, ensure the switch is properly secured and the chain has adequate slack without interfering with fan operation.
Addressing Electrical Connection Issues Behind the Fixture
Loose or deteriorated electrical connections represent one of the most common yet overlooked causes of ceiling fan light failures, often requiring careful inspection behind the fixture itself.
Securing Loose Wiring Connections Inside the Light Kit
Power off at the breaker is non-negotiable before accessing internal wiring. Remove the light kit glass covers and bulbs, then carefully lower the entire light assembly if possible. Inspect all wire connections for looseness—wires should be tightly secured with wire nuts that don’t twist off with gentle pressure. Look for signs of arcing like blackened insulation or melted wire nuts, which indicate dangerous electrical faults requiring immediate attention. Reconnect any loose wires by twisting them together clockwise before securing with new wire nuts of the appropriate size. Never use electrical tape as a substitute for proper wire nuts in ceiling fixtures.
Repairing Damaged Socket Terminals That Prevent Bulb Contact
The metal contacts inside light sockets can become bent, corroded, or worn down over time, preventing proper electrical connection with bulbs. With power off and bulbs removed, use a non-conductive tool like a plastic pen cap to gently lift the center contact tab in each socket—you should see it move upward slightly. For corroded sockets, carefully clean contacts with electrical contact cleaner and a soft brush, avoiding abrasive materials that could damage the plating. If sockets show significant burning or melting, replacement is safer than attempted repair—most light kits allow individual socket replacement without buying an entire new kit.
Preventing Future Light Failures Through Proper Maintenance
Understanding why failures occur helps you implement strategies to extend the lifespan of your ceiling fan lighting system and avoid repeat problems.
Selecting the Right Bulb Types for Ceiling Fan Applications
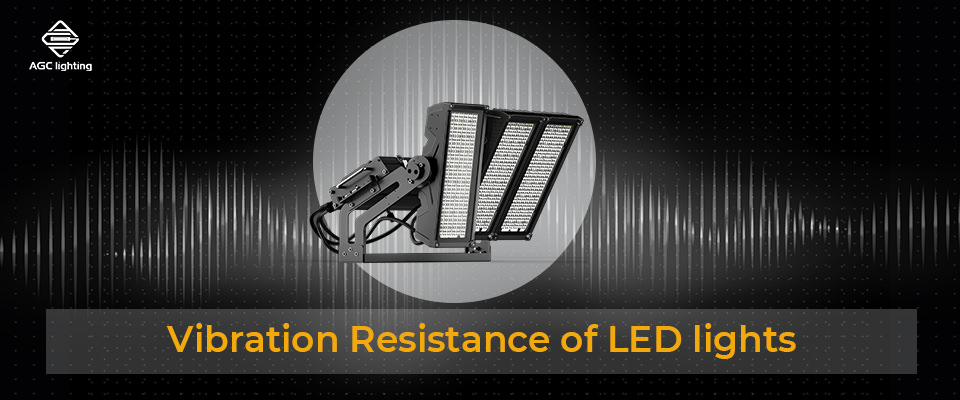
Not all bulbs perform equally in ceiling fan fixtures, which experience vibration and heat buildup that standard bulbs aren’t designed to handle. Always choose bulbs specifically rated for “enclosed fixtures” or “vibration resistance”—look for these terms on packaging. LED bulbs generally outperform incandescents in fans due to lower heat output and greater resistance to vibration damage. Avoid “rough service” incandescent bulbs as they consume more energy and generate excess heat that damages sockets over time. For dimmable fans, ensure both bulbs and dimmer switches are compatible—mismatched components cause flickering and premature failure.
Implementing Regular Maintenance Checks to Catch Problems Early
Schedule quarterly inspections of your ceiling fan lighting system to catch developing issues before they cause complete failure. During each check, verify bulbs are securely seated but not overtightened (which damages sockets), examine sockets for discoloration, and listen for unusual buzzing from the light kit. Every six months, turn off power and gently tighten all wire connections inside the light housing—vibration gradually loosens connections over time. Clean dust buildup from light kits using a soft brush; accumulated dust traps heat and accelerates component failure. Document any unusual behavior like intermittent operation or flickering, as these often precede complete failure.
When to Call a Professional Electrician Immediately
Certain electrical issues with ceiling fan lights require professional expertise and should never be attempted as DIY repairs.
Recognizing Dangerous Electrical Conditions That Require Expert Help
Immediately turn off power at the breaker and contact a licensed electrician if you observe any of these warning signs: burning smells emanating from the fixture, visible smoke, discolored or melted wiring insulation, frequent breaker trips when using the lights, or buzzing sounds accompanied by flickering. These indicate serious electrical faults that could lead to fire if not properly addressed. If you’ve experienced multiple light kit failures on the same circuit, this suggests an underlying wiring problem that requires professional diagnosis. Never attempt repairs if you’re unsure about electrical safety procedures—ceiling fan wiring involves line voltage that can cause serious injury or death when mishandled.
Final Note: By methodically working through these diagnostic steps, you’ll solve most ceiling fan light issues safely and effectively. Remember that consistent maintenance prevents approximately 70% of lighting failures—regular inspections and using appropriate bulb types significantly extend your fixture’s lifespan. If you’ve successfully restored your lights, consider setting calendar reminders for those quarterly maintenance checks to catch developing problems early. For persistent issues beyond basic troubleshooting, consulting a qualified electrician ensures your home’s lighting system remains both functional and safe.
Leave a Reply