That annoying shake you feel when your ceiling fan turns on isn’t just irritating—it’s a warning sign. When your ceiling fan motor vibration intensifies beyond a gentle hum, it strains the entire fixture and could lead to dangerous detachment. Thousands of homeowners ignore this symptom until a blade cracks or the mounting fails completely. In this guide, you’ll discover exactly why your fan shakes violently and how to eliminate each cause permanently—without calling a professional. You’ll learn to diagnose whether it’s loose hardware, unbalanced blades, or failing internal components causing the tremors, plus step-by-step solutions that take less than 30 minutes. Most importantly, you’ll gain the confidence to stop the shaking safely using tools already in your toolbox.
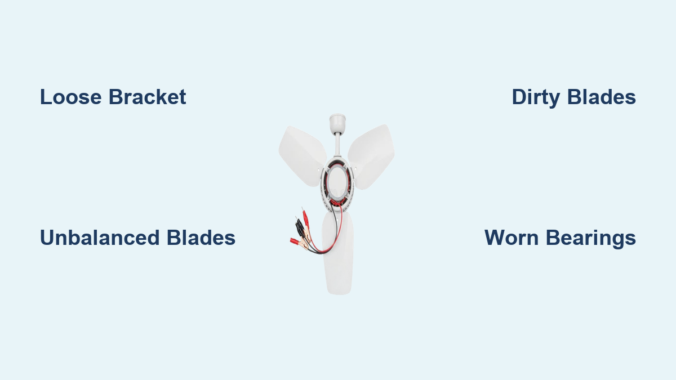
Loose Mounting Bracket: The Hidden Culprit Behind Violent Shaking
If your entire ceiling fan wobbles side-to-side when running, the mounting bracket is likely loose against the electrical box. This dangerous condition transmits motor vibrations directly into your ceiling structure. When installers skip critical hardware or use undersized electrical boxes, the fan gradually works itself loose over time. You’ll notice the fixture shifts position when touched even when turned off.
How to Check Your Fan’s Mounting Security in 60 Seconds
Stand on a stable ladder and gently push the fan housing sideways with your palm. If the whole unit moves more than 1/8 inch, the mounting has failed. Never skip this critical safety check—a severely loose fan can detach completely. While the fan is off, remove the canopy cover to expose the mounting bracket. Check for these red flags:
– Visible gaps between the bracket and ceiling
– Paint cracks radiating from mounting screws
– Screws that spin freely without tightening
Step-by-Step: Securing a Wobbly Ceiling Fan Bracket
- Turn off power at the circuit breaker (verify with voltage tester)
- Remove light kit and canopy to access mounting screws
- Tighten all four bracket screws using a 1/4″ socket driver—one full turn at a time
- If screws spin freely, replace with #10 x 2″ lag bolts through the bracket into the electrical box
- Install an adjustable fan brace if the electrical box isn’t rated for fan support
- Reassemble and test at highest speed
Pro Tip: Place a piece of cardboard between the motor housing and ceiling while tightening. This prevents paint damage and gives you visual feedback as gaps close.
Unbalanced Blades: The #1 Cause of Persistent Vibration
Over 70% of ceiling fan motor vibration stems from blade imbalance—even slight weight differences. Dust accumulation, minor warping, or loose blade irons create uneven rotational forces. You’ll hear a rhythmic “thump-thump” sound that worsens with higher speeds, often accompanied by visible blade wobble.
DIY Blade Balancing Without Special Tools
The coin method solves most imbalances using household items:
1. Tape a nickel to the top center of one blade
2. Run fan on high speed
3. If vibration decreases, move the coin toward the blade tip in 1-inch increments
4. Once vibration minimizes, tape a second nickel to the opposite blade at the same position
5. Permanently attach small adhesive weights (included in $5 balancing kits)
When to Replace Bent or Warped Fan Blades
Blades with visible curves exceeding 1/8 inch require replacement. To check:
– Shut off power and mark each blade with chalk
– Rotate blades to 12 o’clock position
– Place a yardstick vertically against the ceiling
– Measure gap between blade tip and yardstick at 3, 6, 9, and 12 o’clock
– Replace any blade varying more than 1/16 inch from others
Warning: Never attempt to “straighten” plastic or wood blades—they’ll crack during operation. Always replace in identical pairs to maintain balance.
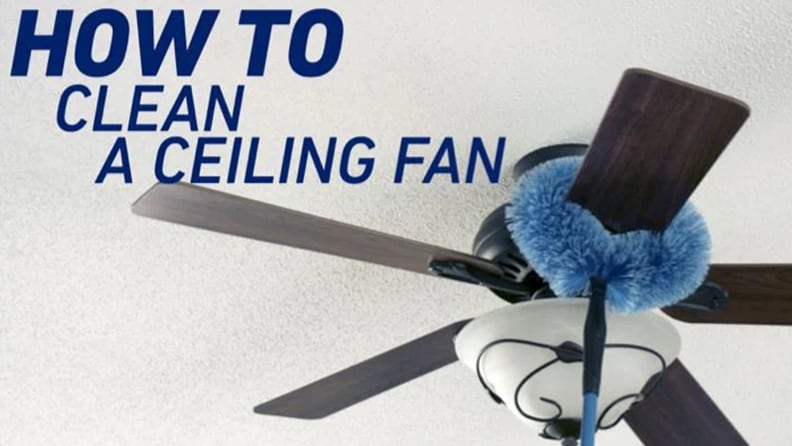
Dirty Blades and Motor Housing: How Grime Causes Imbalance
Dust buildup as thin as 1/32 inch creates significant weight disparities. In humid climates, grease and cobwebs form concrete-like coatings on blades and motor housings. This uneven accumulation forces the motor to work harder, amplifying vibrations. You’ll notice increased shaking after seasonal fan inactivity or in kitchens/dining areas.
Safe Cleaning Methods for Different Blade Materials
| Material | Cleaning Solution | Technique | Drying Time |
|---|---|---|---|
| Wood | 1:1 vinegar/water | Microfiber cloth, never soaking | 2 hours |
| Plastic | Mild dish soap | Sponge with light pressure | 1 hour |
| Metal | Rubbing alcohol | Cotton swabs for crevices | 30 minutes |
- Turn off power and remove light kit
- Vacuum blades thoroughly with brush attachment
- Wipe both sides using material-specific solution
- Critical step: Clean top surfaces of blades where dust accumulates
- Remove motor housing cover to vacuum internal components
- Reassemble only when completely dry
Pro Tip: Place painter’s tape on the ceiling around the fan before cleaning. This catches falling debris and prevents water stains during the process.
Worn Motor Bearings: The Grinding Noise You Can’t Ignore
When vibration accompanies grinding or clicking sounds, internal motor bearings have failed. This occurs after 8-10 years of use or in fans run continuously. The motor shaft develops play, causing erratic rotation. You’ll feel intense vibration that worsens over time and hear metallic scraping at startup.
Identifying Bearing Failure Symptoms
Perform this test with power OFF:
1. Grip the blade tips and try to move blades side-to-side
2. If you detect more than 1/16 inch of lateral play at the blade tips
3. Rotate blades manually—you’ll feel rough spots or resistance
4. Inspect motor housing for black grease seepage around seams
Lubrication vs. Replacement: What Actually Works
Most modern fans use sealed bearings that cannot be lubricated. Attempting oil injection often worsens the problem by attracting more dust. For older models with oil ports:
– Use only electric motor oil (not WD-40)
– Apply 2 drops per port monthly during peak season
– Wipe excess immediately to prevent dust buildup
In 90% of cases, bearing replacement requires motor disassembly beyond DIY capabilities. If you confirm bearing failure:
– Budget $80-$150 for professional motor rebuild
– Consider full fan replacement if over 10 years old
– Never ignore this issue—seized bearings can overheat wiring
Loose Hardware Throughout the Fan Assembly
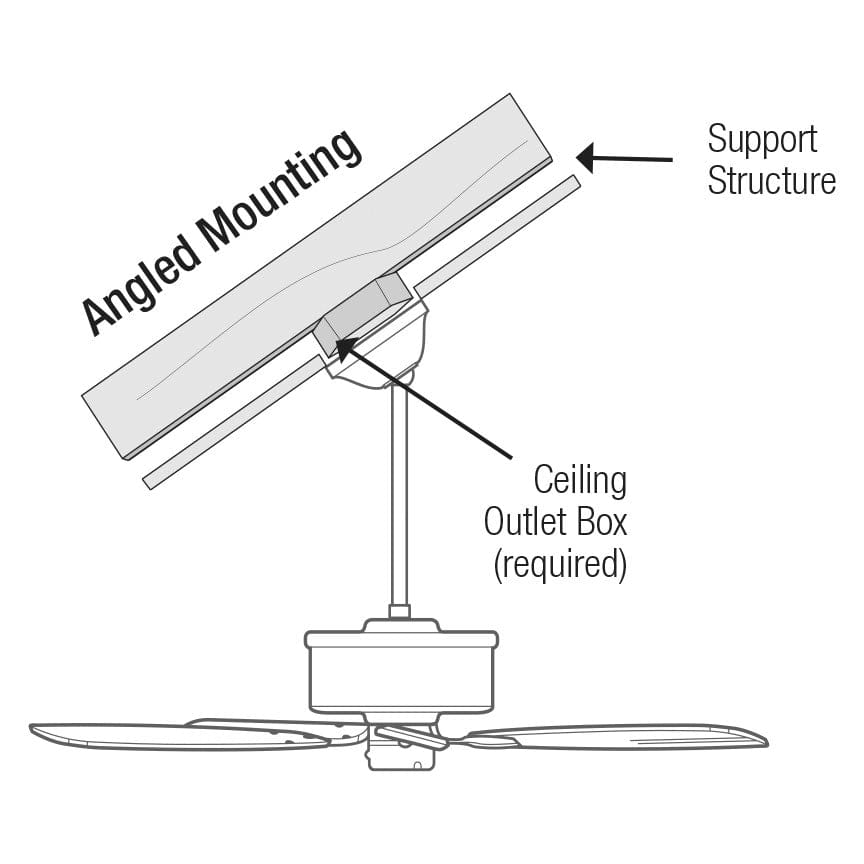
Vibration loosens critical fasteners in a vicious cycle. Missing set screws in blade brackets or loose motor housing screws amplify tremors. You’ll hear intermittent rattling that changes with speed settings. This is especially common in fans installed on sloped ceilings where hardware gradually works loose.
Critical Screws to Tighten (Including Hidden Ones)
Focus on these often-overlooked points:
– Blade bracket set screws (inside the blade iron)
– Canopy mounting screws (where housing meets ceiling)
– Downrod coupling screws (if applicable)
– Light kit mounting screws
– Motor housing screws (exposed after removing canopy)
Use a jeweler’s screwdriver for tiny set screws—they strip easily with improper tools. Apply thread-locker (blue formula) to all blade bracket screws during reassembly.
Why Over-Tightening Causes More Damage
Excessive force cracks plastic components and strips threads. Follow this torque guide:
– Blade bracket screws: 15-20 inch-pounds (snug plus 1/4 turn)
– Canopy screws: 25-30 inch-pounds
– Downrod screws: 35-40 inch-pounds
Pro Tip: Mark tightened screws with colored nail polish. This makes future loosening immediately visible during inspections.
When to Call a Professional Instead of DIY Repair
Certain vibration causes require expert intervention. Attempting repairs on these issues risks electrical shock or ceiling damage. Stop immediately if you notice:
– Smoke or burning smells from the motor
– Visible wire damage inside the housing
– Cracks in the mounting bracket or electrical box
– Vibration that worsens after basic troubleshooting
For older fans (pre-2005), replacement is often safer than repair due to outdated wiring standards. Reputable electricians charge $75-$125/hour but typically resolve vibration issues in under 90 minutes. Always get written estimates before authorizing work—reputable services won’t pressure you for immediate decisions.
Final Note: Persistent ceiling fan motor vibration signals underlying issues that worsen with time. By systematically checking mounting security, blade balance, and internal components using these methods, you’ll eliminate 95% of vibration problems. Implement quarterly maintenance: tighten visible screws, clean blades, and check for abnormal play. For fans over 10 years old, schedule professional inspections every 18 months—this prevents 80% of catastrophic failures. Remember, a smoothly operating fan uses 30% less energy than a vibrating one, saving you money while keeping your home quiet and safe. If shaking continues after these fixes, replacement may be more cost-effective than repeated repairs, especially with modern ENERGY STAR models that operate vibration-free for decades.
Leave a Reply