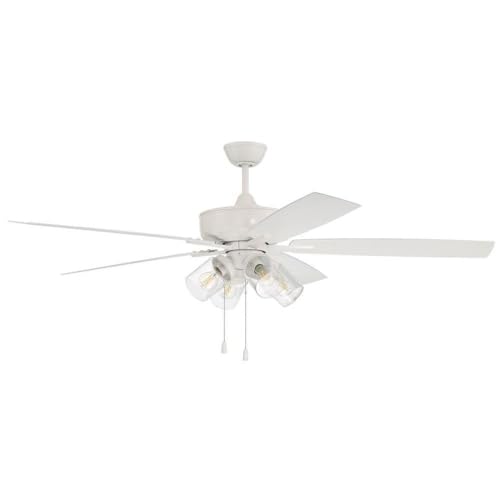
Nothing disrupts your home comfort like a Craftmade ceiling fan wall control not working when you need it most. You flip the switch, adjust the speed dial, or press the light button—and silence. The frustration builds quickly as you’re forced to use pull chains or endure uncomfortable temperatures. The good news? Most Craftmade ceiling fan wall control issues can be resolved with basic tools and systematic troubleshooting, saving you from expensive service calls or premature replacements.
Before reaching for your phone to call an electrician, work through these proven diagnostic steps. This guide covers every potential failure point from simple battery replacements to wiring repairs, helping you restore full functionality to your Craftmade ceiling fan control system. Most solutions require minimal electrical knowledge and take less than 30 minutes to complete.
Essential Safety Steps Before Repairing Your Wall Control
Electrical work demands caution, even for seemingly minor ceiling fan repairs. Your first priority must be eliminating shock hazards before touching any wiring or internal components.
Start by locating the circuit breaker controlling your ceiling fan circuit. Flip the breaker to the off position, then verify power is disconnected by attempting to operate the fan. For absolute certainty, use a non-contact voltage tester at the wall switch box—never assume a breaker is off without confirmation. This critical step prevents dangerous electrical contact that could result in serious injury.
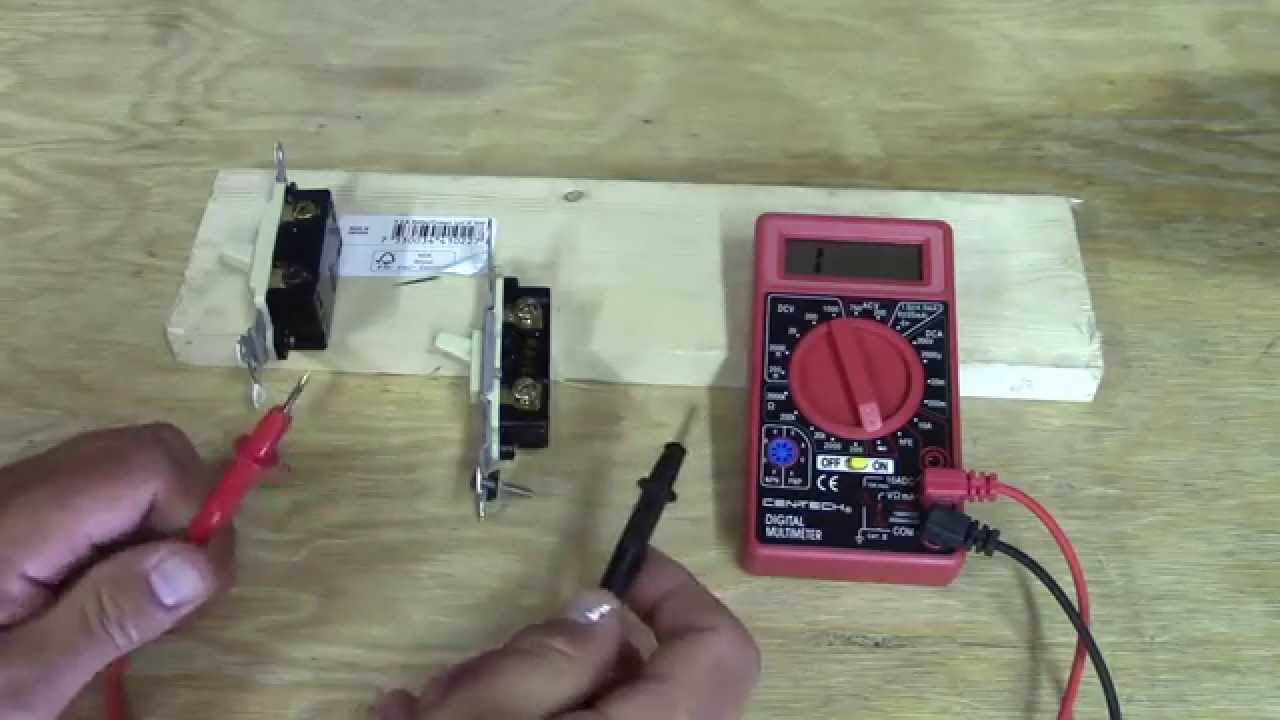
Gather these essential tools before beginning diagnosis: a digital multimeter for electrical testing, Phillips and flathead screwdrivers for component removal, needle-nose pliers for wire manipulation, and a smartphone camera for documenting wire connections. Having replacement batteries, wire nuts, and electrical tape on hand means you can complete repairs immediately when problems are identified.
Verify Power Supply to Your Craftmade Wall Control
Power supply issues cause most Craftmade ceiling fan wall control not working problems. Without consistent electrical input, your wall control cannot send signals to the fan’s receiver module.
Begin your diagnosis at the circuit breaker panel. Check whether the breaker controlling your ceiling fan circuit has tripped, even if it appears in the on position. Some breakers trip partially without fully shifting to the off position, continuing to pass reduced voltage that may power lights but not fan motors. Reset the breaker fully to the off position and then flip it back on.
Move to the wall switch location for voltage testing. With the breaker restored to on, remove the wall control cover plate and use your multimeter to measure voltage across the switch terminals. A reading significantly below 120V indicates a supply problem originating at the breaker panel or in the intervening wiring. Consistent readings at or near 120V confirm power reaches the switch location, suggesting the problem lies within the control unit itself.
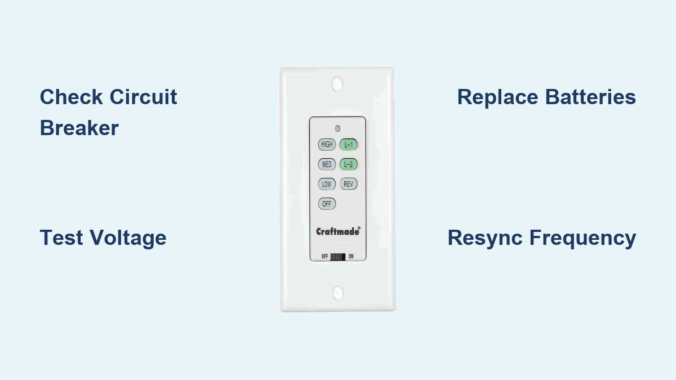
Replace Batteries and Clean Transmitter Contacts
Many Craftmade wall controls incorporate battery-powered components, particularly units offering remote functionality. Dead or corroded batteries create surprisingly widespread control failures.
Locate the battery compartment on your wall control—common placements include the front face, bottom edge, or rear panel depending on your specific model. Remove existing batteries and inspect both the batteries and contact points for corrosion buildup. White, crusty residue indicates battery acid leakage that has damaged contact surfaces. Clean corroded contacts using a cotton swab dipped in white vinegar or isopropyl alcohol, scrubbing until all residue removes, then dry completely.
When installing fresh batteries, use high-quality alkaline batteries from reputable manufacturers. Generic or rechargeable batteries often provide inconsistent voltage output that causes intermittent operation. Note the polarity markings inside the battery compartment and align batteries correctly. After replacement, test the control by pressing each button multiple times while watching for fan response.
Eliminate Frequency Interference Affecting Your Control
Craftmade ceiling fan control systems operate on specific radio frequencies, typically 433MHz for wireless components. External interference from WiFi routers, cordless phones, and microwave ovens can disrupt communication between your wall control and the fan’s receiver.
Signal interference typically manifests as delayed responses or intermittent operation. If your wall control sometimes works and sometimes doesn’t, resynchronize your control system to establish a clean communication pathway. Access the receiver module in the fan canopy and press the “Learn” or “Sync” button until it enters synchronization mode. While the receiver awaits synchronization, activate the wall control by pressing your desired function button.
For systems using dip switch configurations, both the wall control and receiver must have matching switch settings. Remove the wall control from its mounting box and locate the dip switches. Access the receiver similarly and compare switch positions. Adjust any mismatched switches using a small screwdriver, ensuring both units have identical configurations.
Secure All Wiring Connections in Your Control System

Loose wire connections create intermittent problems that frustrate diagnosis. Vibration from fan operation gradually loosens wire nuts, and thermal cycling from motor heat expands and contracts connections until they fail.
With power confirmed off at the circuit breaker, remove the wall control from its mounting box. Inspect all wire connections where the control wires connect to the building wiring. Each wire nut should grip securely with no bare copper wire visible beyond the nut’s base. Gently tug on each connection—movement indicates insufficient tightening.
At the ceiling fan canopy, verify all connections match your installation documentation. Standard configurations include:
– Black and blue wires for fan motor
– Black and white wires for light kits
– White wires for neutral connections
– Green or bare copper wires for grounding
When reconnecting wires, ensure stranded wires twist together completely before applying wire nuts. Single stray strands can create short circuits or intermittent connections that cause unpredictable control behavior.
Test Your Craftmade Control Module for Failure
If power reaches the control, batteries are fresh, wiring connections are secure, and interference has been addressed, the wall control module itself likely contains the failure. Control modules fail from age, power surges, or component fatigue.
The most reliable testing method involves installing a known-working replacement control of the same model type. Borrow a control from another Craftmade ceiling fan in your home, or purchase a replacement for testing purposes with the understanding you can return it if unnecessary.
When testing reveals a defective control, replacement becomes necessary. Purchase only genuine Craftmade replacement parts designed for your fan model. Record your fan’s model number before purchasing replacements—ceiling fans and their control systems vary significantly across product lines.
Adapt Solutions for Your Specific Craftmade Fan Model
Different Craftmade ceiling fan configurations require specific approaches to wall control troubleshooting. Universal control systems accommodate various Craftmade models but require matching wire configurations to your specific fan.
For remote-ready fans, verify whether the existing receiver module must be removed, bypassed, or retained when installing wall control. Some configurations allow wall control to interface directly with the receiver module, while others require complete removal of wireless components.
Light kit integration adds complexity to wall control troubleshooting. Test the light kit independently using its pull chain switch to verify it functions correctly. Isolating light kit operation determines whether the problem stems from the control system or the light fixture itself.
Prevent Future Craftmade Wall Control Failures
Establish a regular inspection schedule to catch developing problems before they cause complete control failure. Quarterly inspections should include visual examination of the wall control housing for cracks, discoloration, or damage, along with testing of all control functions.
Annual inspections warrant removal of the wall control from its mounting box for internal examination. Check wire connections for security and signs of overheating such as darkened insulation or melted wire nut components. Clean dust and debris from the control housing using compressed air.
Environmental factors significantly affect wall control longevity. Controls in unconditioned spaces experience thermal cycling that gradually degrades internal components, while direct sunlight exposure causes plastic housing deterioration.
Recognize When to Call Craftmade Support or an Electrician
Some wall control issues require expert assessment rather than DIY intervention. Contact Craftmade technical support when troubleshooting procedures fail to resolve the issue or when installation questions arise regarding specific model compatibility.
Consult licensed electricians when diagnostic procedures reveal electrical system defects beyond wall control issues, when wiring inspections uncover code violations, or when uncertainty exists regarding proper installation procedures.
Review your warranty documentation before purchasing replacement parts. Craftmade ceiling fans typically include warranty coverage for electrical components including wall controls for specified periods from purchase date.
Immediate Action Plan for Craftmade Wall Control Failure
When your Craftmade ceiling fan wall control not working situation arises, follow this streamlined troubleshooting sequence:
- Verify power at the circuit breaker and reset if necessary
- Test voltage at the wall switch location with a multimeter
- Replace batteries and clean contact points if applicable
- Resynchronize frequency between control and receiver
- Inspect and secure all wiring connections at both ends
- Test with a known-good control module before purchasing replacement
Most Craftmade ceiling fan wall control issues resolve without professional intervention when you follow this systematic approach. By addressing the most common causes first—you’ll restore your fan’s functionality while avoiding unnecessary service calls or component replacements. Keep this guide handy for future reference, and enjoy the comfort of your fully operational Craftmade ceiling fan system.
Leave a Reply