Installing a ceiling fan requires more than just mounting the fan itself – it starts with properly installing a junction box that can safely support the fan’s weight and movement. Unlike standard light fixtures, ceiling fans create dynamic loads that demand specialized electrical boxes. This guide walks you through the critical steps to install a ceiling fan-rated junction box correctly, ensuring your fan operates safely for years to come.
Why Standard Light Boxes Won’t Work for Ceiling Fans
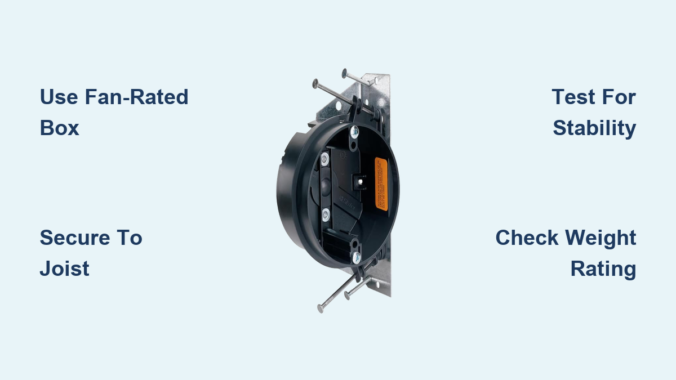
Ceiling fans generate both vertical and horizontal forces as they operate, creating what electricians call “dynamic loading.” Standard light fixture boxes typically support only 50 pounds of static weight, but ceiling fans require boxes rated for at least 70 pounds of dynamic load. Using an inappropriate box risks the fan becoming loose or even falling, potentially causing serious injury or property damage. The National Electrical Code (NEC) specifically requires fan-rated boxes that are securely attached to structural components capable of supporting the fan’s weight.
Types of Ceiling Fan Junction Boxes and When to Use Them
New Construction Boxes for Open Attics
When you have access to the ceiling from above, new construction boxes provide the strongest installation. These metal or plastic boxes feature adjustable mounting brackets that clamp securely to ceiling joists. The key advantage is direct attachment to structural framing, creating a rock-solid foundation. Installation takes approximately 20-30 minutes and requires basic tools including a stud finder, drill, and appropriate screws.
Old Work Retrofit Boxes for Finished Ceilings
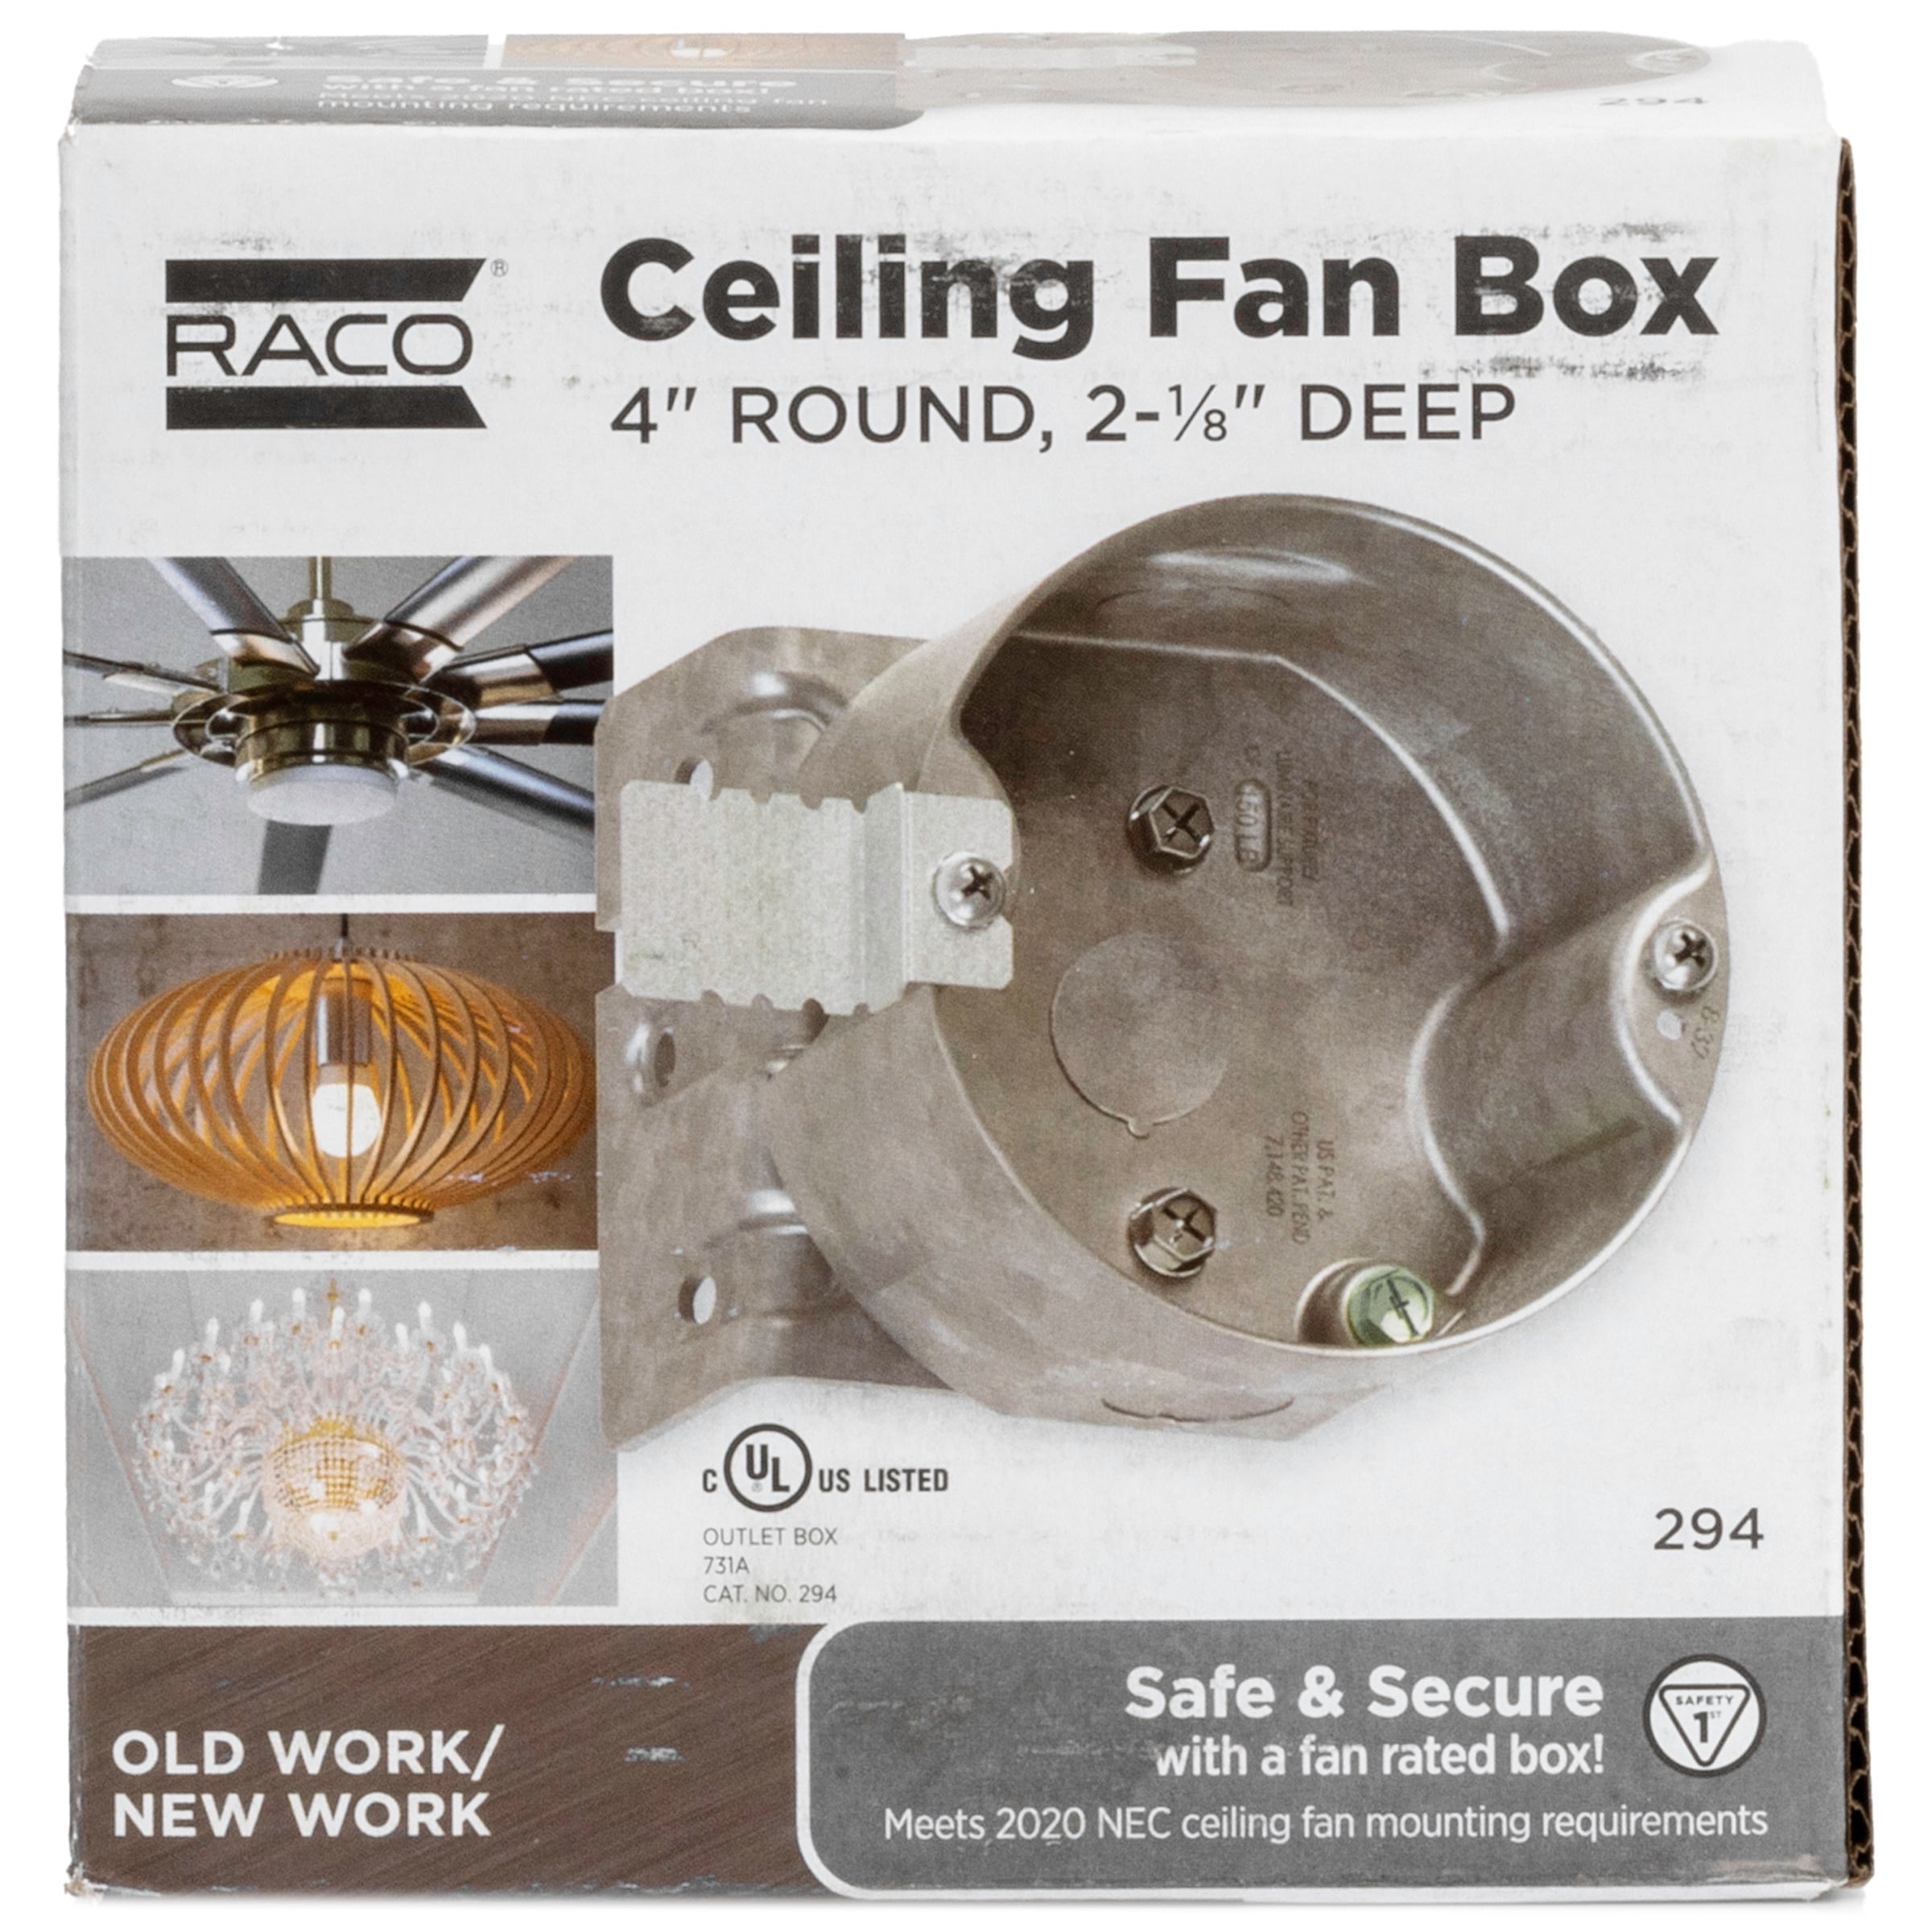
For existing ceilings without attic access, old work fan-rated boxes solve the challenge. These boxes feature spring-loaded mounting arms that expand inside the ceiling cavity to grip the drywall securely. While convenient, they must be specifically rated for ceiling fans – not all old work boxes can handle the dynamic loads. Look for boxes clearly marked “For Ceiling Fan Support” with weight ratings of at least 70 pounds.
Pancake Boxes for Low Clearance Spaces
When ceiling height is limited, pancake boxes provide a shallow alternative that still meets fan support requirements. These low-profile boxes typically extend only 1.5 inches from the mounting surface while maintaining the necessary weight rating. They’re ideal for cathedral ceilings or rooms with limited space above the ceiling.
Essential Tools and Materials Checklist
Before starting your project, gather these critical items:
- Fan-rated electrical box appropriate for your situation (new construction, old work, or pancake)
- 12/2 or 14/2 NM-B cable (depending on circuit requirements)
- Junction box mounting hardware (screws appropriate for your ceiling structure)
- Voltage tester to verify power is off
- Stud finder to locate ceiling joists
- Drywall saw for cutting access holes
- Fish tape for pulling wires in finished ceilings
- Wire nuts rated for the wire gauge
- Non-contact voltage tester
- Clamp connector for securing cable to box
Step-by-Step Installation Process
Locating the Perfect Mounting Position
Start by determining where your fan will hang. Use a stud finder to locate ceiling joists – ceiling fans must be mounted either directly to a joist or to a properly reinforced box between joists. Avoid mounting fans over beds, dining tables, or seating areas where falling components could cause injury. The ideal height places the fan blades 8-9 feet above the floor for proper air circulation.
Cutting the Access Hole
Mark your cutting line on the ceiling using the junction box as a template. For new construction boxes, cut a hole large enough for the box to fit between joists. For old work boxes, follow the manufacturer’s specified dimensions, typically 4-6 inches in diameter. Use a drywall saw carefully, supporting the drywall to prevent cracking beyond your cut line.
Securing the Junction Box Properly
For new construction installations, position the box between joists and secure it with 2.5-inch structural screws driven through the mounting brackets into the joists. The box must be perfectly level and securely fastened with no movement when tested. For old work boxes, insert the box into the hole and tighten the mounting screws according to manufacturer instructions until the clamping mechanism grips the drywall firmly. Test the box by pulling firmly in multiple directions – it should not move.
Electrical Wiring Connections

Running Cable to the Junction Box
For new construction, run NM-B cable from your electrical panel to the junction box location, securing it with cable staples every 4.5 feet and within 12 inches of the box. For retrofits, you’ll need to fish the cable through the ceiling cavity, which often requires creating a small access hole in an adjacent room or closet.
Making Proper Wire Connections
Strip 3/4 inch of insulation from the cable ends using wire strippers. Connect wires as follows:
– Black (hot) wire to black wire
– White (neutral) wire to white wire
– Bare copper (ground) wire to green grounding screw
Use wire nuts sized for your wire gauge, twisting until no copper is visible. Gently tuck wires into the box without pinching, ensuring connections don’t rest against the box sides.
Critical Safety Checks Before Mounting Your Fan
Verifying Box Stability
Before installing your fan, perform these essential stability tests:
– Apply firm downward pressure (at least 50 pounds) on the box
– Pull the box in multiple directions to check for movement
– Verify all mounting screws are tight and secure
– Confirm the box doesn’t rotate or twist when pressure is applied
Testing Electrical Connections
With power still off, use a multimeter to verify no voltage exists at the junction box. Once power is restored at the breaker, use a non-contact voltage tester to confirm proper wiring before connecting your fan.
Common Installation Mistakes to Avoid
Using Standard Light Fixture Boxes
The most dangerous mistake is repurposing a standard light box for a ceiling fan. These boxes lack the reinforced mounting and weight rating needed for fan operation. Always look for the “For Ceiling Fan Support” marking and verify the weight rating.
Improper Joist Attachment
When mounting to joists, ensure screws penetrate at least 1.5 inches into solid wood. Using drywall anchors or insufficient screws creates a dangerous failure point. For boxes between joists, use a fan brace that spans the gap and attaches securely to two joists.
Overlooking Weight Requirements
Ceiling fan boxes must support at least 70 pounds, but many modern fans with light kits exceed this. Check your specific fan’s weight and choose a box rated for 1.5 times the fan’s total weight for safety margin.
Maintenance and Long-Term Safety Considerations
Check your ceiling fan mounting annually by gently pulling down on the fan body. If you notice any movement at the ceiling, immediately turn off power and investigate the mounting. Tighten any loose screws and verify the junction box remains securely attached. Periodically check for signs of stress around the mounting area, including cracks in the ceiling drywall or paint.
When to Call a Professional Electrician
While installing a ceiling fan junction box is a manageable DIY project for many homeowners, certain situations warrant professional help:
– When working with older wiring (knob and tube or aluminum)
– If your ceiling structure is unusual or damaged
– When installing multiple fans on a single circuit
– If you’re uncomfortable working with electrical systems
Licensed electricians carry insurance and have the expertise to ensure your installation meets all local building codes and safety standards.
Final Installation Verification
Before completing your project, verify these critical points:
– The junction box is securely mounted with no movement
– All electrical connections are tight and properly insulated
– The box is rated specifically for ceiling fans
– The weight rating exceeds your fan’s requirements
– All wiring follows local electrical codes
– The mounting location provides adequate clearance
By properly installing a ceiling fan-rated junction box, you create the foundation for safe, reliable fan operation. This critical first step ensures your ceiling fan will provide years of comfortable airflow without safety concerns. Take your time with the installation, verify each connection, and never compromise on using the proper fan-rated box – your safety depends on it.
Leave a Reply