Installing a ceiling fan on an angled ceiling presents unique challenges that go far beyond a standard ceiling installation. Unlike flat ceilings where mounting is straightforward, sloped or vaulted ceilings require specialized hardware and techniques to ensure your fan hangs properly, operates safely, and delivers optimal airflow throughout your space. The good news is that with the right preparation, tools, and understanding of the process, most homeowners can successfully tackle this project and enjoy the comfort and energy efficiency a ceiling fan provides in their vaulted or sloped rooms.
The fundamental challenge with angled ceilings lies in physics: a ceiling fan is designed to rotate parallel to the floor for maximum air circulation, but when mounted directly on a sloped surface without correction, the fan blade assembly tilts along with the ceiling. This misalignment causes inefficient operation, excessive wobble, annoying clicking sounds, and potentially premature motor wear. Left unaddressed, an improperly mounted fan can even become a safety hazard as the mounting connections loosen over time under the stress of continuous rotation.
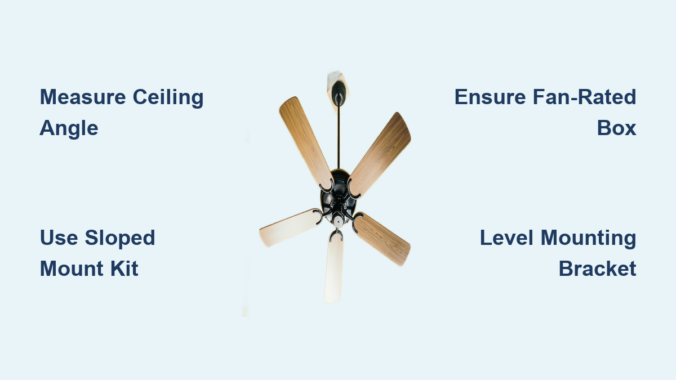
Before you begin your angled ceiling fan installation, you’ll need to understand your ceiling’s specific angle, gather the appropriate sloped ceiling mounting hardware, ensure your electrical box meets fan-rated specifications, and follow a systematic installation process. This guide walks you through every step—from initial assessment through final troubleshooting—so you can install your ceiling fan with confidence and achieve professional-quality results.
Measure Your Ceiling Pitch Before Buying Hardware
The first and most critical step in installing a ceiling fan on an angled ceiling is accurately measuring and documenting your ceiling’s pitch. This measurement determines which mounting hardware you’ll need and guides every subsequent decision in your installation process. Without a proper angle assessment, you risk purchasing incompatible hardware or encountering unexpected complications during installation.
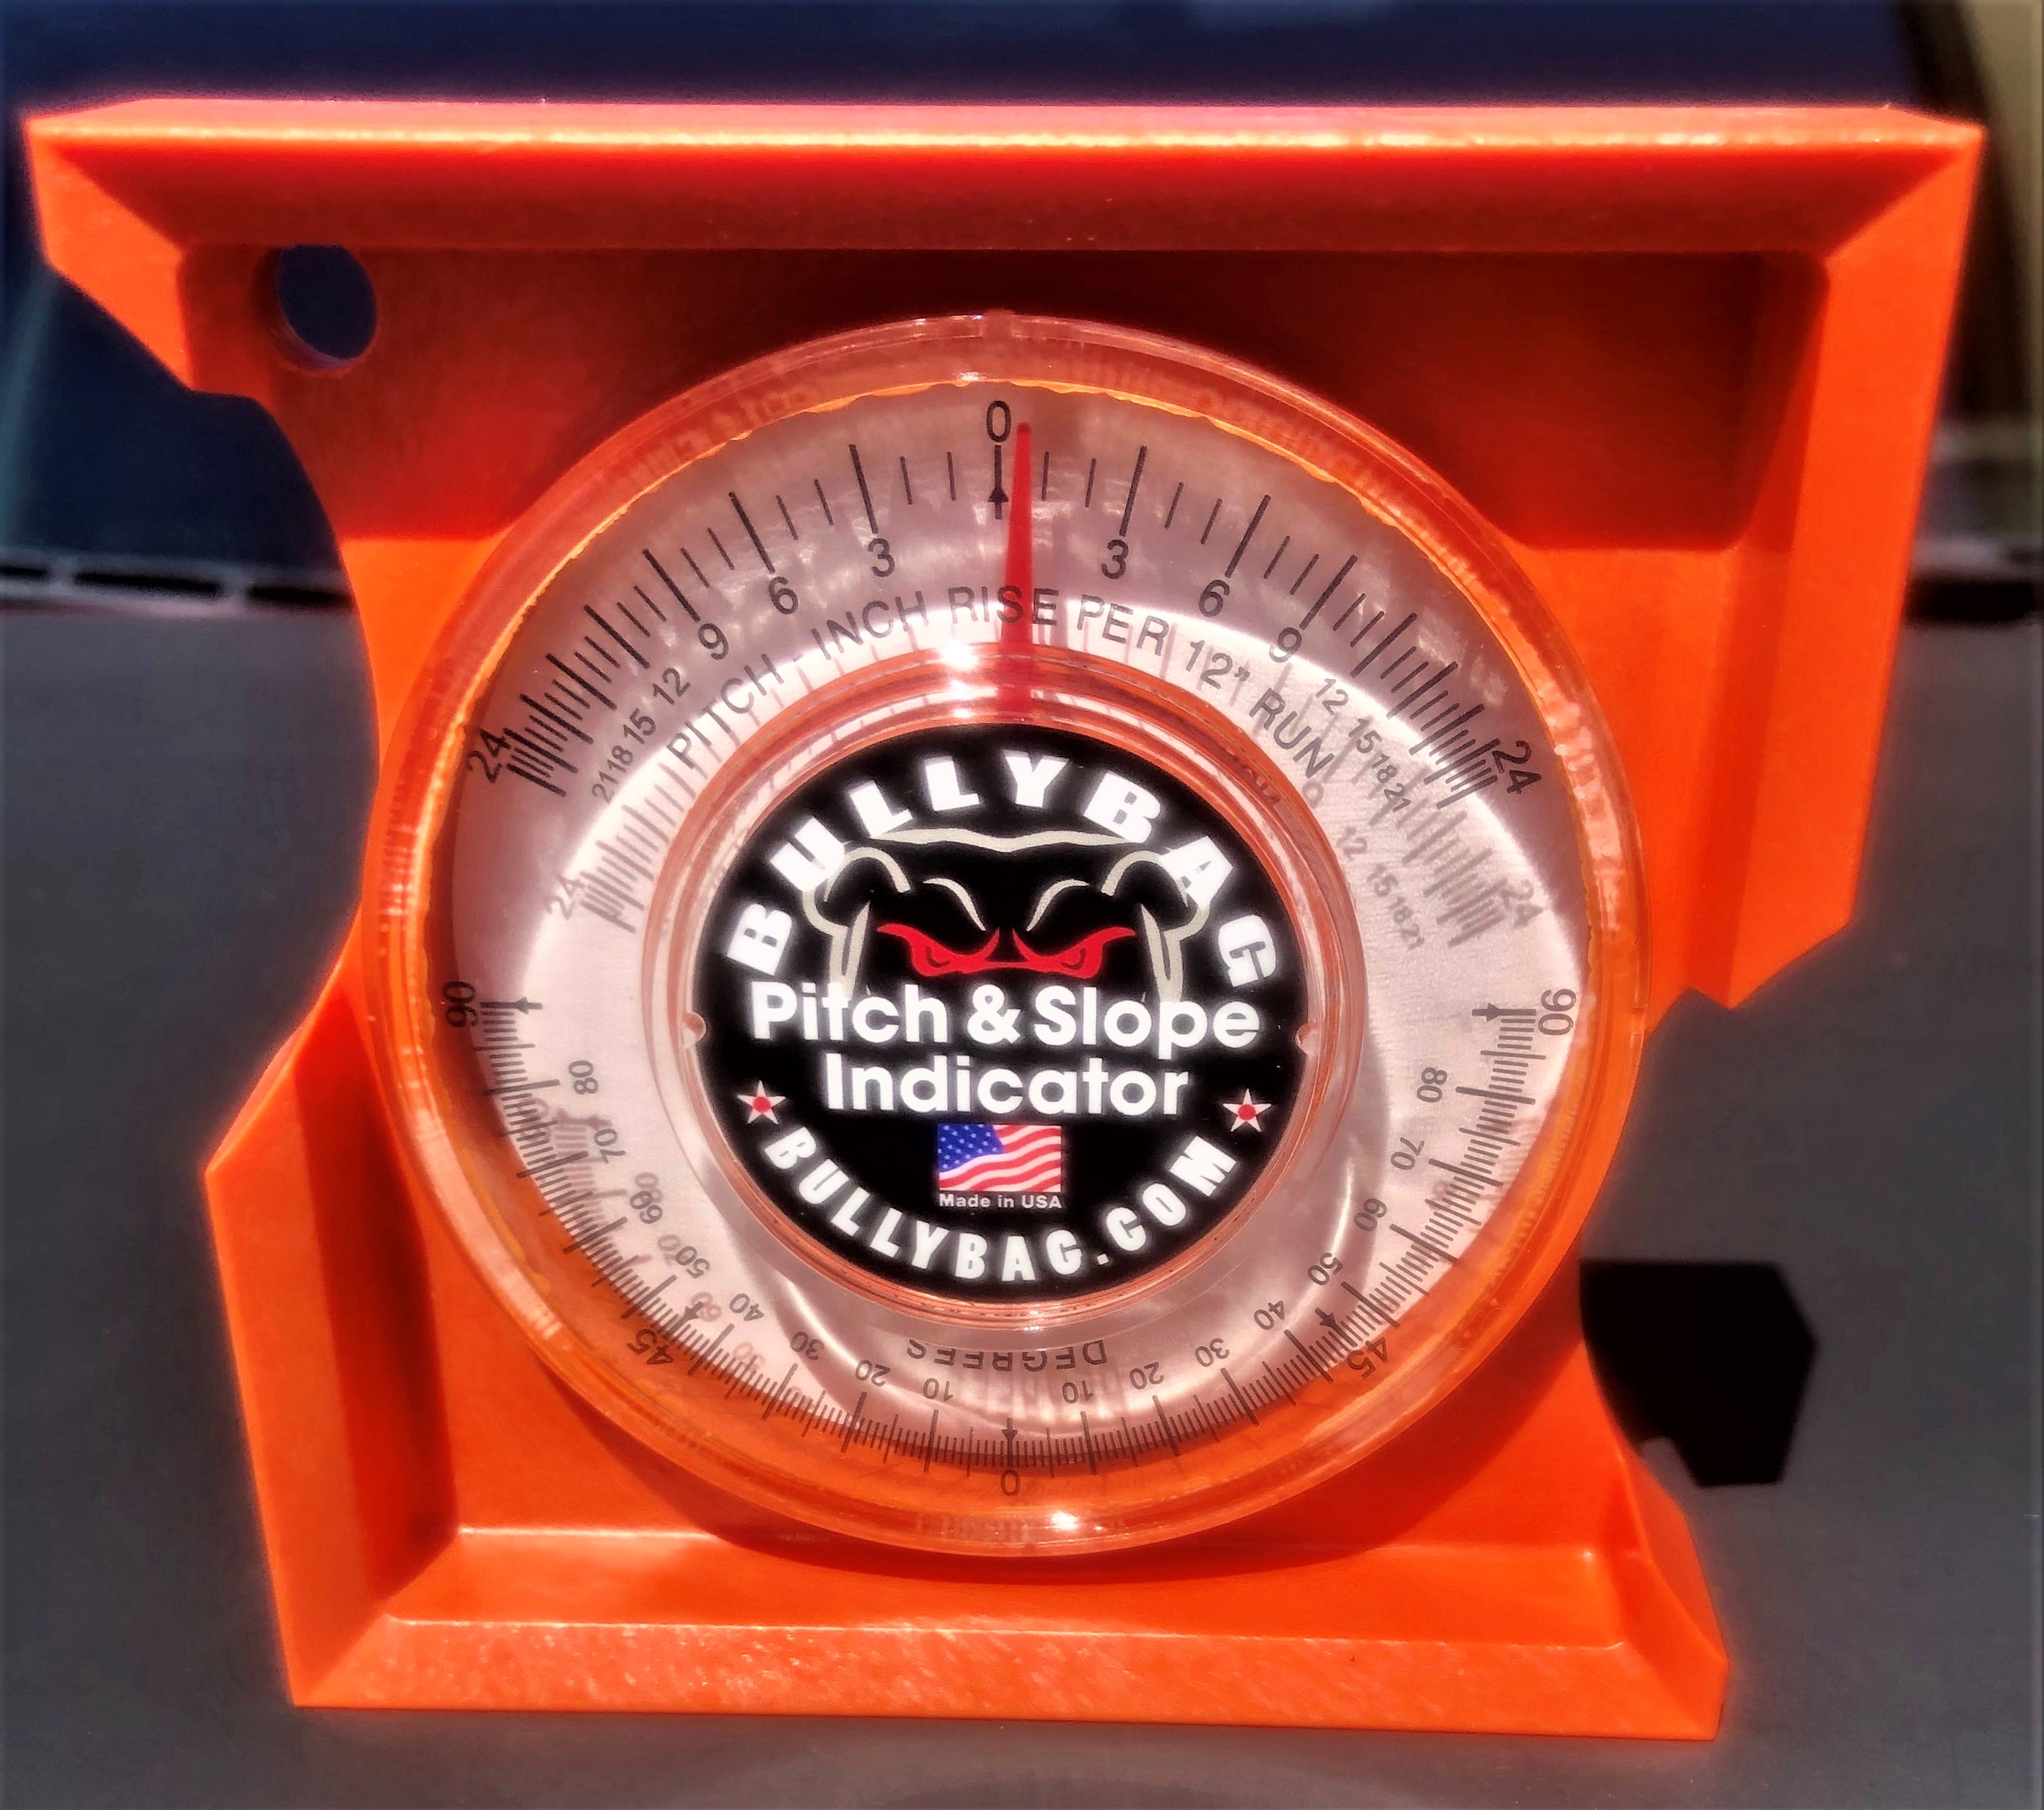
To measure your ceiling angle, you’ll need an angle finder tool or a smartphone app that uses your device’s accelerometer to determine angles. Simply place the tool against the angled ceiling surface and read the angle directly. For more precise results, you can measure the rise and run of your ceiling slope—measure how many inches the ceiling rises vertically over a 12-inch horizontal distance—and use that ratio to calculate the angle. Most residential angled ceilings fall between 15 and 45 degrees, though some architectural designs feature steeper pitches.
Once you have your angle measurement, compare it against the specifications of sloped ceiling mounting kits you’re considering. Standard sloped ceiling kits typically accommodate angles up to 22-32 degrees, which corresponds roughly to a 6-in-12 or 8-in-12 roof pitch. If your ceiling exceeds this range, you’ll need a high-angle kit rated for steeper pitches, typically up to 45-60 degrees. Always select hardware rated for an angle greater than your actual ceiling angle to provide a safety margin. For ceilings steeper than specialized kits allow, you may need custom mounting solutions such as a level platform mounted to the angled surface.
Verify Electrical Box is Fan-Rated and Level
Your existing electrical box must be specifically rated for ceiling fan support—not just light fixtures. Standard electrical boxes cannot handle the dynamic forces created by a rotating fan. Look for boxes labeled “acceptable for fan support” or “fan-rated,” which feature reinforced mounting systems.
For angled ceiling installations, the electrical box must be installed level—not parallel to the angled ceiling surface. This is non-negotiable: an angled electrical box causes the entire fan assembly to hang crookedly, creating imbalance and premature wear. If your existing box isn’t fan-rated or level, you’ll need to install a new one before proceeding. This typically involves cutting a hole in the ceiling, installing a fan-rated ceiling brace between joists, and mounting the box to that brace.
Select the Right Sloped Ceiling Mounting Kit

The primary solution for installing ceiling fans on angled ceilings is a sloped ceiling mounting kit, often called a sloped ceiling adapter or vaulted ceiling fan mount. These kits are specifically engineered to allow the fan hanging rod and canopy to hang vertically—perpendicular to the floor—regardless of the ceiling angle. The ball-and-socket joint design provides both the angular compensation needed and the secure connection required for safe operation.
When selecting your sloped ceiling mounting kit, compatibility with your specific fan model is essential. Most major ceiling fan manufacturers offer universal kits that work across their product lines, but some higher-end or specialty fans require manufacturer-specific mounting systems. Check the maximum angle capability of any kit you’re considering—most standard kits handle angles up to 32-45 degrees, while specialized high-angle kits accommodate steeper pitches. Verify the angle rating exceeds your ceiling’s actual pitch before purchase.
Gather All Required Tools Before Starting
Before you begin installation, gather these essential tools and materials:
- Voltage tester (non-contact and contact types)
- Angle finder or protractor
- Screwdriver set (Phillips and flathead)
- Wire strippers and wire nuts rated for fan use
- Drill with appropriate bits
- Torpedo level and standard spirit level
- Sturdy ladder tall enough to reach your ceiling height
- Helper (strongly recommended for safety and efficiency)
Having everything organized and on hand before you begin installation prevents frustrating interruptions mid-project. Installing a ceiling fan on an angled ceiling typically takes 2-3 hours for experienced DIYers, but allow 4-5 hours if this is your first attempt.
Execute the Angled Ceiling Fan Installation
With preparation complete, you’re ready to begin the installation process. The standard sloped ceiling kit installation follows a systematic sequence that, when executed carefully, results in a safe and properly functioning fan. Work methodically through each step, double-checking your work before moving to the next phase.
Turn Off Power and Remove Existing Fixture
Before beginning any work, turn off power at the circuit breaker controlling the fan location and verify power is off using a contact voltage tester. Simply turning off a wall switch is insufficient because the switch may control only the light function while fan motors remain energized. After verifying power is off, remove any existing fixture and assess the electrical box. If the existing box is not fan-rated, stop and install a proper fan-rated box before proceeding.
Install the Sloped Ceiling Mounting System
Secure the mounting bracket to the electrical box using the provided screws, ensuring the bracket is level in all directions. For sloped ceiling installations, this often requires careful adjustment since the ceiling surface itself is angled—the bracket must be level regardless of the ceiling slope. Once the bracket is secure, assemble the sloped ceiling adapter by inserting the ball joint into the bracket’s socket. The ball joint should move freely but not feel loose, allowing the hanging system to orient vertically under the weight of the fan.
Attach your downrod to the ball joint assembly, threading it on and securing with the set screw(s). If your installation requires an extended downrod due to ceiling height or angle, ensure you’ve selected the appropriate length to maintain proper clearance from the ceiling and adequate height above the floor (minimum 7 feet).
Connect Wiring and Mount the Fan
With the hanging system assembled, carefully lift the fan motor assembly (with a helper) and engage the hanger bracket on the fan canopy with the downrod. Most systems use a hook-and-socket arrangement where the fan’s hanging bracket rests on the downrod end. Once the fan is supported by the hanging system, make your electrical connections following standard practices:
- Connect ground to ground (bare or green wires)
- White to white (neutral)
- Black to black (hot)
Push all connections into the electrical box, ensuring no wires are pinched or stressed. Position the canopy against the ceiling, securing it with the provided screws. Finally, attach the blades to the motor assembly according to the manufacturer’s instructions.
Fix Common Angled Ceiling Fan Problems

Even with careful installation, issues can arise with ceiling fans on angled ceilings. Understanding common problems and their solutions helps you diagnose and address issues quickly, maintaining safe and efficient operation.
Eliminate Fan Wobble Immediately
Wobble is one of the most common issues with ceiling fan installation on angled ceilings. Check these potential causes:
- Improper leveling: Verify the mounting bracket is perfectly level
- Loose components: Tighten all blade attachment screws and mounting hardware
- Blade imbalance: Use the balancing kit included with most fans
If wobble persists after checking these items, try adding a small weight to the top of one blade (start with a penny taped near the blade tip) to counterbalance the rotation.
Stop Annoying Clicking and Rattling Sounds
Noise from ceiling fans on angled ceilings often originates from these sources:
- Blades contacting ceiling: Verify at least 12-18 inches of clearance between blades and ceiling
- Loose hardware: Check all downrod connections and canopy screws
- Electrical issues: If you hear humming or buzzing, turn off the fan and have an electrician inspect the wiring
Never ignore unusual noises—they often indicate developing problems that could lead to safety hazards if left unaddressed.
Maintain Your Angled Ceiling Fan for Longevity
Establish a regular maintenance schedule to ensure your ceiling fan continues operating safely and efficiently. Perform visual inspections quarterly, checking for any obvious tilts, sagging, or changes in operation. During each inspection:
- Check that the canopy remains flush against the ceiling
- Observe fan rotation at multiple speeds for changes in vibration
- Examine blades for damage or dust accumulation
For thorough maintenance, perform these tasks annually:
- Turn off power at the circuit breaker
- Tighten all accessible fasteners (blade screws, downrod set screws, mounting hardware)
- Clean blades with a damp cloth (avoid excessive moisture near electrical components)
- Check motor housing vents for dust buildup
Dust accumulation on blades creates multiple problems: it unbalances the fan as buildup becomes uneven, reduces airflow efficiency, and creates dust fall when the fan operates. Regular cleaning maintains both appearance and performance.
Installing a ceiling fan on an angled ceiling requires more planning and specialized hardware than a standard installation, but the results are well worth the extra effort. By understanding your ceiling angle, selecting appropriate mounting hardware, ensuring electrical safety, and following proper installation procedures, you can successfully add comfortable, energy-efficient cooling to any vaulted or sloped space in your home. Regular maintenance and prompt attention to any issues will keep your fan operating safely and efficiently for years to come. With the right approach, you’ll enjoy the perfect airflow in your angled-ceiling room without wobble, noise, or safety concerns.
Leave a Reply