That annoying wobble in your ceiling fan isn’t just irritating—it’s actually causing wear and tear on your fan’s motor and mounting hardware. If you’ve been dealing with that rhythmic shaking every time you turn on your fan, you’ll be relieved to know that rebalancing your ceiling fan is a straightforward DIY project most homeowners can complete in under an hour. The process of how to rebalance a ceiling fan properly eliminates that distracting vibration, reduces stress on the motor, and extends your fan’s operational life. Whether your fan developed a wobble after years of smooth operation or started wobbling right after installation, this guide provides the precise steps you need to diagnose and fix the problem for good.
You don’t need specialized tools or technical expertise to rebalance a ceiling fan—just some basic household items and systematic troubleshooting. By following these methods, you’ll restore quiet, smooth operation to your fan and avoid the expense of professional service or premature replacement.
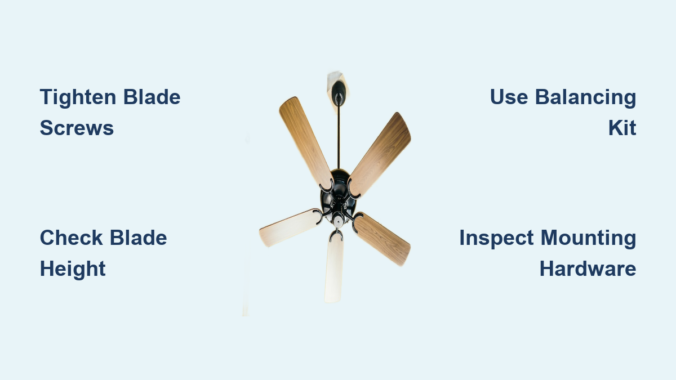
Diagnose Your Fan’s Wobble Source
Before making any adjustments, determine exactly what’s causing your ceiling fan imbalance. Most wobbles stem from specific, identifiable issues that require different correction approaches.
Check for Loose Mounting Hardware First
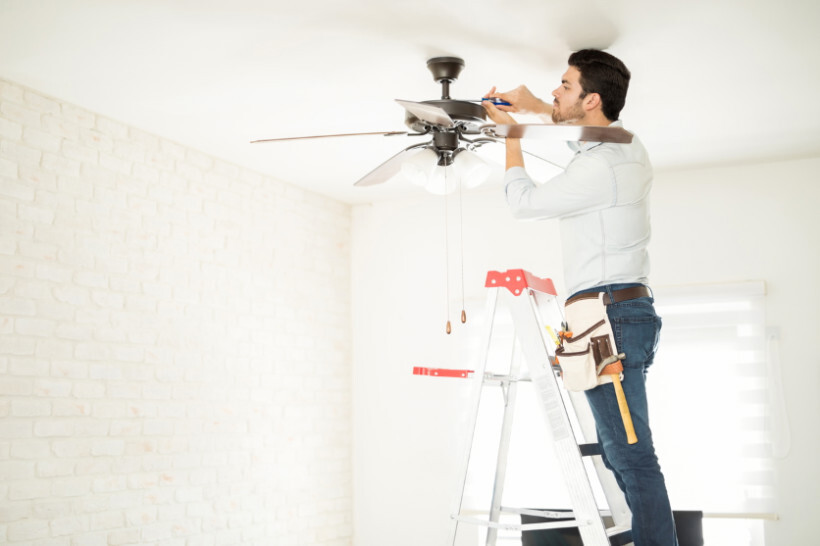
The most serious wobble causes relate to improper installation. Stand on a stable ladder and gently push up on the fan’s mounting bracket. If you feel any movement between the bracket and ceiling, this indicates loose mounting hardware—a potentially dangerous situation that must be addressed before blade adjustments. Properly installed fans should show zero movement at the mounting point. Verify that all mounting screws are tight and that your fan connects to an electrical box specifically rated for ceiling fan installation, not a standard light fixture box.
Identify Blade-Related Imbalance Issues
Most common wobble problems originate with the blades themselves. With the fan turned off, run your hand around the perimeter at blade-tip height to detect height variations. Even a 1/8-inch difference between blades creates noticeable vibration. Visually inspect each blade connection point for loose screws or visible gaps between the blade and its mounting arm. Many homeowners mistakenly focus only on blade balancing weights when simple screw tightening would solve their problem.
Essential Tools for Ceiling Fan Rebalancing

Gather these specific items before starting your rebalancing project to ensure efficiency and accuracy.
Basic Tools You Already Own
You’ll need a sturdy step ladder that positions you comfortably at fan height without overreaching. A standard screwdriver set handles most blade mounting hardware, while a tape measure helps verify consistent blade heights. Keep a flashlight handy to illuminate dark ceiling spaces, and use a smartphone level app or traditional bubble level to check blade alignment. Never attempt fan adjustments without proper lighting and stable footing.
Specialized Balancing Equipment
For persistent wobbles, invest in an inexpensive ceiling fan balancing kit (typically $5-$15). These kits include adhesive weights and a balancing clip that attaches to blades during testing. Avoid makeshift weights like coins or washers—they can detach during operation and become dangerous projectiles. The balancing clip allows you to pinpoint exactly where weight adjustments are needed without trial-and-error guessing.
Execute Critical Safety Precautions
Ignoring safety steps when working with ceiling fans risks serious injury or electrical hazards.
Power Down Completely
Turn off the fan at both the wall switch AND the circuit breaker. Verify power is off by attempting to turn on the fan—never assume the wall switch alone cuts all power. Wait several minutes for any residual electricity to dissipate before touching electrical components. This double-check prevents accidental fan activation while your hands are inside the assembly.
Secure Your Work Environment
Have someone hold your ladder while you work, especially on high ceilings. Wear safety glasses to protect your eyes from falling dust or debris dislodged during adjustment. Remove loose jewelry and secure long hair that could catch in moving parts. Never stand on chairs or unstable surfaces—use proper ladder safety techniques throughout the process.
Tighten All Blade Connections Systematically
Loose blade hardware causes more wobble problems than any other single factor and is the easiest fix.
Methodical Blade Screw Tightening Procedure
Work in a star pattern around the fan rather than tightening one blade completely before moving to the next. This distributes pressure evenly across the mounting system. Check both the screws connecting blades to their arms AND the arms to the motor housing—both connection points can loosen over time. Use firm but controlled pressure; overtightening strips screw holes in plastic or wood components, creating worse problems than the original wobble.
Verify Blade Stability After Tightening
After tightening all connections, gently push up on each blade near its tip. Properly secured blades should show minimal movement—less than 1/16 inch. If any blade still moves significantly, apply a drop of thread-locking compound (not regular glue) to the screw threads before retightening. Allow 10 minutes for the compound to set before testing the fan.
Correct Blade Height and Spacing Issues

Even with tight hardware, improperly aligned blades create aerodynamic imbalance that manifests as wobble.
Precise Blade Height Equalization Technique
Place your level across two opposite blades. Both tips should contact the level simultaneously. If one blade sits higher, loosen its mounting screws slightly and gently press it down until level. Recheck alignment after each adjustment—small changes of just 1-2 millimeters often eliminate significant wobble. Work through all blade pairs methodically, checking each against its opposite counterpart.
Equal Blade Spacing Verification Method
With the fan off, measure the distance between each blade tip and a fixed reference point on your wall or ceiling. All measurements should be within 1/8 inch of each other. If spacing varies, loosen the blade arm bolts just enough to allow rotation, then adjust until gaps appear visually equal from below. Many fans have alignment marks on the motor housing—use these as positioning guides when available.
Apply Professional Balancing Techniques
When basic adjustments don’t solve the wobble, implement proper counterweighting procedures.
Targeted Weight Placement Process
Run the fan on medium speed and observe where vibration peaks during each rotation cycle. Turn off the fan and attach the balancing clip to the top of one blade, nearest the position where wobble was most pronounced. Restart the fan—reduced vibration confirms you’ve identified the heavy spot. Move the clip along the blade to find the optimal position, then replace it with the appropriate adhesive weight from your kit.
Weight Adjustment Best Practices
Start with the smallest weight (typically 3 grams) and test incrementally. Attach weights to the blade’s underside, 2-3 inches from the tip—not at the very end where centrifugal force could dislodge them. If one weight isn’t sufficient, add a second rather than using an oversized single weight. Never exceed 15 grams total per blade, as excessive weight creates new imbalance problems.
Address Environmental Contributing Factors
Sometimes your space—not the fan—causes or amplifies wobble issues.
Sloped Ceiling Adjustments
Fans installed on angled ceilings require special mounting brackets that compensate for the slope. Standard mounting hardware on sloped surfaces guarantees wobble regardless of blade adjustments. Verify your fan uses a slope-rated mounting system appropriate for your ceiling angle—typically up to 30 degrees without special hardware.
Airflow Interference Solutions
Nearby windows, doors, or HVAC vents create air currents that interact with spinning blades. Temporarily close these openings while testing your fan after rebalancing. If wobble disappears when eliminating external airflow, consider relocating vents or installing windbreaks rather than continuing to adjust the fan itself.
Implement Preventative Maintenance Routine
Regular care prevents most wobble problems from developing in the first place.
Quarterly Inspection Protocol
Every three months, perform a quick visual check of all visible hardware while the fan is off. Gently test blade stability and listen for unusual sounds during operation. After cleaning blades, always verify they’ve been returned to their proper positions—many wobbles begin after routine cleaning when blades get slightly misaligned.
Proper Cleaning Techniques That Prevent Wobble
When dusting blades, support each one with your free hand to prevent bending. Never clean while the fan is running, and avoid excessive pressure that could warp blades. For stubborn buildup, use a soft cloth with mild cleaner rather than scraping. Always turn off power at the circuit breaker before thorough cleaning sessions.
After completing these rebalancing steps, run your fan through all speed settings to confirm smooth operation. Persistent wobble at higher speeds often indicates minor residual imbalance that may require one additional weight adjustment. Most fans achieve acceptable balance with just blade tightening and minor height corrections—only 20% of wobble cases require actual balancing weights. The time you invest in properly rebalancing your ceiling fan pays off through quieter operation, reduced motor strain, and years of trouble-free service. By addressing wobble issues promptly using these systematic methods, you’ll enjoy the full comfort benefits of your ceiling fan without the annoying vibration.
Leave a Reply