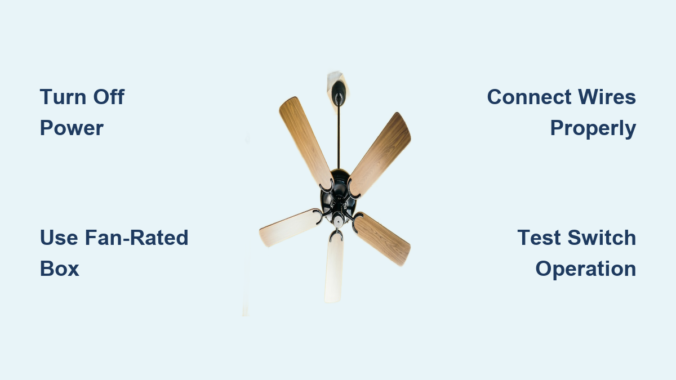
When your ceiling fan only operates via pull chains instead of wall switches, you’re missing out on convenient, centralized control. Properly wiring a ceiling fan to a wall switch transforms your experience – no more fumbling for chains in the dark or climbing ladders to adjust settings. This essential home improvement project gives you instant control over fan speeds and lighting from the doorway, integrating seamlessly with your home’s electrical system. By following this guide, you’ll gain the knowledge to safely complete this wiring project and enjoy the comfort benefits of properly controlled ceiling fans.
Essential Safety Precautions Before Starting
Before touching a single wire, you must turn off power at the circuit breaker and verify it’s truly off using a non-contact voltage tester. Never assume a breaker is off based on its position – faulty breakers or mislabeled panels create dangerous situations. Test both at the ceiling box and switch location to ensure no current flows through either point. Place a piece of electrical tape over the breaker to prevent accidental restoration while working.
Working with electricity requires full attention and proper gear. Wear safety glasses to protect your eyes from falling debris when removing fixtures, and use a sturdy ladder on level ground. If possible, have someone nearby who can cut power at the main panel if needed. Avoid working in damp conditions or when fatigued – electrical work demands complete focus. Professional electricians follow these protocols for every job, and you should too, even for what seems like a simple switch installation.
Required Tools and Materials Checklist
Gather these essential items before starting to avoid mid-project delays: voltage tester, wire strippers, needle-nose pliers, flathead and Phillips screwdrivers, electrical tape, and wire connectors (wire nuts). For materials, you’ll need a wall switch rated for ceiling fan loads (typically 15-amp), appropriate NM-B cable (14-2 or 12-2 gauge), and possibly a fan-rated electrical box if replacing an existing light fixture.
Most ceiling fans require a dedicated electrical box rated specifically for fan support – standard light fixture boxes cannot handle the vibration and weight. Verify your ceiling box is fan-rated by looking for the “For Ceiling Fan Support Only” stamp. If replacing a light fixture, you’ll likely need to upgrade to a fan-rated box. For installations requiring separate fan and light controls, purchase a 14-3 cable with black, white, and red conductors instead of the standard 14-2 cable.
Identify Your Wiring Configuration

Ceiling fan wiring follows several standard patterns, and identifying yours prevents installation errors. The most common setup involves a “switch loop” where power runs to the ceiling first, then down to the switch. In this configuration, you’ll find black (hot), white (neutral), and ground wires at both locations. When power reaches the switch first, the wiring differs slightly but follows similar principles.
If your fan includes a light kit, you’ll need to identify the additional blue wire that typically controls the light function. Some installations use separate switches for fan and light, requiring a three-wire cable (black, red, white) between ceiling and switch. The black wire controls the fan motor while the red wire controls the light. Check existing wiring at both locations before purchasing materials to ensure you have the correct components for your specific setup.
Disconnect Power and Remove Existing Fixtures
Locate the correct circuit breaker by testing switches until the ceiling fixture loses power. Flip this breaker to OFF and verify with your voltage tester at both the ceiling and switch locations. At the ceiling, remove the existing fixture by unscrewing mounting hardware and carefully lowering it. Take a photo of the wiring connections before disconnecting anything – this visual reference prevents confusion during reinstallation.
At the switch location, remove the faceplate and mounting screws, then gently pull the switch from the box. Note the wiring pattern: typically one black wire connects to the switch (the “hot” feed), another black wire runs to the ceiling (the “switched hot”), and a ground wire connects to the green terminal. In older installations, the white wire might be used as a hot conductor in the switch loop and should be marked with black tape, though this marking is often missing.
Install or Verify Proper Ceiling Support
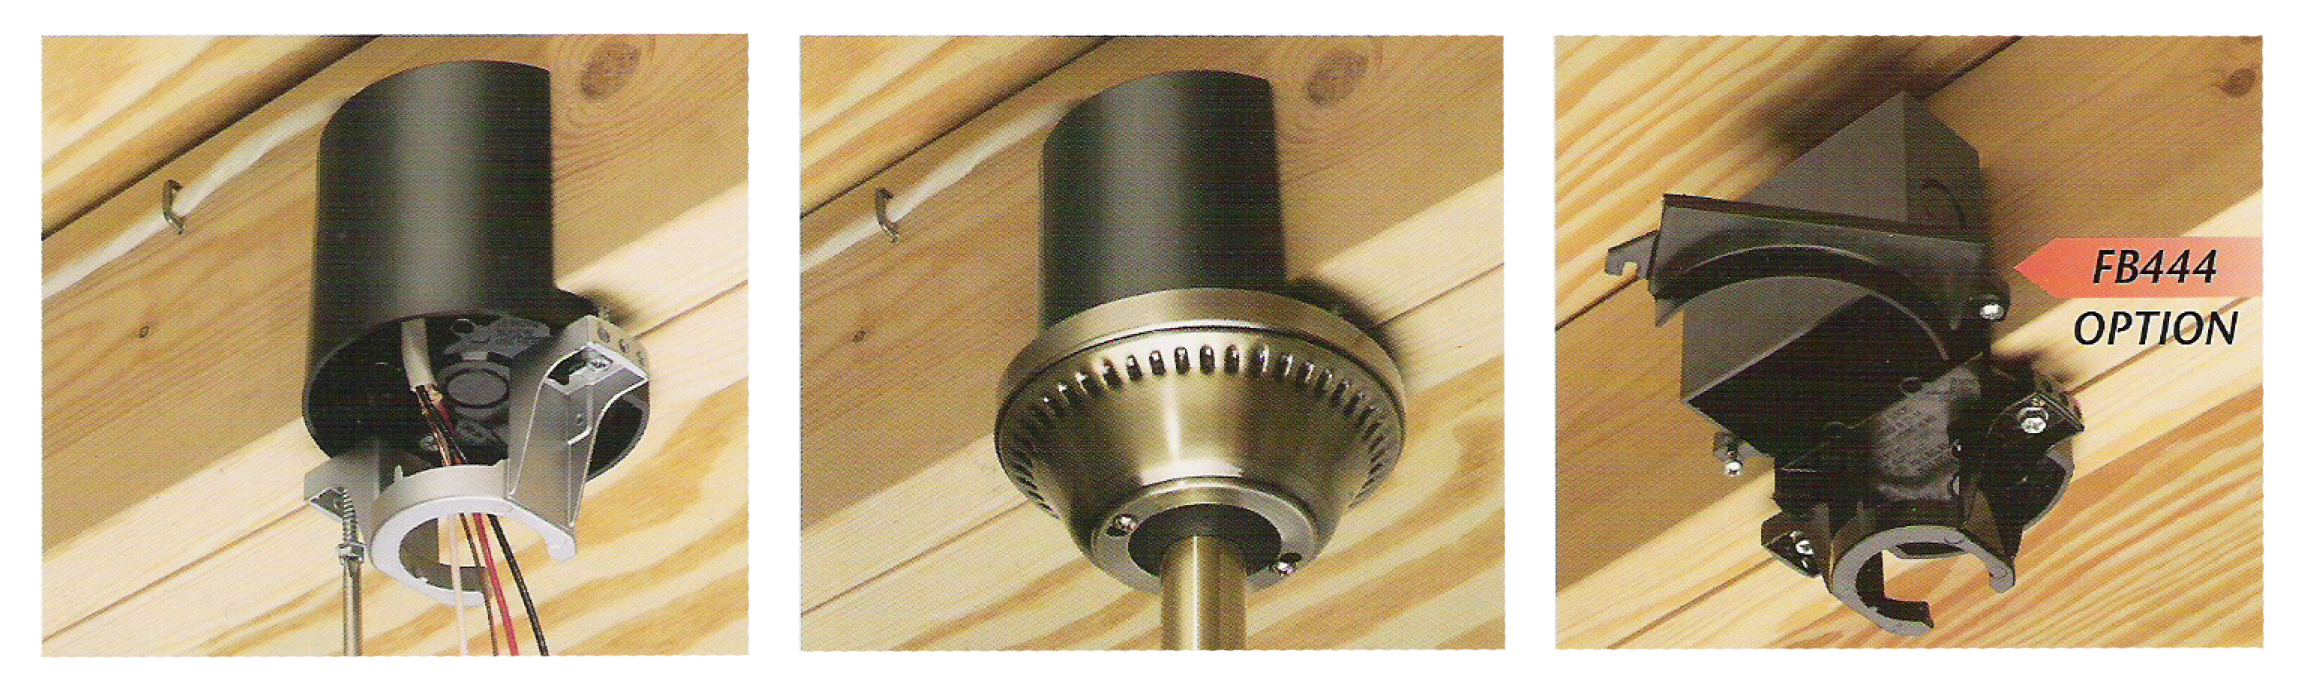
Ceiling fans generate significant vibration during operation, making proper mounting absolutely critical. Standard electrical boxes designed for lightweight fixtures cannot safely support ceiling fans – the weight and movement can cause the box to pull away from the ceiling, creating a serious hazard. Even if a box exists, verify it’s rated for ceiling fan support by looking for the stamped rating inside the box.
If replacing a light fixture, you’ll likely need to install a fan-rated electrical box. These boxes either mount directly to ceiling joists or use adjustable braces that span between joists. For installations without attic access, fan-rated brace boxes expand between joists through the ceiling hole, providing secure support without major drywall work. The box should sit firmly without movement when you shake it – any wobble indicates inadequate support that must be corrected before proceeding.
Connect Wires at the Ceiling Location

With power confirmed off, prepare your wires by stripping 3/4 inch of insulation from each end. Connect ground wires first: twist together the bare ground from the cable, ground from the fan, and ground from the mounting bracket, securing with a wire connector. Next, connect neutral wires: join the white cable wire with the white fan wire.
For the hot connection, link the black cable wire to the black fan wire. If your fan has a light kit and you’re using separate controls, connect the black cable wire to the black fan wire (for the motor) and the blue fan wire to the red cable wire (if using 14-3 cable). Never connect neutral to ground or hot to neutral – these mistakes create dangerous electrical faults. After making connections, gently tuck wires into the box without pinching them against the fan mounting bracket.
Install the Wall Switch
At the switch location, connect the black wire from the ceiling to one brass terminal and the black wire leading to the power source to the other brass terminal. If your switch requires a neutral connection (common with smart switches), connect the white wires together with a wire connector. For separate fan and light controls, follow the manufacturer’s diagram carefully – typically black controls the fan while red controls the light.
Secure the switch in the electrical box, ensuring it sits flush against the wall before tightening mounting screws. Attach the faceplate last, making sure it covers the entire switch opening without gaps. Double-check that all wire connections are secure and no bare copper is exposed outside the wire connectors before restoring power.
Mount the Ceiling Fan
Attach the mounting bracket to the electrical box using the provided screws, ensuring it’s securely fastened before lifting the fan. Most fans connect to the bracket via a ball-and-socket mechanism or mounting plate. Lift the fan assembly and align it with the bracket according to the manufacturer’s instructions, then secure it with the provided hardware.
If your fan includes a light kit, connect its wires to the corresponding fan leads (blue to black for light, white to white) before mounting the kit. Install light bulbs and any glass shades according to the manufacturer’s specifications. Before tightening all mounting hardware completely, ensure the fan hangs straight and balanced – this prevents wobble during operation.
Test and Troubleshoot Your Installation
Restore power at the breaker and test the switch operation. The fan should start smoothly without unusual noises or excessive vibration. Test all speed settings and light functions if applicable. If the fan doesn’t operate, first verify power at both locations with your voltage tester, then check all wire connections for security.
Common issues include reversed wiring (fan runs but light doesn’t work), which typically indicates the blue light wire isn’t properly connected, or wobbling caused by uneven blade mounting. If you smell burning or see sparks, immediately cut power at the breaker and recheck all connections. Persistent problems often stem from loose wire nuts or misidentified hot wires – take your time to verify each connection against the manufacturer’s wiring diagram.
Maintenance for Long-Term Reliability
After successful installation, regular maintenance ensures years of trouble-free operation. Dust blades monthly to prevent imbalance, and check mounting hardware quarterly for looseness caused by vibration. Listen for unusual noises that might indicate bearing wear or loose components. Test the wall switch periodically for smooth operation – switches that feel warm or operate intermittently should be replaced immediately.
Never ignore warning signs like flickering lights or intermittent operation, as these often indicate developing electrical problems. When cleaning the fan, avoid spraying liquids directly onto the motor housing. If you notice excessive wobble after initially smooth operation, check blade alignment and tighten all blade arm screws before operating further.
Properly wiring your ceiling fan to a wall switch transforms an inconvenient fixture into a seamlessly integrated home feature. By following these safety-focused steps and verifying each connection, you’ve created a more comfortable living space with convenient control. Remember that electrical work demands respect for safety protocols – if any part of this process caused uncertainty, consult a licensed electrician to verify your installation. With proper maintenance, your newly installed wall-controlled ceiling fan will provide years of reliable comfort and energy efficiency throughout your home.
Leave a Reply