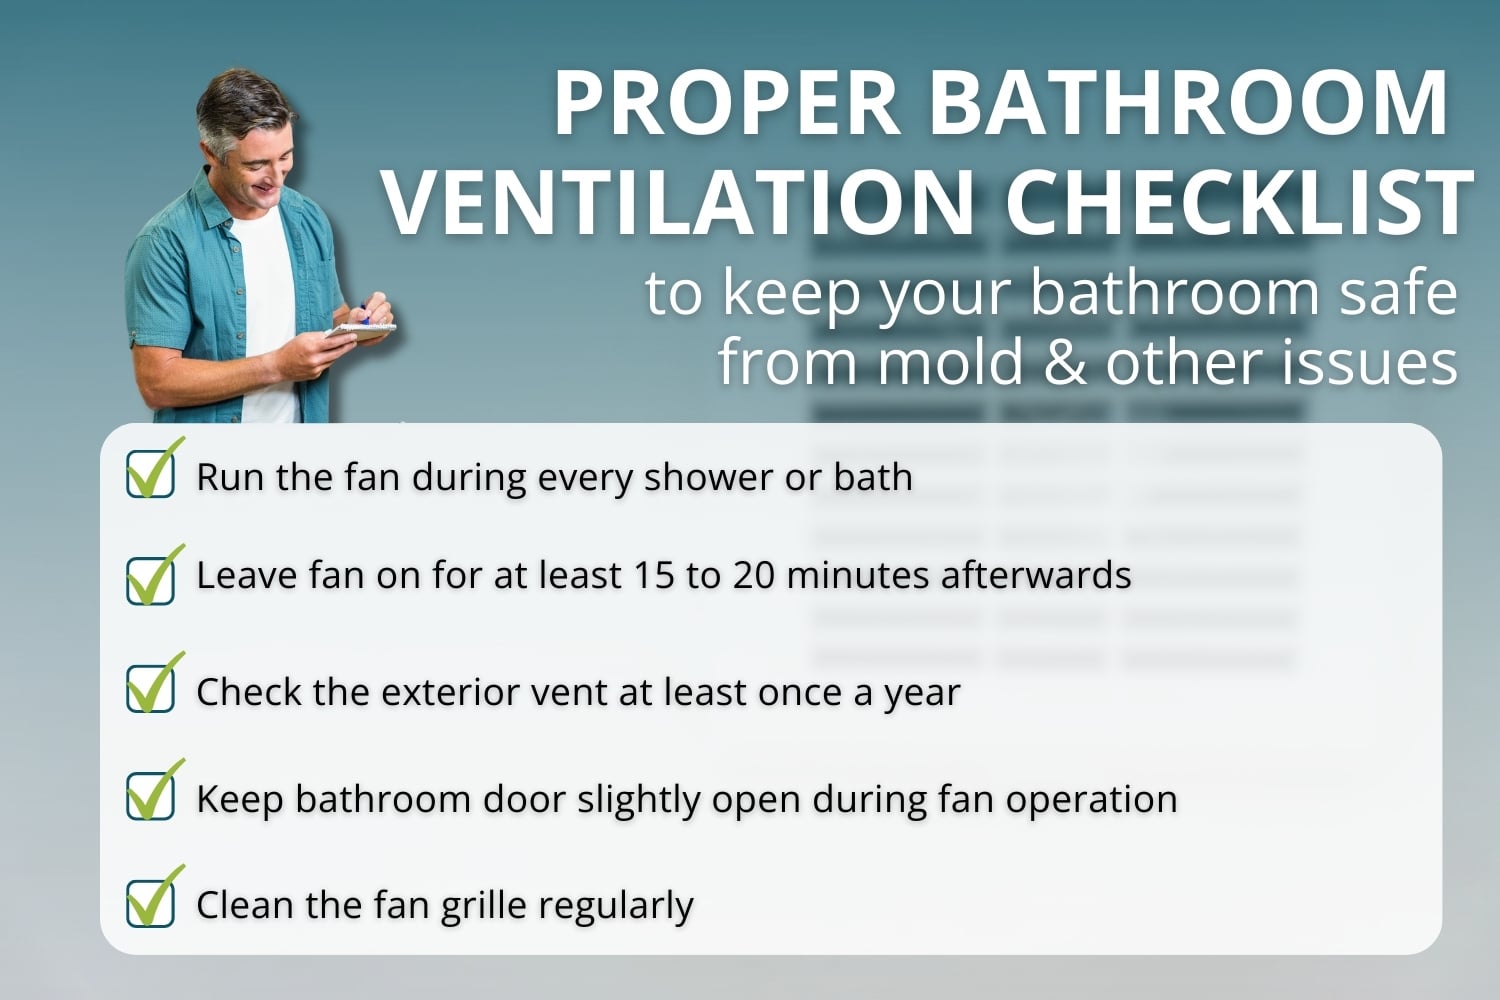
Is your bathroom still foggy after a hot shower? That exhaust fan might be running, but is it actually working? A bathroom exhaust fan that fails to remove moisture leads to mold, peeling paint, and long-term structural damage. Many fans pass basic “it spins” checks but move too little air to matter. This guide shows you how to check bathroom exhaust fan function like a pro using simple DIY tests, advanced diagnostics, and code-backed standards.
You will learn how to test airflow with household items, diagnose electrical faults, inspect ductwork, and verify performance against real ventilation requirements. Whether you are troubleshooting a weak fan or confirming a new installation, these steps ensure your bathroom stays dry, healthy, and mold-free.
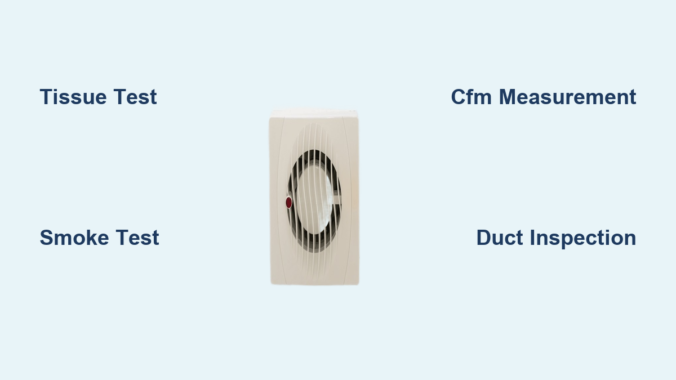
Perform the Tissue Paper Test
The quickest way to check if your fan creates suction is the tissue paper test, a reliable, no-cost method anyone can perform in under a minute.
Hold Paper to the Grille
Turn the fan on and place a small piece of tissue or toilet paper against the vent cover. If the paper sticks firmly, the fan is generating negative pressure. If it flutters or falls, airflow is weak or absent.
A passing result means the paper stays suctioned during operation. A failing result means the paper drops or barely moves. This test confirms basic motor and airflow function but does not measure volume. A fan can pass here yet still underperform for your bathroom size.
Interpret Results Accurately
A failed test suggests several possible issues. Check the following areas when the paper does not stick.
A failed tissue test indicates the fan is not creating adequate suction. Possible causes include clogged blades or duct, disconnected or blocked ductwork, a stuck backdraft damper, or motor failure despite running sounds. If the paper does not stick, proceed to cleaning and deeper inspection. Even a weak flutter means some air moves, so investigate before replacing the entire unit.
Run this test monthly to catch developing issues early. A sudden drop in suction signals problems before they become serious.
Use the Smoke Test for Airflow Clarity
For a more sensitive assessment, especially with quiet or variable-speed fans, use a smoke test to visualize airflow direction and strength.
Apply Smoke Near the Vent
Light an incense stick or use a smoke pencil. Hold it 2 to 3 inches from the fan grille while the unit runs. Good flow means smoke pulls straight into the vent. Poor flow means smoke drifts away, rises slowly, or is not affected. Reverse flow means smoke is pushed out, indicating the fan may be exhausting into the attic or drawing air in instead.
This method reveals subtle problems the tissue test misses, such as restricted ducts or incorrect installation.
Identify Hidden Duct Issues
Smoke behavior helps spot partial blockages, leaky joints, and improper termination. If smoke enters the fan but no outdoor exhaust is visible, the duct likely dumps moisture into wall or ceiling cavities, creating hidden mold risks.
Never skip this test if your bathroom stays humid despite fan use. Visual confirmation beats assumptions every time.
Measure Actual Airflow with a Flow Hood
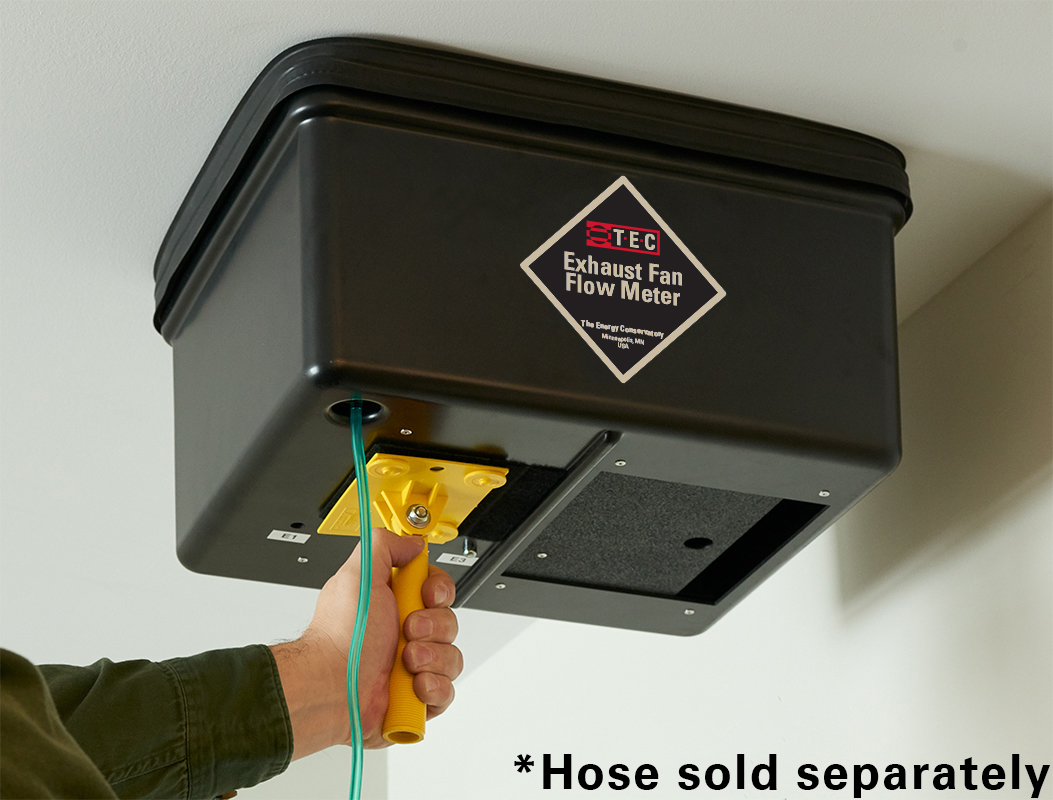
Passing visual tests does not guarantee effective ventilation. To check bathroom exhaust fan performance accurately, you must measure airflow in CFM, which stands for cubic feet per minute.
Use a Flow Hood and DG-700 Gauge
Professionals use an exhaust fan flow hood paired with a DG-700 digital pressure and flow gauge. The hood captures all air exiting the fan. The gauge calculates CFM based on pressure drop across calibrated openings labeled E1, E2, and E3. Most residential units fall within the E2 range, requiring 1 to 8 Pascals of static pressure for accurate readings.
Compare Results to Code Standards
Consider this example reading. A fan measuring 44 CFM at 4.5 Pa meets continuous ventilation requirements of at least 20 CFM but fails the intermittent standard, which requires at least 50 CFM. Even if the fan runs and passes tissue tests, underpowered units will not prevent mold in larger bathrooms.
Many builder-grade fans are rated 50 to 80 CFM but deliver far less due to poor duct design or restrictions. Always verify real-world output rather than trusting the rating label.
Know When to Upgrade
If measured airflow is below 50 CFM for intermittent use or 20 CFM continuous, consider cleaning or shortening duct runs, replacing with a higher-performance model, or adding a humidity-sensing fan for automatic extended runtime. Fans like the Humidex Garage model run near-continuously and shut off only when humidity drops, allowing lower CFM ratings to still meet moisture control goals.
Diagnose Electrical and Motor Problems
When a fan will not turn on, follow a step-by-step process to isolate the issue safely.
Access the Fan Internally
Remove the cover by pulling the center latch and releasing metal safety clips behind the grille. Set the cover aside carefully to avoid wire strain.
Test for Power with a Voltage Detector
Turn off power at the breaker before touching wires. This is critical for your safety. Once safe, restore power temporarily and use a non-contact voltage tester near the fan electrical leads. A light or sound signal means power is present. No signal means the issue lies upstream at the switch, wiring, or breaker.
If no power reaches the fan, check the wall switch operation, circuit breaker status, and junction box connections.
Check Motor Response
With power confirmed, manually spin the blade. If it spins freely, the motor may be burned out. If it is stiff or jammed, debris or bearing failure is likely. Listen for humming. Humming without movement indicates capacitor failure or a locked rotor.
Do not force-start a seized motor. It can overheat or damage wiring. If the motor receives power but will not run, replacement is needed.
Clean and Maintain the Fan Regularly
Dust and lint buildup reduces airflow by up to 50 percent over time. Regular maintenance keeps performance consistent.
Remove and Clean the Cover
Every 3 to 6 months, remove the grille and vacuum dust from blades and housing. Wipe with a damp cloth but do not soak the components. Use a soft brush for stubborn grime. Avoid harsh cleaners because they can degrade plastic components.
Inspect Blades and Housing
Look for bent or warped blades, corrosion on the motor housing, and loose mounting screws. Cleaning blades improves efficiency and reduces noise.
Mark the cleaning date on your calendar. A little upkeep prevents costly repairs down the road.
Inspect the Ductwork Path

A perfect fan fails if the duct is disconnected, blocked, or improperly installed.
Confirm Outdoor Termination
Go outside and locate the exterior vent cap, usually on the roof, soffit, or wall. Check that it is unobstructed with no bird nests, ice, or debris. Verify the backdraft damper opens when the fan runs. Ensure no insulation or drywall blocks the outlet.
No visible exit means the duct probably terminates in the attic, a major code violation that spreads moisture indoors.
Look for Common Duct Problems
Signs of duct issues include the fan running but no air exiting outside, cold drafts in the bathroom when the fan is off, and dust blowing from the grille. In one documented case, a fan passed the tissue test but moved zero CFM because the duct was capped inside the ceiling.
Hire an HVAC technician to trace and repair the duct path. Expect to pay 100 to 300 dollars or more depending on access difficulty.
Verify Proper Sealing Around the Housing
Even a high-performance fan leaks air if not sealed correctly at the ceiling interface.
Seal with Aluminum-Faced Duct Tape
After installation or inspection, wrap aluminum-faced tape around the joint between the metal housing and drywall. Fold edges over the ceiling for full coverage. Ensure no gaps allow attic air infiltration.
This prevents dust and insulation entering the bathroom, loss of suction efficiency, and winter cold air backdrafts. Never use standard duct tape. It dries, cracks, and fails within months.
Avoid Caulk on Metal Housings
Caulk does not adhere well to metal and shrinks over time. It is ineffective for sealing fan housings. Stick with high-grade tape designed for HVAC use.
Evaluate Fan Sizing and Code Compliance
A fan must be appropriately sized to handle your bathroom moisture load.
Match CFM to Bathroom Size
The rule of thumb is 1 CFM per square foot of floor area. A 75 square foot bathroom needs at least 75 CFM. A 50 square foot bathroom needs a minimum of 50 CFM. Check the fan rating label. Many undersized units in the 40 to 50 CFM range are installed in large bathrooms.
Meet Ventilation Code Requirements
Per IRC and ASHRAE 62.2 standards, intermittent use requires at least 50 CFM during showers. Continuous use requires at least 20 CFM running 24 hours a day. Bathrooms with operable windows may have exceptions, but mechanical ventilation is strongly recommended.
A small fan running continuously can outperform a large fan used briefly if it is properly sealed and vented.
Choose the Right Replacement When Needed
Sometimes repair is not worth it. Here is how to pick and install a replacement.
Replace the Entire Unit
The typical cost is about 20 dollars for a basic Broan or Nutone model. Advantages include faster installation than motor-only swaps, quieter and more efficient newer models, and cleaner internal design that resists dust buildup.
Ensure compatibility with mounting dimensions, duct size typically 4 inches round, and electrical box location.
Consider Motor-Only Replacement
Only replace the motor if the housing is undamaged, the new motor matches voltage, RPM, and shaft size, and you can test before final assembly. Reusing a metal housing avoids drywall damage, especially helpful in finished ceilings.
Upgrade to Smart or Humidity-Sensing Models
New options include humidistat-controlled fans that run until moisture drops, energy-efficient EC motors with variable speed, and quiet inline fans mounted in the attic. These provide better long-term moisture control than basic timers or manual switches.
Follow Best Practices for Reassembly
After cleaning, repair, or replacement, reassemble correctly to ensure lasting performance.
Secure Mounting Clips Properly
Reinstall two side mounting clips and the main central clip per manufacturer instructions. Ensure the unit sits flush with the ceiling and does not vibrate during operation.
Double-Check Electrical Connections
Verify black to black, white to white, and ground to ground. Make sure wire nuts are tight and no copper is exposed. Check that no wires are pinched or stretched.
Turn power back on only after confirming all connections are safe. Test the fan and repeat the tissue paper test immediately after reassembly to verify everything works.
Frequently Asked Questions About Checking Bathroom Exhaust Fans
How do I know if my bathroom exhaust fan is working properly?
Perform the tissue paper test. Hold a small piece of tissue against the grille while the fan runs. If it sticks firmly, suction is present. If it falls or flutters, airflow is weak. Follow up with the smoke test to visualize airflow patterns.
What CFM rating does a bathroom exhaust fan need?
For intermittent use, the fan should move at least 50 CFM during shower use. For continuous operation, it must move at least 20 CFM running 24 hours a day. A good rule is 1 CFM per square foot of bathroom floor area.
Why does my exhaust fan feel weak even when it runs?
The fan may be clogged with dust, the ductwork may be disconnected or blocked, or the motor may be failing despite making noise. Inspect all three areas. A flow hood test measures actual CFM to confirm performance.
Can I install a bathroom exhaust fan myself?
Yes, if you are comfortable with basic electrical work and ceiling access. Turn off the breaker, follow manufacturer instructions, seal the housing with aluminum-faced tape, and verify the duct terminates outside, never in the attic.
How often should I clean my bathroom exhaust fan?
Clean the fan cover and blades every 3 to 6 months. Dust and lint buildup can reduce airflow by up to 50 percent. Monthly tissue paper tests help catch performance drops early.
What happens if the duct terminates in the attic?
Moisture collects in the attic, causing mold growth, wood rot, and insulation damage. This is a code violation. The duct must terminate outside through the roof, soffit, or wall.
Key Takeaways for Testing Your Bathroom Exhaust Fan
A running fan is not enough. You must check bathroom exhaust fan airflow, not just operation. Use the tissue test for quick checks, the smoke test for airflow patterns, and a flow hood for true CFM measurement. Always verify duct termination outside the building, never in the attic.
Seal the housing with aluminum-faced tape to prevent contamination and efficiency loss. Replace undersized or failing units with models that meet the 50 CFM intermittent or 20 CFM continuous standards. Clean the fan every 3 to 6 months and inspect ducts annually.
Do not assume your fan works because it hums. Test it, measure it, and maintain it. Your home air quality depends on it.
Leave a Reply