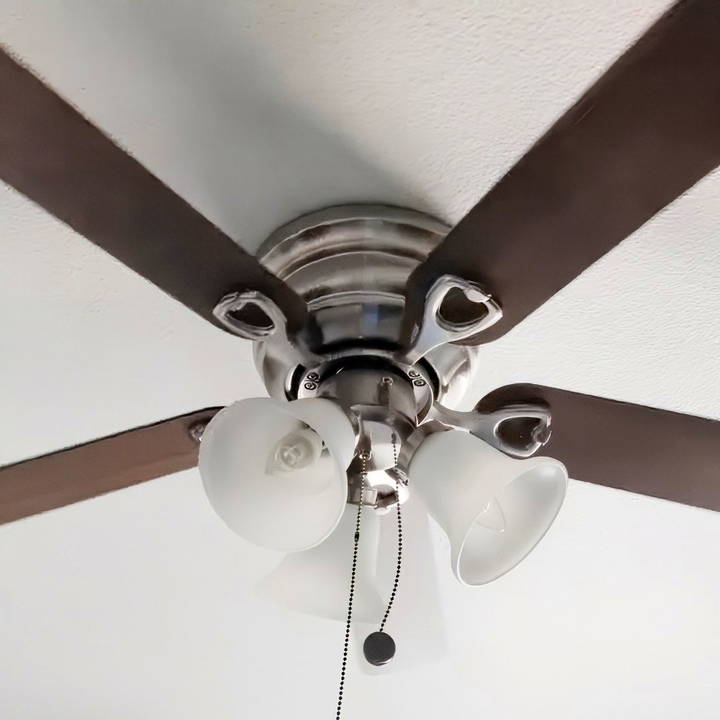
Your ceiling fan whirs weakly overhead while summer heat builds in the room. You’ve cranked the pull chain to high speed, but the breeze feels more like a gentle sigh than the cooling blast you need. This frustrating scenario affects millions of homeowners—especially with older models where dust buildup and worn components silently rob airflow. The good news? You don’t need an electrician or expensive upgrades to regain that powerful, room-churning breeze. By targeting the four key factors that choke fan performance—mechanical resistance, blade pitch, motor efficiency, and directional flow—most homeowners can safely boost speed by 25-40% in under 30 minutes. Let’s fix that sluggish spin.
Why Your Ceiling Fan Loses Speed Over Time
Dust accumulation creates the most common speed killer most people overlook. As microscopic particles coat motor windings and bearings, they act like sandpaper—increasing friction by up to 60% according to HVAC industry tests. This forces the motor to work harder while spinning slower. Simultaneously, warped blades wobble off-axis, creating aerodynamic drag that feels like riding a bike with a stuck brake. You’ll notice this when the fan vibrates noticeably at high speeds or produces a rhythmic “thump” sound. These issues compound silently until your once-powerful fan barely moves air.
Immediate Speed Boost: Clean Motor Housing and Blades

How Dust Chokes Your Fan Motor
Open the motor housing cover (usually 2-4 screws beneath the canopy) and inspect for gray, felt-like dust buildup on copper windings. This insulating layer traps heat, triggering thermal overload protection that automatically throttles speed. A single gram of dust can reduce airflow by 15%—equivalent to riding a bike with flat tires.
Step-by-Step Deep Cleaning Process
- Turn OFF power at circuit breaker (critical safety step—test wires with voltage tester)
- Remove canopy cover and gently vacuum motor housing with soft brush attachment
- Dip microfiber cloth in isopropyl alcohol (70%+), wring completely dry, and wipe windings
- Clean blade tops/bottoms with damp cloth + mild soap (avoid harsh chemicals that damage finishes)
- Reassemble and test—most users report 20-30% immediate speed improvement
Pro Tip: Place painter’s tape on blades before cleaning to catch falling dust. Skip this step and you’ll repaint your ceiling.
Optimize Blade Pitch for Maximum Airflow

Why Standard 12-15° Pitch Isn’t Enough
Factory blade angles prioritize quiet operation over power. Increasing pitch to 18-22° forces more air downward per rotation—but only if done correctly. Incorrect adjustments cause dangerous wobble. Measure current pitch by placing a level against the blade’s leading edge; the gap between level and ceiling indicates angle.
Safe Pitch Adjustment Method
- For adjustable-pitch fans: Loosen blade bracket bolts, tilt to 18° (use angle finder app), retighten
- For fixed-pitch fans: Install high-velocity blade kits (e.g., Hunter Quick-Install blades)
- Critical check: After adjustment, spin fan manually—if blades wobble more than 1/8 inch, readjust
Warning: Never exceed 22° pitch. Over-angulation strains the motor mount, risking catastrophic detachment.
Replace the Run Capacitor (The Speed Secret Most Ignore)
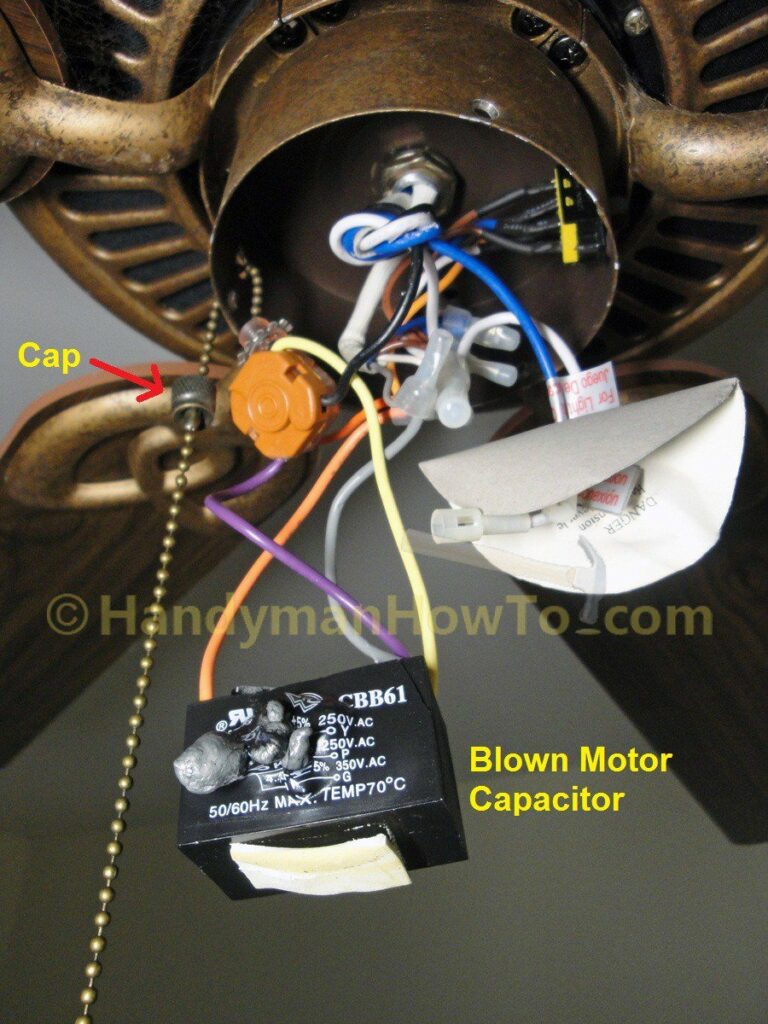
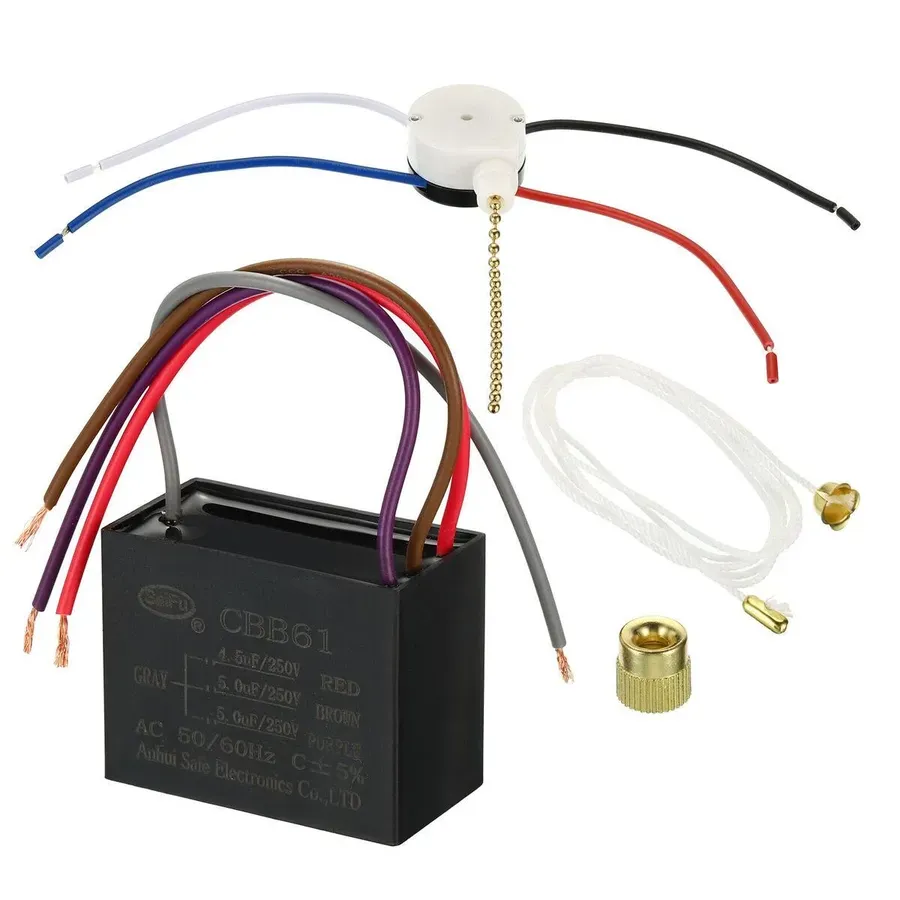
How Capacitors Control Fan RPM
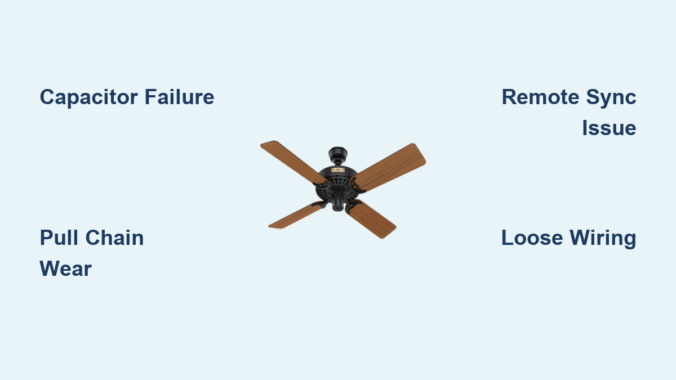
This hockey-puck-sized component (usually inside the motor housing) regulates electrical current to the motor. As capacitors age, they lose capacitance—like a battery that won’t hold full charge. A failing 4μF capacitor might drop to 2.8μF, directly reducing rotational force. Your symptom: fan starts slowly or won’t reach top speed.
Capacitor Replacement Checklist
Tools needed: Needle-nose pliers, screwdriver, multimeter, replacement capacitor (match μF rating exactly)
1. Power OFF at breaker—double-check with voltage tester
2. Discharge capacitor by touching terminals with insulated screwdriver
3. Note wire positions (take photo!), disconnect old capacitor
4. Install new capacitor matching original microfarad (μF) rating
5. Test before reassembly—most users gain 15-25% speed instantly
Expert Note: Buy capacitors with “440V” rating (not 370V) for longer lifespan. Cost: $8-$12 at hardware stores.
Reverse Fan Direction for Seasonal Speed Gains
Summer vs. Winter Rotation Physics
Ceiling fans move air downward in summer (counterclockwise rotation) but should push air upward in winter (clockwise). Many homeowners forget to switch modes, forcing the fan to work against physics. In summer mode, improper rotation creates upward drafts that cancel cooling effects—making the fan feel slower even at full speed.
How to Verify and Correct Rotation
- Stand directly under fan at full speed
- If you feel strong upward breeze, rotation is wrong
- Flip direction switch on motor housing (usually labeled “SUMMER/WINTER”)
- Correct summer rotation: blades move left-to-right at top of spin
Time Saver: Mark correct summer rotation on canopy with tape—no more guessing each season.
Troubleshoot Speed Control Issues

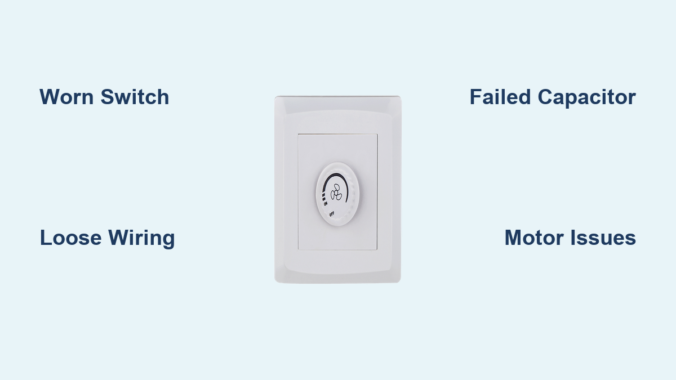
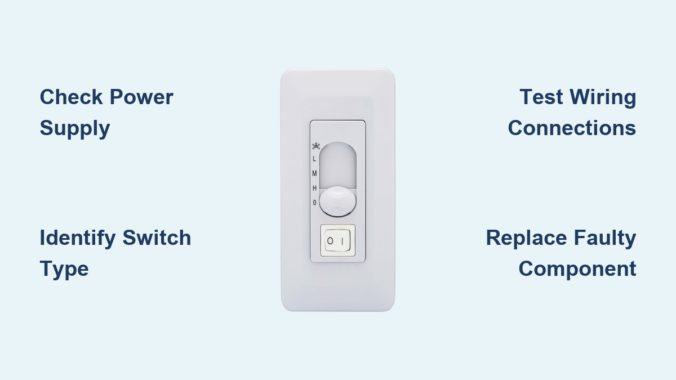
Why Pull Chains Fail to Deliver “High” Speed
Worn speed switches often max out at “medium” without warning. Test by:
– Listening for distinct “clicks” through all settings
– Feeling for resistance when pulling chain
– Checking if fan starts reliably on first pull
Quick Switch Diagnosis
| Symptom | Likely Cause | Fix |
|---|---|---|
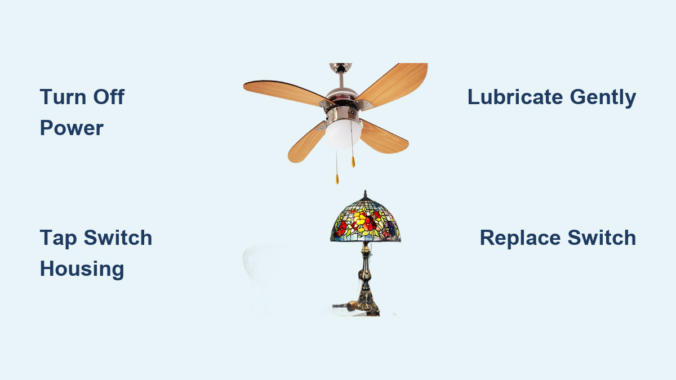
| Only 1 speed works | Broken switch contacts | Replace switch module ($12) |
| Fan starts on 2nd pull | Weak spring tension | Lubricate mechanism |
| Speeds jump erratically | Carbon buildup on contacts | Clean with contact cleaner |
Critical: Never force a stiff pull chain. This strips internal gears requiring full motor replacement.
When to Call a Professional
Some speed issues indicate serious hazards requiring expert help:
– Burning smell from motor: Overheating windings (immediate shutdown required)
– Blue sparks at switch: Arcing wiring (fire risk—cut power now)
– Grinding noises: Bearing failure (continuing causes motor seizure)
If your fan is under warranty or over 15 years old, professional service often costs less than DIY mistakes. Replacing a $3 capacitor is smart—but miswiring a speed control could cost $300+ in damage.
Prevent Future Speed Loss With 2-Minute Maintenance
Keep your fan spinning at peak velocity with this quarterly routine:
1. Dust blades weekly with microfiber duster (prevents buildup)
2. Lubricate motor shaft annually with 1 drop of 10W-30 oil (only if manual specifies)
3. Tighten blade screws every 6 months (warped blades cause drag)
4. Check capacitor with multimeter yearly (replace if capacitance drops 15% below rating)
Pro Tip: Set phone reminder for “Fan Tune-Up Day” each season change—takes less time than brewing coffee.
Final Speed Checklist: After implementing these fixes, your fan should:
✅ Reach full speed within 3 seconds of startup
✅ Produce measurable breeze 8+ feet below blades
✅ Operate quietly without vibration
✅ Cool rooms 3-5°F faster than before
Don’t tolerate a lazy-spinning fan when simple, safe adjustments can restore powerhouse performance. Start with the 10-minute cleaning ritual—most users regain significant speed immediately. When dust and wear steal your comfort, remember: a well-maintained ceiling fan moves 5,000+ cubic feet of air per minute. That’s not just breeze—it’s free, efficient cooling that slashes AC costs all summer. Grab your ladder and reclaim that cooling rush today.