Is your bathroom, kitchen, or RV exhaust fan refusing to turn on, running weakly, or making strange noises? A non-functional exhaust fan is a common household problem that can lead to mold growth, poor air quality, and lingering odors. The good news: most exhaust fan failures are fixable without replacing the entire unit.
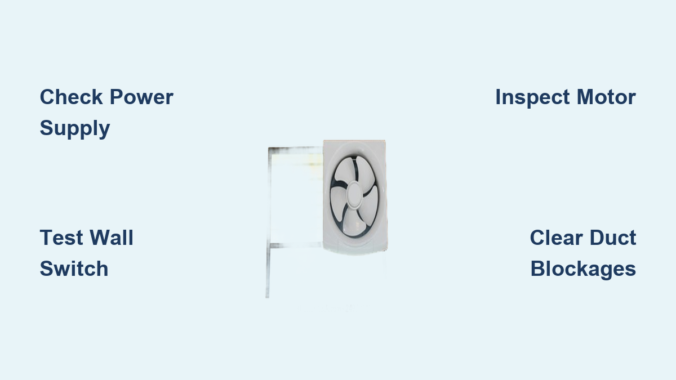
This guide walks you through step-by-step diagnostics to identify whether the issue is electrical, mechanical, or ventilation-related. From testing power at the switch to clearing blocked ducts or replacing a seized motor, you’ll learn exactly how to restore proper function safely and effectively.
Confirm Power Is Reaching the Fan
Before disassembling anything, verify your exhaust fan is actually receiving power. Many “broken” fans are simply starved of electricity due to a tripped breaker or blown fuse.
Check Circuit Breaker or Fuse
Locate your home’s electrical panel and find the circuit labeled for the bathroom, kitchen, or exhaust fan area. Even if the breaker appears ON, switch it fully OFF then back ON to reset it properly.
For RVs, check the 12V DC fuse panel since many ceiling vents run on low-voltage power shared with interior lights. Some RV fans have an inline fuse inside the housing near the wiring terminals.
Test Voltage at Fan Terminals
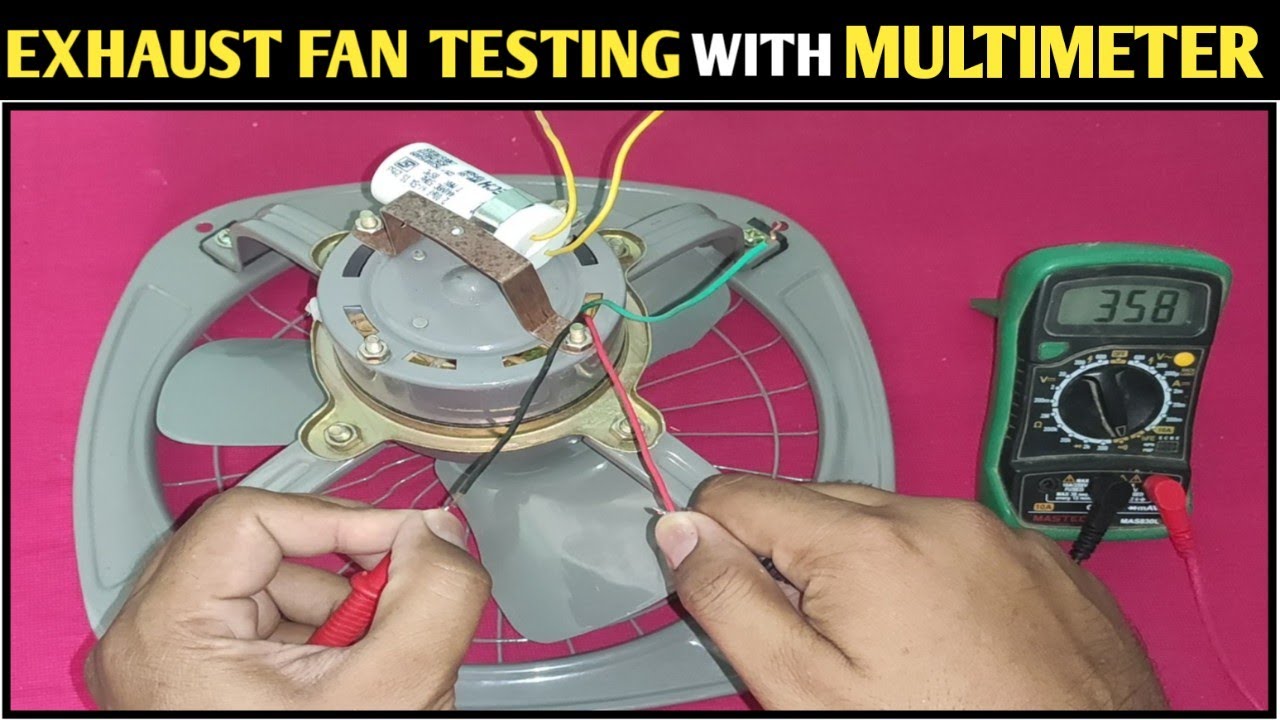
Turn off power at the breaker, then remove the fan cover to access the wiring compartment. Restore power and set your multimeter to AC for homes or DC for RVs. Test between the black hot wire and white neutral wire while the wall switch is ON.
Expected readings are 110 to 120 volts for 120V AC systems and 12 to 14 volts for 12V DC systems. No voltage indicates the issue lies upstream at the switch or wiring.
Test the Wall Switch and Electrical Connections
Faulty switches and loose connections rank among the top causes of exhaust fan failure.
Inspect and Test the Wall Switch
Turn off power at the breaker and remove the switch plate. Look for loose wires, especially in back-stab terminals where wires push into rear slots. Check for burn marks, discoloration, or melted plastic which indicate arcing.
Move wires from back-stab terminals to side screw terminals and tighten securely. Replace the switch if you see any damage.
A quick diagnostic test involves plugging a lamp or hair dryer into a nearby outlet on the same circuit. If it works when the switch is ON, the switch is likely functional.
Check Internal Wiring at the Fan Housing
Remove the fan cover held by spring clips and inspect wire nuts connecting the fan to house wiring. Ensure all connections are tight with no burning, corrosion, or frayed insulation. The ground wire should connect to the green terminal.
Re-secure any loose connections and wrap with electrical tape. Install a grommet or cable clamp where wires enter the housing to prevent abrasion.
Diagnose Motor and Mechanical Problems
If power reaches the fan but it won’t spin, the motor or mechanical components are likely at fault.
Identify Motor Failure Signs
A humming sound with no spinning indicates the motor receives power but the rotor is seized. A burning smell signals internal short or insulation failure. Grinding or screeching noises point to worn bearings.
Perform Manual Blade Rotation Test
Turn off power and gently rotate the fan blade by hand. If it feels stiff or stuck, the bearings may be seized. If it spins freely, the motor could still be electrically faulty.
Lubricate or Replace the Motor
Apply 1 to 2 drops of lightweight oil or silicone lubricant to the motor shaft and accessible bearing points. Avoid over-lubricating since excess oil attracts dust and grime.
If lubrication doesn’t help, replace the motor. Match specifications exactly including voltage, RPM rating, and mounting dimensions. Most replacement motors include new blades and hardware.
Clear Airflow Blockages and Ventilation Issues

Even when the fan spins, poor performance often stems from airflow restrictions.
Clean or Replace Filters
Kitchen and microwave grease filters accumulate debris over time. Remove them, soak in hot soapy water, scrub with a soft brush, rinse, and dry. Clean every 1 to 3 months.
Microwave charcoal filters in recirculating models are not washable. Replace them every 6 to 12 months.
Bathroom fan grilles collect dust, hair, and lint. Remove and clean every 1 to 2 years.
Clear Stuck or Damaged Dampers
Interior and exterior dampers prevent cold drafts. They can stick closed from debris, paint, or ice, or stick open causing energy loss.
Open dampers manually with a stiff wire inside or by hand outside. Remove leaves, bird nests, or snow. Replace damaged dampers.
Repair or Replace Ductwork
Common duct problems include kinks or collapses in flexible ducting, disconnected joints causing air leaks, and excessively long or bent runs reducing airflow.
Reattach loose ducts with aluminum foil tape, not duct tape. Replace damaged sections with rigid metal ducting. Keep runs short and straight.
Every fan has a maximum duct length and bend limit, so check the manual.
Fix Undersized or Inefficient Fan Problems
A perfectly working fan can underperform if it’s too small for the space.
Match CFM to Room Size
CFM measures airflow. Minimum recommendations are 50 CFM for bathrooms under 50 square feet, matching CFM to square footage for larger bathrooms, and 100 plus CFM for kitchens.
Calculate Air Changes per Hour using the formula: ACH equals CFM times 60 divided by Room Volume. Aim for 8 ACH in bathrooms.
Choose Quiet Operation
Sone measures perceived noise. One sone or less is very quiet, 1 to 2 sones is quiet and ideal for bathrooms, and 4 or more sones is noticeably loud.
Each 1-sone increase equals twice the perceived loudness. When replacing, aim for 1.5 to 2 sones maximum.
Troubleshoot Erratic Fan Operation
If the fan runs continuously or cycles randomly, the control system may be faulty.
Check Timer or Humidity Sensor
Many modern fans have timers that keep running after switch-off or humidity sensors that auto-start when moisture is detected. If the fan runs too long, adjust or replace the timer. If it turns on unexpectedly, reset the sensor threshold or replace if unresponsive.
Inspect for Faulty Wiring or Switch
A shorted switch or crossed wires can cause constant operation. Check the switch for internal failure and wires for contact with grounded surfaces. Replace defective components.
Reduce Excessive Noise and Vibration
Excessive noise indicates mechanical issues or poor installation.
Fix Common Noise Sources
Loose fan cover causes rattling. Adjust spring clips or replace missing hardware. Unbalanced or damaged blades create wobbling. Inspect for warping and replace with a new motor kit.
Worn motor bearings produce grinding. Lubricate or replace the motor. Duct resonance amplifies noise. Secure loose ducts with straps and insulate if needed.
Address RV-Specific Exhaust Fan Issues
RV ceiling fans have unique power and safety features.
Verify 12V DC Power and Fuses
Most RV fans run on 12V DC from the house battery. Check the main fuse panel shared with lights and test any inline fuse inside the fan housing with a multimeter.
Ensure the roof cut-off switch is enabled if you have a pop-up camper. This switch disables roof-mounted components during towing.
Test Vent Cover Interlock
Many RV fans won’t operate unless the roof vent cover is opened 1 to 2 inches. Open the cover fully and test the fan.
Know When to Replace the Fan
Sometimes repair isn’t worth it. Replace the fan if the motor is burned out and housing is old, if it’s vented into the attic and must be rerouted, or if the unit is noisy, low-CFM, or over 10 years old.
Choose a replacement matching your duct size and mounting dimensions. Prioritize high CFM for your room size, low sone rating for quiet use, and ENERGY STAR models for efficiency.
Maintain Your Fan to Prevent Future Failures
Most exhaust fan problems are preventable with routine care.
Follow a Maintenance Schedule
Clean grease filters every 1 to 3 months. Replace charcoal filters every 6 to 12 months. Clean bathroom grilles every 1 to 2 years. Inspect ductwork annually for kinks, leaks, and debris. Test damper operation annually. Lubricate the motor every 2 to 3 years.
Address Installation Flaws
Airtight bathrooms lack makeup air, causing poor suction. Leave the door slightly open or add a half-inch gap under the door. In cold climates, insulate ducts to prevent condensation and dripping. Always terminate ducts outside never in the attic.
Understand the Health Risks of Poor Ventilation
Ignoring a broken fan leads to serious consequences. Mold and mildew grow from excess moisture. Respiratory issues arise from poor air quality. Structural damage occurs from attic condensation and wood rot. Ice dams form in winter from warm moist air in the attic.
A well-maintained properly vented fan protects your health and home.
Frequently Asked Questions About Fixing Exhaust Fans
Why won’t my exhaust fan turn on at all?
Start by checking the circuit breaker or fuse. Reset the breaker even if it appears ON. Test voltage at the fan terminals with a multimeter. If no power reaches the fan, check the wall switch and wiring connections.
How do I know if the motor is burned out?
A burned-out motor typically produces no sound at all, or you may smell burning. If the fan hums but doesn’t spin, the motor may be seized rather than completely burned out. Try manually rotating the blade to confirm.
Can I replace just the motor instead of the whole fan?
Yes. Motor replacements are often cheaper than buying a new entire unit. Match the replacement motor exactly to your fan’s specifications including voltage, RPM, and mounting dimensions.
Why does my exhaust fan run continuously?
Continuous operation usually indicates a faulty switch, crossed wiring, or a malfunctioning timer or humidity sensor. Inspect the switch for shorts and check if any smart features are stuck in the ON position.
How often should I clean my exhaust fan?
Clean kitchen grease filters every 1 to 3 months. Replace charcoal microwave filters every 6 to 12 months. Clean bathroom fan grilles every 1 to 2 years. Inspect and clean ducts annually.
Key Takeaways for Fixing Your Exhaust Fan
Fixing an exhaust fan not working is often a quick low-cost repair. Start with power and switch checks, then move to motor issues, airflow blockages, and finally control problems. Most issues are well within DIY reach with basic tools.
Always turn off power before working on electrical components. Use a multimeter to test voltage and a non-contact voltage tester to confirm power is off before touching wires.
Regular maintenance prevents 80% of common failures. Clean filters, inspect ducts, and lubricate the motor periodically. When in doubt, consult a licensed electrician, but most exhaust fan problems can be solved with patience and the right approach.
Leave a Reply