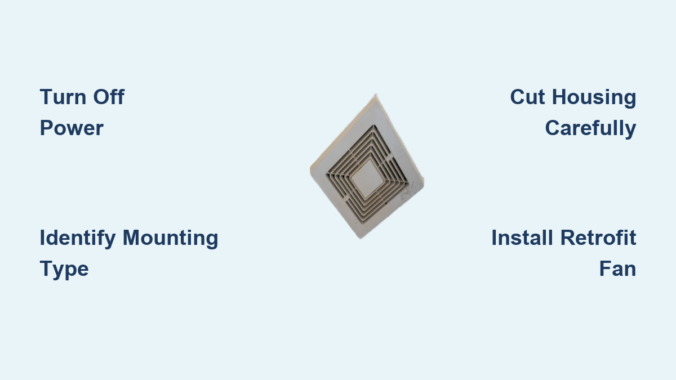
If your bathroom still uses a decades-old exhaust fan that rattles, hums, or barely moves air, it is likely time for an upgrade. But removing an old bathroom exhaust fan can be more complicated than expected, especially when the housing is hidden above the ceiling or secured with unseen fasteners. Many homeowners assume it is a simple swap, only to discover the fan is anchored by brackets or nailed directly into joists. This guide walks you through every step to safely remove an outdated unit without damaging your ceiling or risking electrical hazards.
You will learn how to identify mounting types, avoid cutting live wires, and choose between full removal, motor replacement, or retrofitting. Whether you have attic access or not, this guide gives you the tools and knowledge to complete the job confidently and efficiently.
Turn Off Power and Remove Cover
Before touching any part of the fan, ensure the power is completely off to prevent shock. This is the most critical safety step in the entire process.
Confirm Electrical Safety
Go to your circuit breaker and turn off the bathroom exhaust fan circuit. Use a non-contact voltage tester at the fan electrical box to verify no current is present. Even if the fan does not turn on, wiring may still be live.
What you need to do:
• Locate the correct breaker and switch it off
• Label the breaker to prevent accidental reactivation
• Test the fan location with a voltage tester before proceeding
Take Off Grill and Motor Assembly
Most older fans have a cover held by spring clips or screws. Remove the grill gently to avoid bending it. Next, unscrew the motor housing and detach the fan blade.
What you need to do:
• Remove the grill by releasing clips or unscrewing fasteners
• Unscrew the motor housing from the mounting bracket
• Disconnect the wire nuts connecting the fan to home wiring
• Take a photo of the wiring setup before disconnecting for reference
Pro Tip: Even after removing the motor, the metal housing remains secured above the ceiling. Do not assume the entire unit will drop down. Most are anchored in ways you cannot see from below.
Identify the Mounting Type
The key to successful removal is understanding how the housing was originally installed. Old bathroom exhaust fans typically use one of two mounting systems.
Joist-Mounted with Screws or Nails
Some units are screwed or nailed directly into ceiling joists. These fasteners are often on the top or sides of the housing and completely invisible from below.
What to look for:
• Small dimples or discoloration around housing edges (possible nail points)
• No visible brackets or clips when looking up at the unit
• These units require cutting or attic access for removal
Bracket-Mounted with Hidden Supports
Many older Broan or NuTone fans use L-shaped metal brackets attached to joists. The housing slides into or clips onto these supports.
What to look for:
• A small metal tab or clip visible along one edge
• Resistance when trying to push the housing upward
• Brackets that prevent the fan from dropping but make removal tricky
Expert Note: One homeowner reported seeing a metal clip on one side, pushing up, but the unit would not budge. Something else was holding it securely in place.
Assess Your Access Options
Your ability to remove the fan depends heavily on how much space you have above the ceiling. Understanding your access situation will determine which removal method works best.
No Attic Access? Prepare for Drywall Work
If the bathroom is on the second floor, attic access is likely blocked. This means you cannot reach the top of the housing from above.
What to expect:
• Full removal will require cutting into the ceiling
• Plan for drywall repair after the fan is removed
• Consider retrofitting instead of full removal to minimize damage
Limited Space Above the Ceiling
Even if there is a crawl space, framing, ductwork, or insulation may block direct access. Use a borescope or inspection mirror to peek above the housing and locate fasteners or brackets.
What to do:
• Inspect the area above the fan before starting
• Look for wire paths and duct connections
• Identify any obstructions that might complicate removal
Warning: Never assume the housing is loose just because the motor is out. Most are designed to stay permanently installed.
Choose the Right Removal Method
Select the best approach based on your access level, tools available, and tolerance for drywall repair. Each method has different requirements and outcomes.
Replace Only the Motor
When to Use This Method
If the housing is intact and only the motor has failed, replacing the motor instead of removing the whole unit is the simplest solution.
When this works best:
• The housing shows no signs of damage or corrosion
• You can identify the fan model for compatible parts
• The motor is the only component that has failed
Steps to Follow
- Identify the fan model by checking labels behind the cover
- Order a compatible replacement motor (Broan S97012038 works for many older Broan/NuTone units)
- Install the new motor into the existing housing
- Reconnect wires using your photo reference
- Reattach the cover and test operation
Pros and Cons
Advantages of this approach:
• No drywall damage at all
• Fast completion time
• Lowest cost option
• Preserves original ceiling finish
Limitations to consider:
• Only works if housing is structurally sound
• Older models may have discontinued parts unavailable
• Performance may not improve if ducting is degraded
Cut the Housing Out from Below

Use this method when attic access is impossible and the housing will not release with normal techniques.
Tools You Will Need
Gather these before starting:
• Oscillating multi-tool with metal-cutting blade
• Reciprocating saw with long metal-cutting blade
• Safety goggles and gloves
• Dust mask for debris protection
• Flashlight or headlamp for visibility
Step-by-Step Cutting Process
- Confirm power is off at the breaker
- Use an oscillating tool to cut around the housing edge
- Target visible brackets or suspected screw locations
- Cut through mounting tabs or nails securing the unit
- Watch for electrical wires. Do not cut Romex.
- Once free, pull the housing down and inspect the opening
Risks to Consider
Important warnings:
• High chance of cutting wires if path is not traced beforehand
• Metal debris will fall into the room. Cover the area thoroughly.
• Drywall damage may expand beyond the housing footprint
User Experience: One DIYer reported using an oscillating tool to cut bracket tabs. It took 15 minutes but worked successfully.
Remove Drywall for Full Access
For complete replacement with a modern fan, cutting a drywall opening gives you full access to all fasteners and connections.
Recommended Hole Size
Cut a 16-inch by 16-inch square around the fan. This provides enough room to:
• See and remove all fasteners from both sides
• Disconnect ducting properly
• Install a new fan with proper clearance
• Maneuver during the installation process
Drywall Cutting Tips
Follow these steps for clean cuts:
• Score the outline first with a utility knife
• Use a drywall saw for the actual cutting
• Support the cut piece to avoid tearing surrounding drywall
• Work slowly to maintain clean edges
Pro Advice: Cutting a square lets you see everything. You will need space to hook up ducts anyway.
Install a Retrofit Fan
Skip full removal entirely and install a new fan that mounts independently of the old housing.
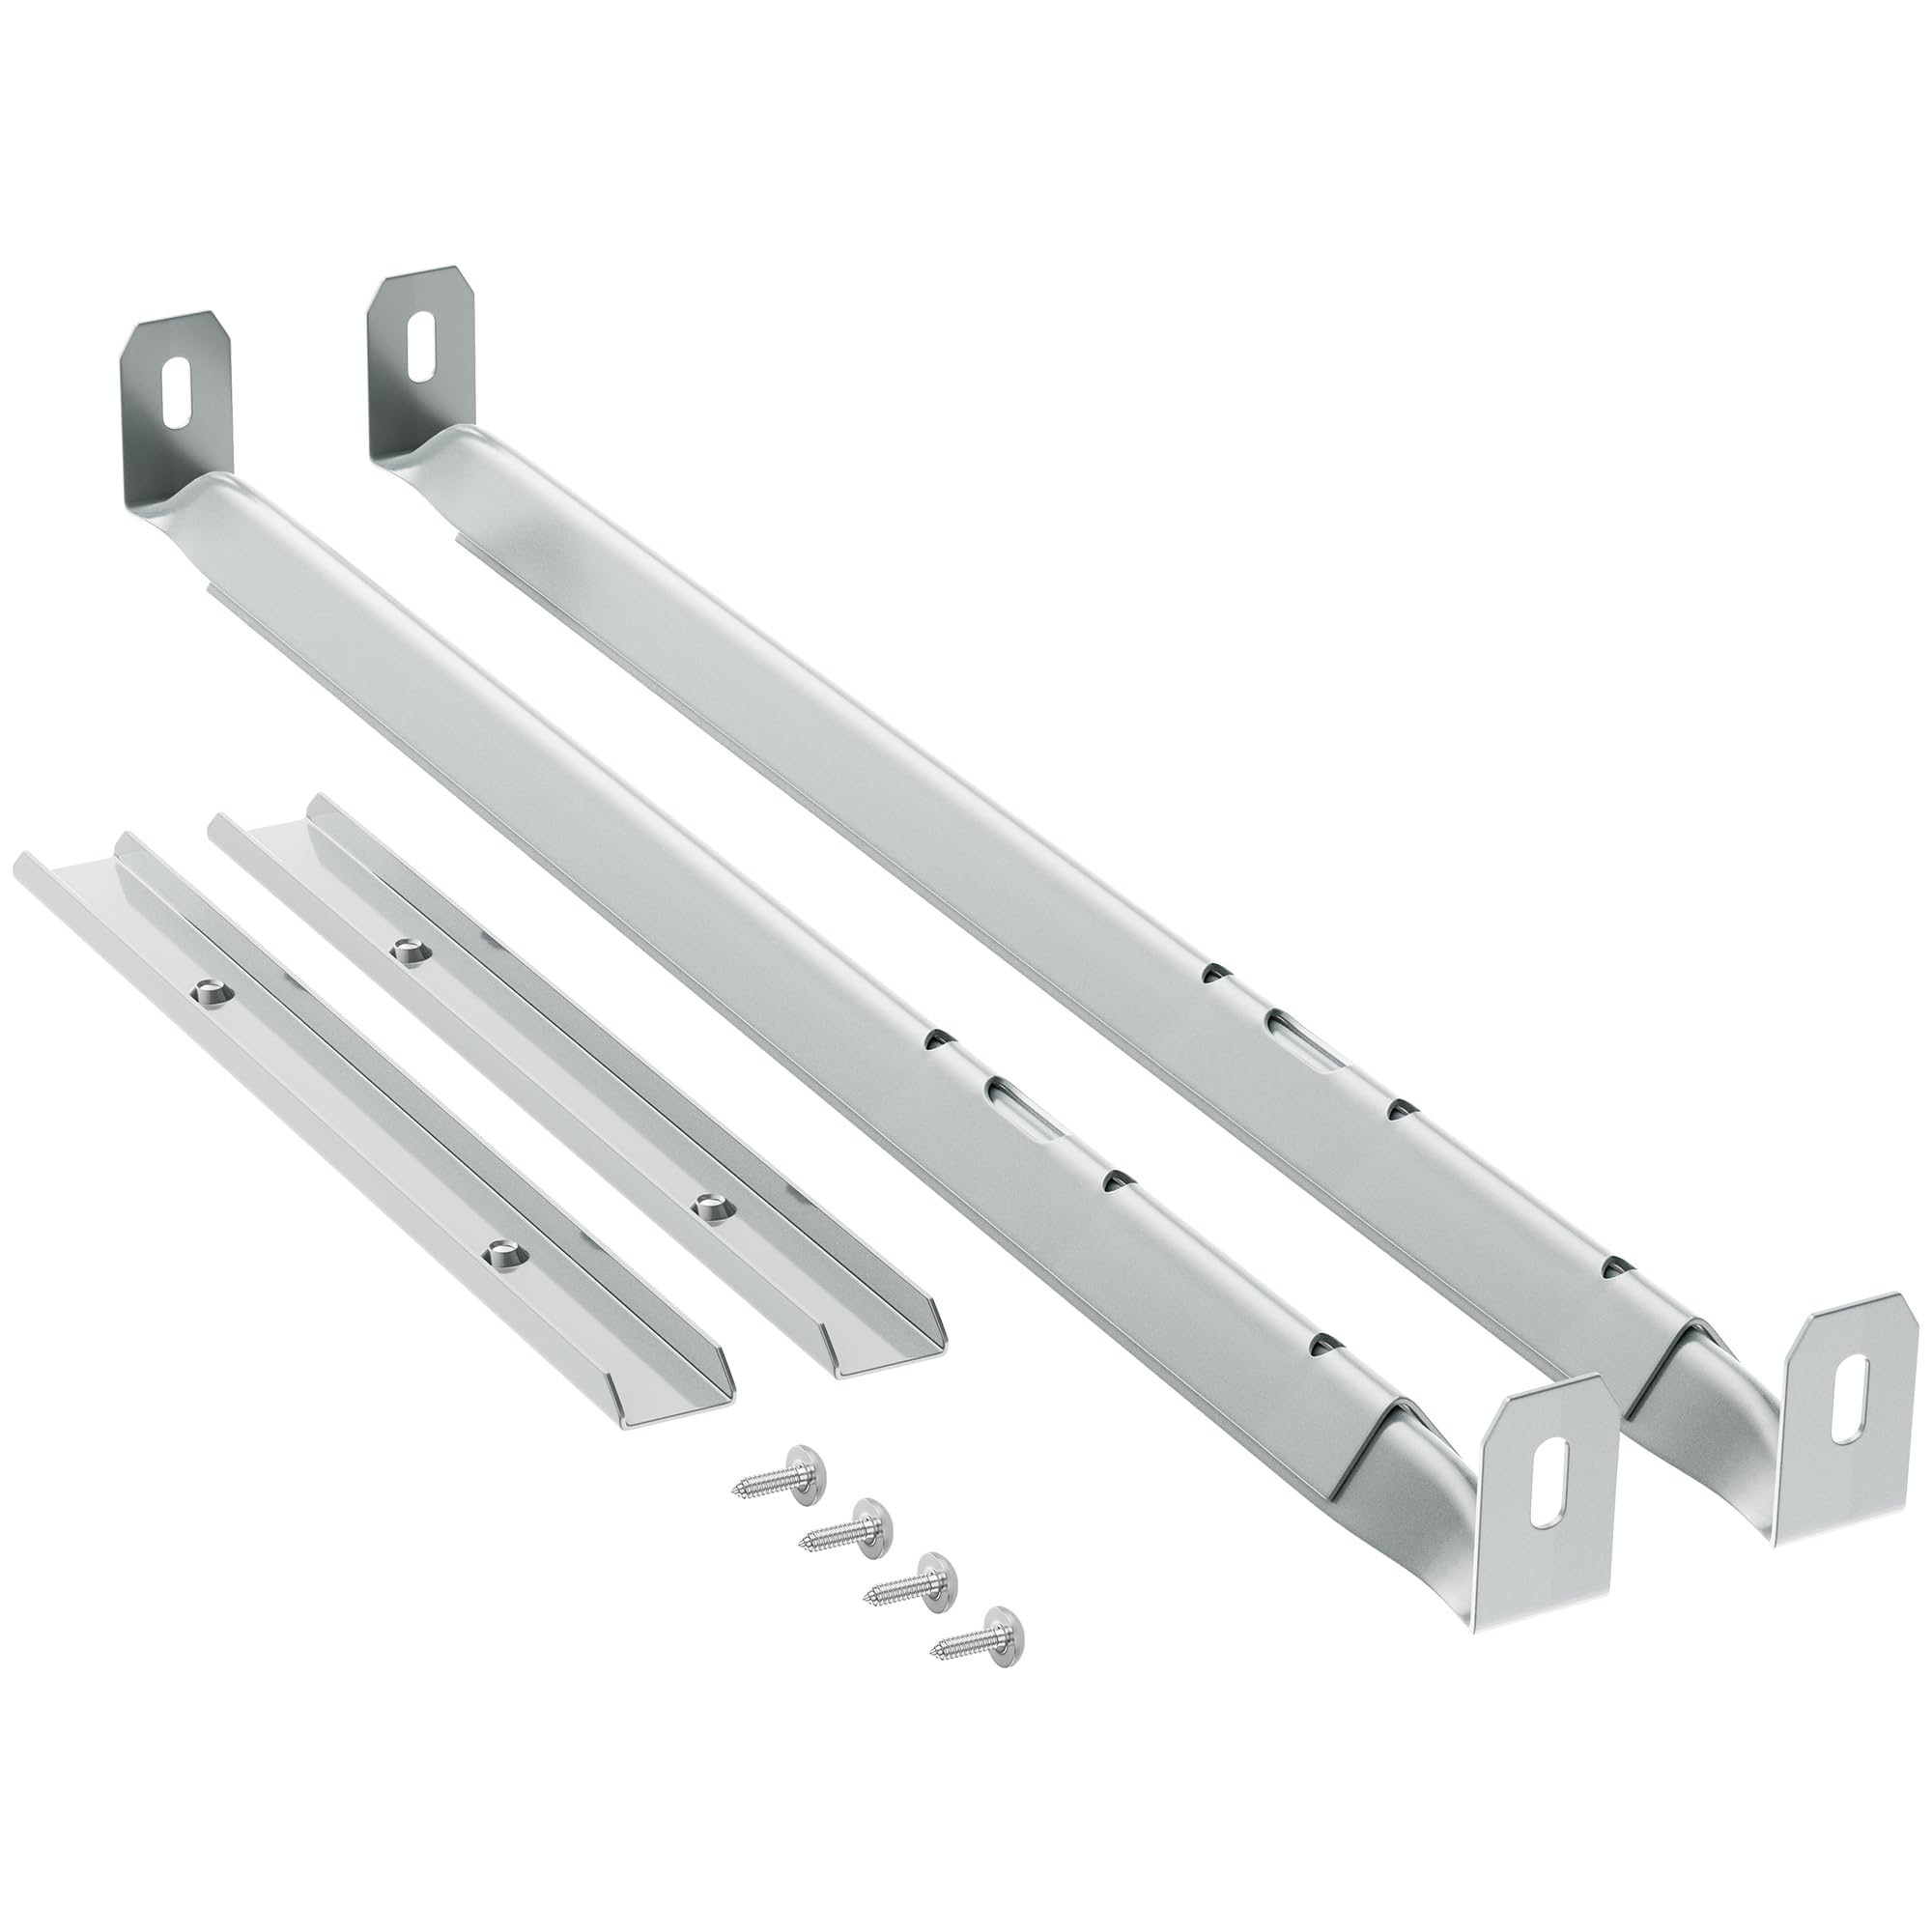
How Retrofit Fans Work
These units are designed to fit into a slightly enlarged opening and attach directly to ceiling joists or drywall.
How they differ from traditional installation:
• No need to remove the old housing at all
• Mounting brackets secure the new fan in place
• Ducting connects to the existing vent
• Installation happens entirely from below
Popular Models
Consider these retrofit options:
• Broan 688: 110 CFM, quiet operation
• NuTone QTXE110LX: Includes LED light and timer
• Panasonic FV-11VQ5: Energy-efficient, humidity-sensing
Installation Steps
- Remove the old motor and cover only
- Enlarge the opening per manufacturer specifications
- Feed wires into the new unit
- Mount the fan using adjustable brackets
- Connect ducting and test operation
Advantages
Benefits of choosing retrofit:
• No drywall patching required
• Faster installation time
• Modern features like auto-shutoff and humidity sensing
Trade-offs
What you might sacrifice:
• Opening will be larger than the original
• New grille may not match old design aesthetic
Expert Tip: Retrofit fans avoid drywall repair. Just enlarge the hole and mount the new unit.
Avoid Critical Mistakes
Even experienced DIYers make errors when removing old fans. Here is how to stay safe and avoid common problems.
Do Not Cut Without Checking for Wires
Romex cables often run close to or through the housing. Before cutting anything:
• Trace the wire path with your hand
• Use a voltage tester near the work area
• Mark wire locations with tape
Warning: You will likely cut your Romex wire with a reciprocating saw if you do not check first.
Do Not Force the Housing Down
If the unit does not come loose after removing visible screws, something is still holding it. Forcing it can crack drywall or damage joists.
What to do instead:
• Investigate first with a mirror or borescope
• Look for hidden brackets or screws
• Use the oscillating tool to find securing points
Do Not Ignore Duct Condition
Old ducting may be collapsed, disconnected, or full of debris. Inspect it during removal and replace with rigid metal duct for better airflow and code compliance.
Repair and Restore the Ceiling
If you cut drywall during removal, proper patching ensures a seamless finish that matches your existing ceiling.
Patching the Hole
Follow these steps for a solid repair:
1. Cut out damaged drywall cleanly
2. Install wood backing to support the patch
3. Screw in the new drywall piece securely
4. Tape seams with joint compound
5. Sand smooth after drying completely
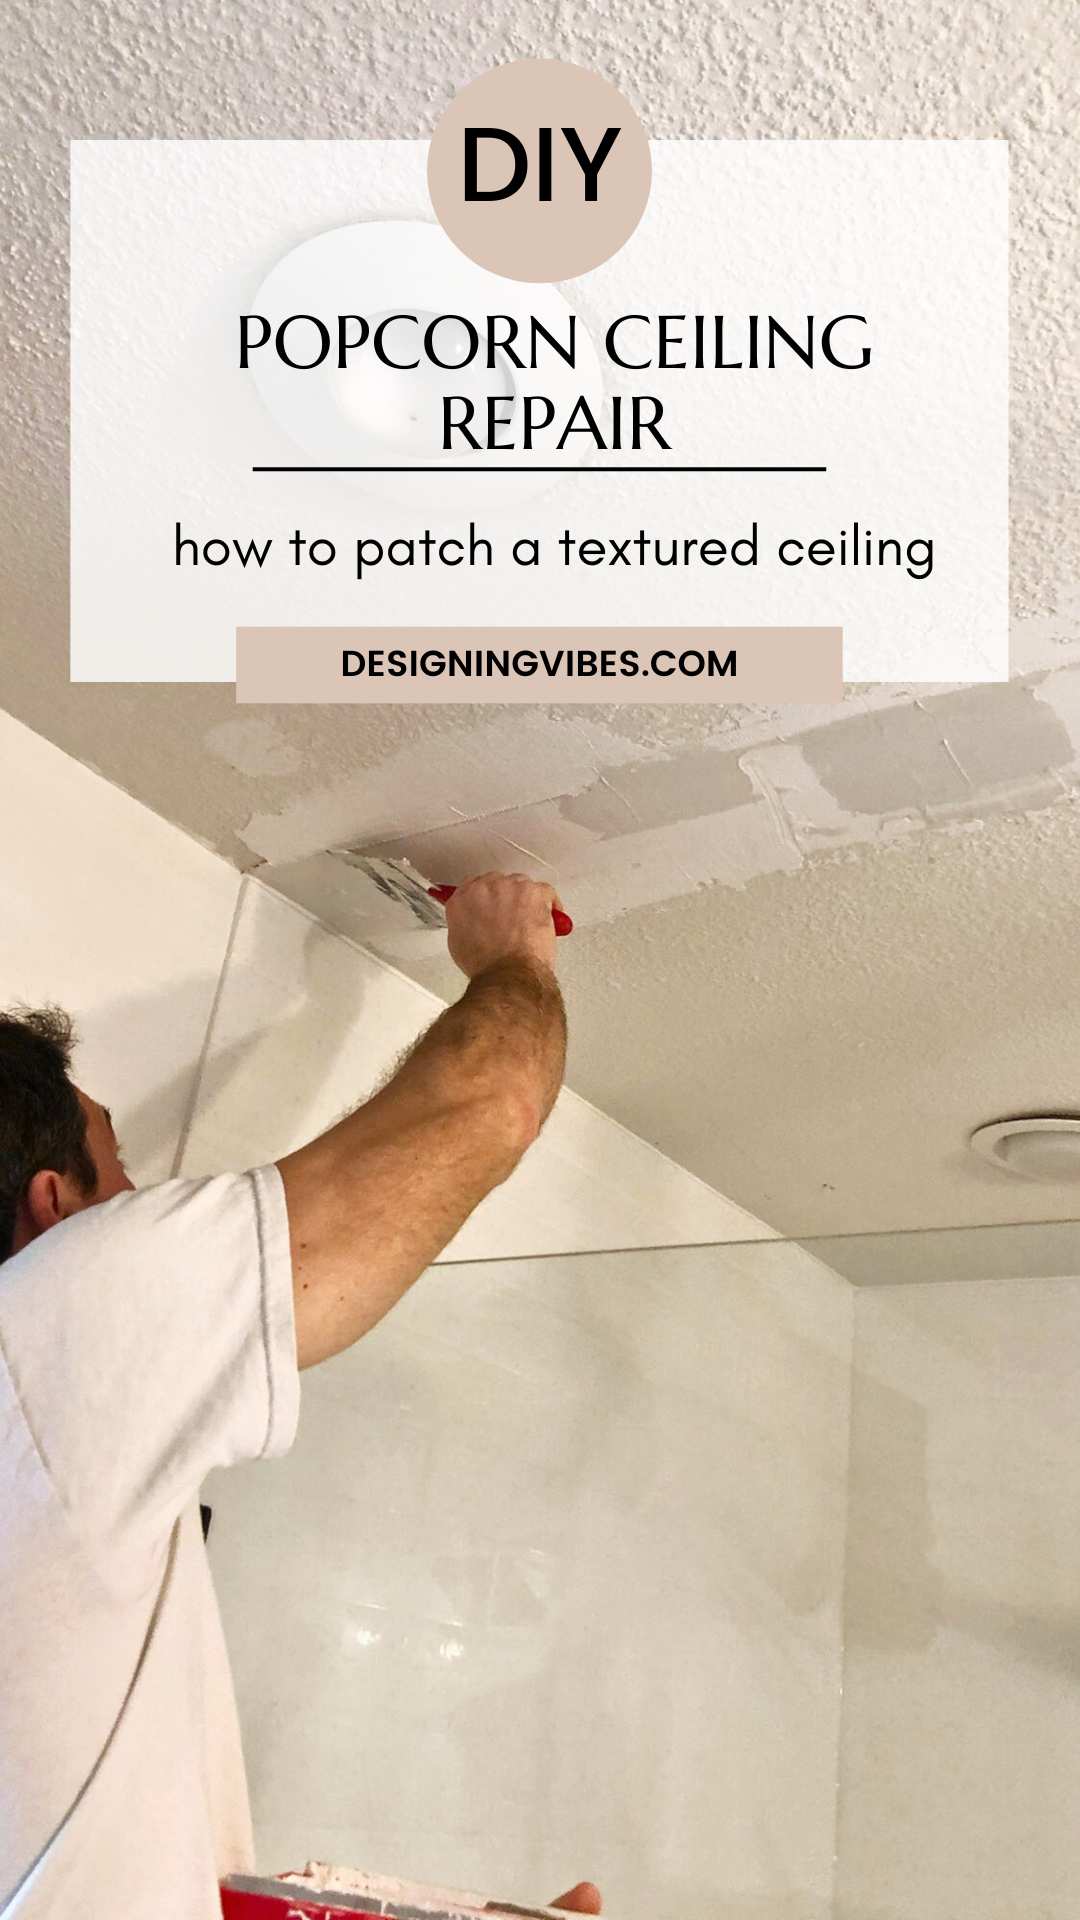
Match the Texture
The ceiling likely has a sponge texture. Replicate it with these materials:
• A natural sea sponge or synthetic alternative
• Thinned joint compound mixed with water
• Dabbing motion rather than wiping
Pro Tip: Practice on scrap drywall first. Sponge texture is easy to match with a little trial and error.
Make the Right Choice for Your Home
Use this decision guide to pick the best method for your situation.
| Your Situation | Best Option |
|---|---|
| Motor failed, housing solid | Replace motor only |
| Attic access available | Remove from above |
| No attic, okay with drywall work | Cut drywall, remove housing |
| No attic, avoid drywall damage | Install retrofit fan |
| Unclear mounting type | Inspect with mirror, test with oscillating tool |
Final Safety and Code Tips
Keep these important points in mind throughout your project:
• Always turn off power at the breaker, not just the switch
• Label all wires before disconnecting them
• Wear eye and respiratory protection when cutting any material
• Support ducting during removal to prevent leaks
• Check local codes. Most require 50 to 80 CFM for bathrooms.
Frequently Asked Questions About Removing Old Bathroom Exhaust Fans
Can I remove a bathroom exhaust fan without going into the attic?
Yes. If there is no attic access, you can remove the motor and cover, then either cut the housing out from below or install a retrofit fan that mounts in the existing opening.
How do I know if my exhaust fan is mounted with brackets or direct screws?
Look for small metal clips or tabs along the edges of the housing. If you cannot see any brackets and the unit does not move when pushed, it is likely screwed or nailed directly into joists.
What happens if I cut a wire while removing the fan?
Turn off the breaker immediately. Repair the wire with a junction box or call an electrician. Never leave cut wires exposed.
Is it worth replacing just the motor instead of the whole fan?
If the housing is in good condition and a compatible motor is available, motor replacement is the fastest and cheapest option. However, if your fan is old and inefficient, upgrading entirely may provide better airflow and features.
How do I match my ceiling texture after removing the fan?
Mix joint compound with water to thin it, then dab with a natural sea sponge. Practice on a scrap piece of drywall first. The key is matching the density and pattern of your existing texture.
Key Takeaways for Removing Your Old Bathroom Exhaust Fan
Removing an old bathroom exhaust fan is not just about pulling out a motor. It requires understanding hidden fasteners, avoiding electrical risks, and choosing the right strategy for your specific home layout. The mounting type determines everything. Bracket-mounted units can be trickier than direct-screw installations, and your access situation dictates whether you need to cut drywall or can work entirely from below.
Whether you replace the motor, cut out the housing, or install a retrofit fan, this guide gives you the tools and knowledge to finish the job safely and cleanly. Motor-only replacement works when the housing is sound. Cutting the housing out is effective but creates drywall damage. Retrofit fans offer the best balance for homes without attic access.
With careful planning, even a complex removal can be completed in a weekend. Assess your access, choose your method, and enjoy a quieter, more efficient bathroom ventilator.
Leave a Reply