You’ve built your PC, but something feels off. Temperatures are climbing, and your airflow isn’t performing as efficiently as it should. You suspect a fan is working in the wrong direction, pulling hot air inside instead of pushing it out. The fix is simpler than you might think. Changing a fan from intake to exhaust is often as straightforward as flipping it around physically.
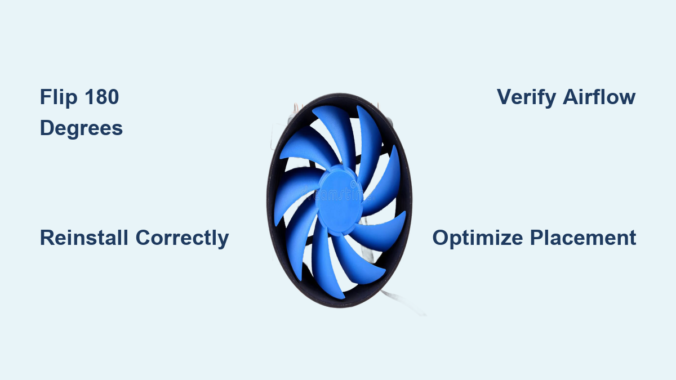
This guide walks you through exactly how to do it safely and correctly. You’ll learn how to identify your current airflow direction, reverse any standard case fan, verify the change, and optimize your overall cooling setup for better performance and lower temperatures.
Flip the Fan 180 Degrees
The only reliable way to change a fan from intake to exhaust is to remove and flip it 180 degrees so the side that faced inward now faces outward. This reverses its function without any wiring modifications or software settings. Most case fans are symmetrical and designed to be mounted from either side, making this swap straightforward.
Remove the Fan Safely
Before touching any internal components, follow these safety steps:
- Shut down your PC completely.
- Unplug the power cable from the wall or PSU.
- Press and hold the power button for 3 seconds to discharge residual electricity.
Once powered off, open the case side panel and locate the fan you want to convert. Unplug the fan’s power connector from the motherboard header, fan hub, or Molex adapter. Use a Phillips-head screwdriver to loosen the four mounting screws at each corner, turning counterclockwise. Keep the screws in a small container to avoid losing them. Gently pull the fan out of the mount, avoiding bending the blades or stressing the motor.
Flip and Reinstall Correctly
Hold the fan and rotate it 180 degrees vertically. For example, if the fan was mounted with the logo facing inside the case, flip it so the logo now faces outside. If the wires exited toward the bottom, ensure they still route cleanly after flipping.
Reinsert the fan into the same bracket or fan shroud, aligning all screw holes precisely. Insert each screw and tighten just until snug. Over-tightening can crack plastic shrouds or strip threads. Reconnect the power cable to the original header, making sure it clicks into place. Close the case panel and reconnect power.
Verify Airflow Direction
After powering on, confirm the fan now functions as intended by testing the airflow manually. Boot the system and place a sheet of paper, tissue, or your hand near the fan vent. For intake, you’ll feel suction pulling inward. For exhaust, you’ll feel air blowing outward. If the direction is still wrong, double-check the orientation.
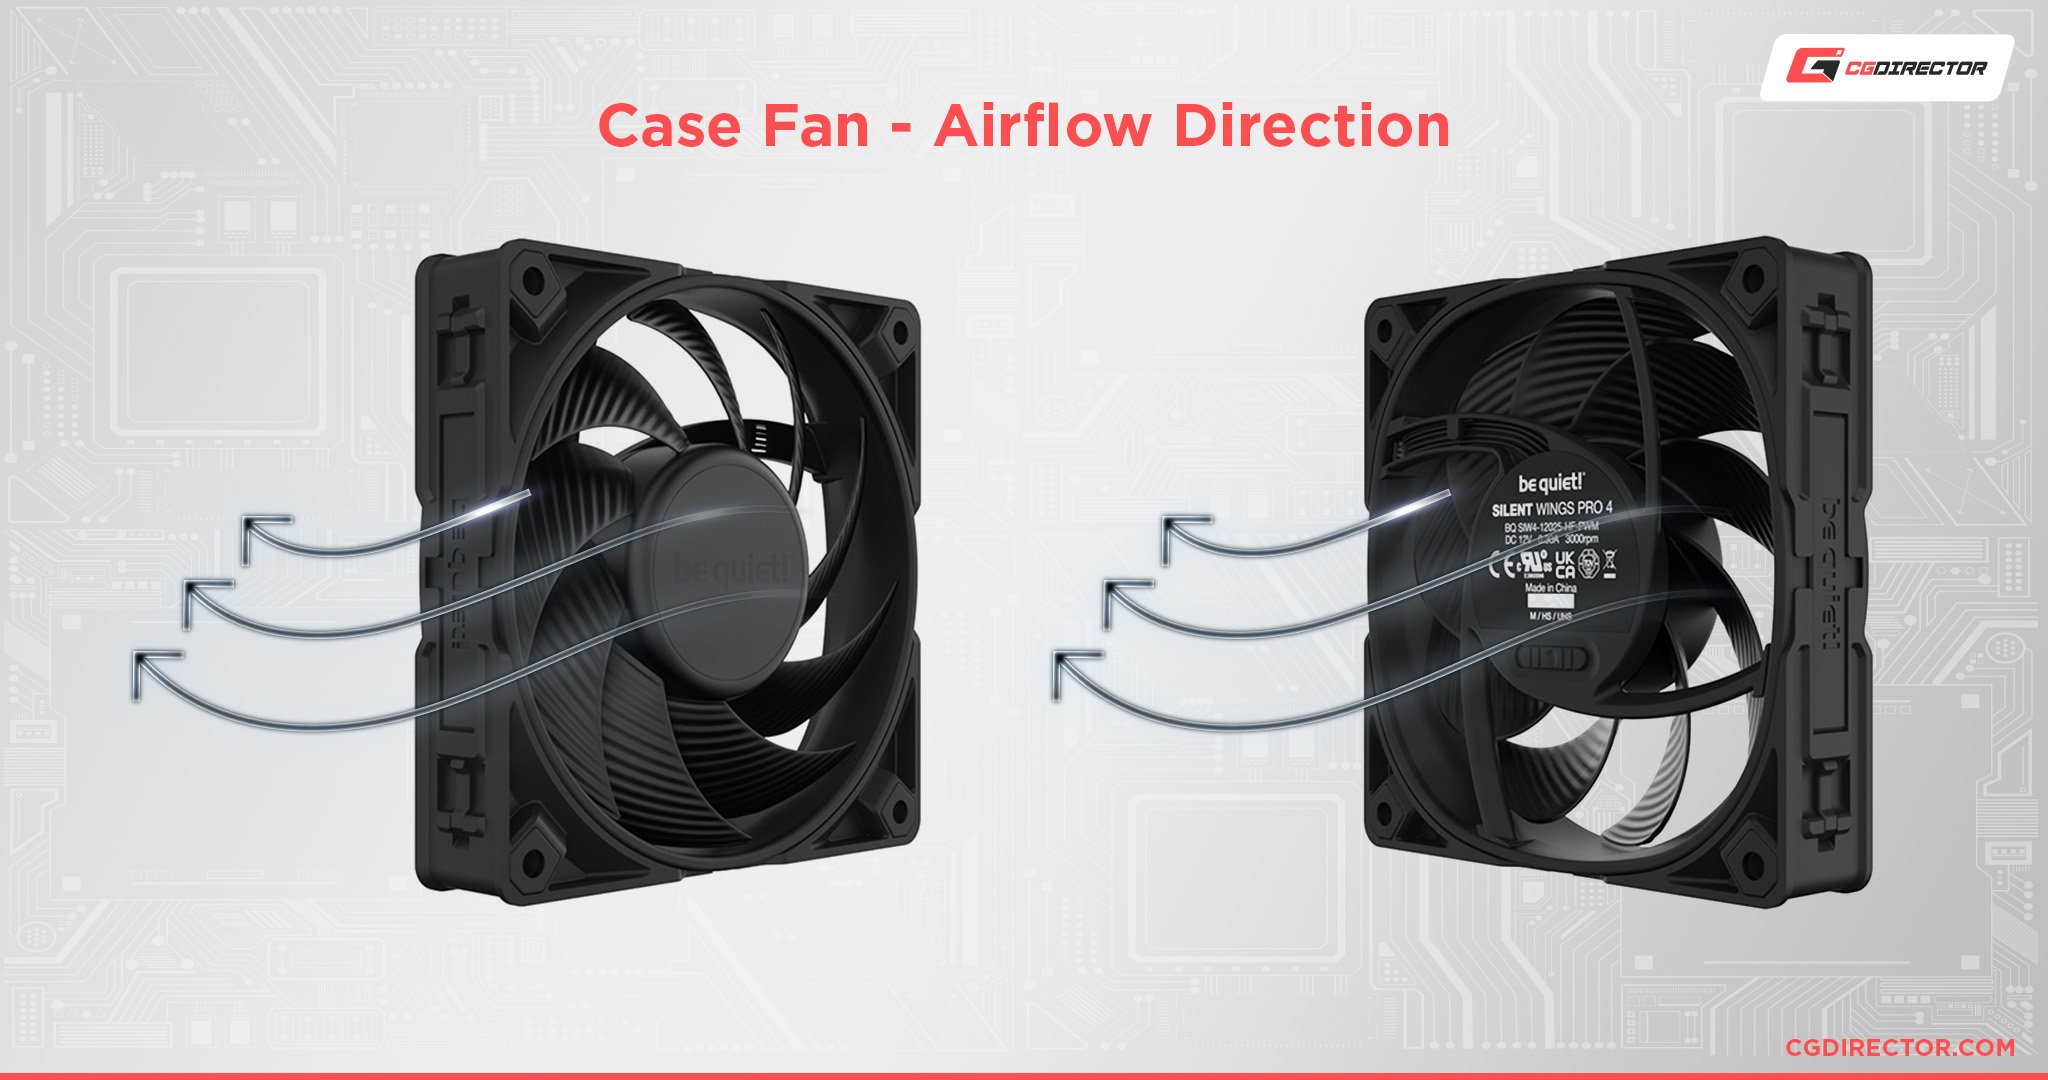
Use Visual Indicators
Check for built-in cues on the fan itself. Most fans include airflow arrows on the frame or hub showing the direction of push. Brand logos often indicate the front or outward-facing side. The wire exit location can also help maintain clean routing after flipping. These markings make it easier to standardize orientation across multiple fans.
Optimize Fan Placement by Role
Flipping a fan changes its function, but location determines effectiveness. Simply reversing a front fan and leaving it in place may not improve cooling. Follow this proven layout for balanced thermal management:
| Case Zone | Recommended Role | Purpose |
|---|---|---|
| Front / Bottom | Intake | Pulls in cool air |
| Rear / Top | Exhaust | Expels hot air |
If you’re converting a fan to exhaust, consider moving it to the rear or top of the case, even if it means relocating another fan. Rear fans accidentally installed as intakes are a common mistake. Flipping them turns them into effective exhausts, helping hot air escape where it should.
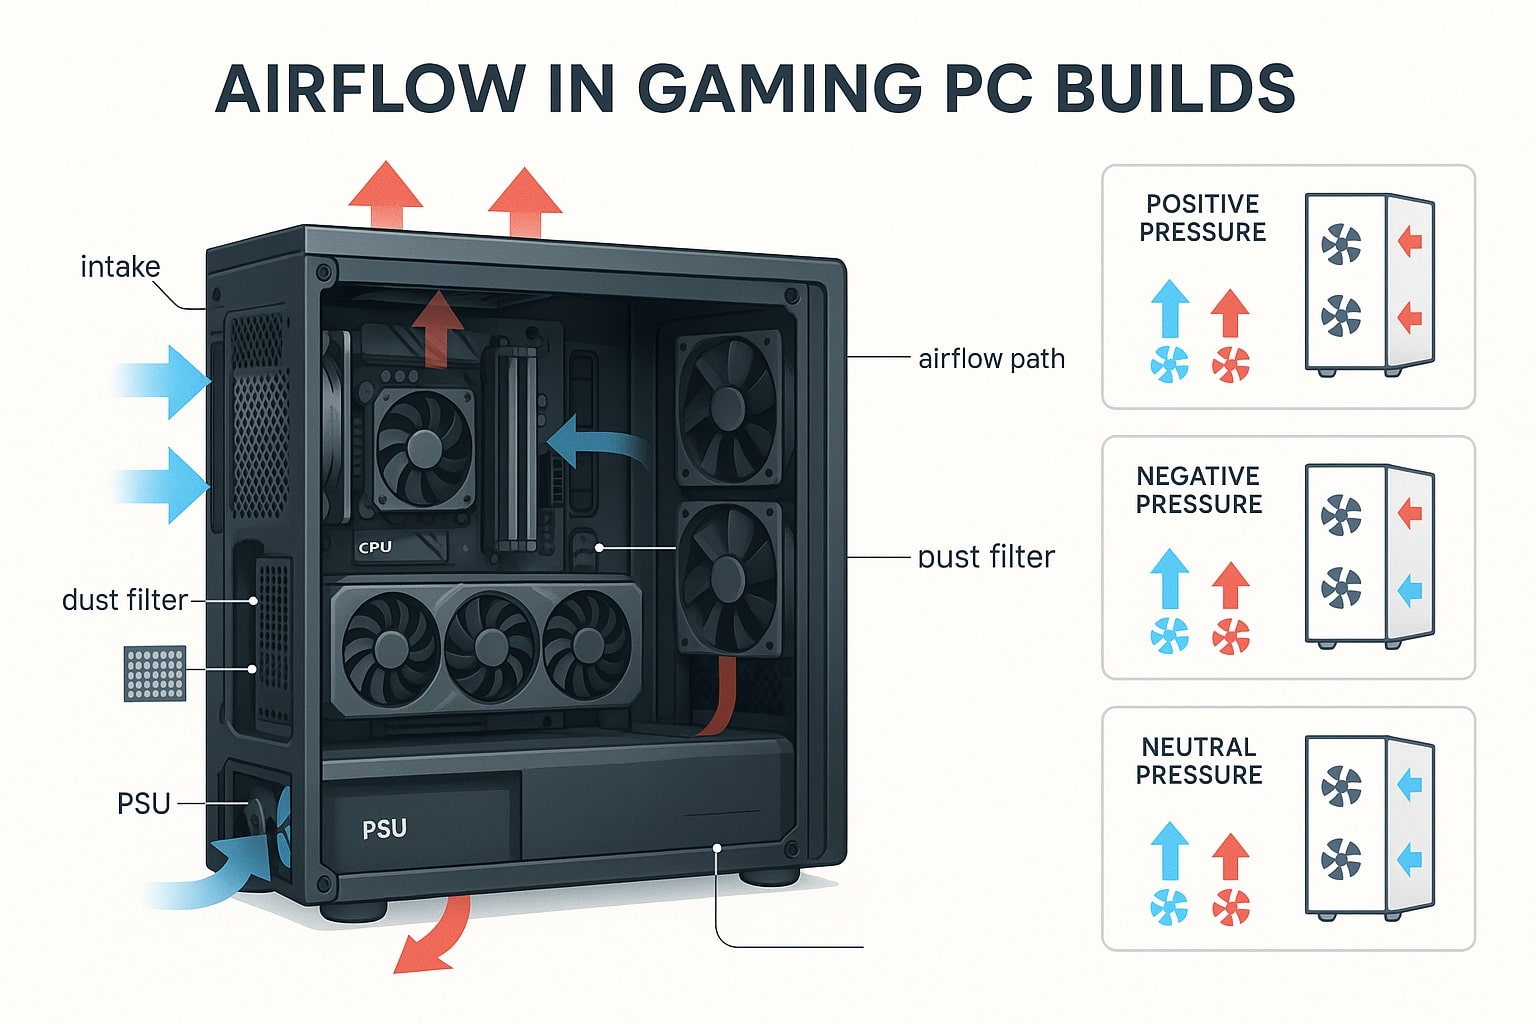
Avoid Front Exhaust Without Compensation
Leaving an exhaust fan at the front creates positive pressure at the front, which can disrupt smooth airflow unless balanced with rear or top intakes. Mismatched intake and exhaust ratios lead to negative pressure, drawing unfiltered air through gaps and causing more dust buildup. Aim for slight positive pressure, with 10 to 20 percent more intake CFM than exhaust, for optimal dust control and cooling.
Don’t Rely on Software or Polarity Swaps

Some users wonder if they can reverse fan direction via BIOS, software, or wiring. The short answer is no.
PWM and Voltage Control Does Not Change Direction
Adjusting fan speed through BIOS settings, motherboard software like ASUS AI Suite or MSI Dragon Center, or third-party tools like Fan Control only changes speed, not direction. Standard 3-pin and 4-pin DC fans cannot reverse rotation through voltage modulation.
Reversing Polarity Is Risky
Forcing reverse polarity by swapping wires may damage the fan motor, fry the motherboard header, or void warranties. This method is not supported and strongly discouraged. Some specialty fans, like certain Noctua models with NA-SAV3 adapter, support reversible operation using a physical switch or controller, but these are rare exceptions.
Fix Common Installation Mistakes
Even experienced builders make errors when changing fan roles. Avoid these pitfalls to ensure your cooling setup works properly.
Rotating Instead of Flipping
Turning the fan 180 degrees in place without removing it won’t change airflow. The blades are angled to push air in one direction based on orientation relative to the case. Only removing and flipping the fan over changes which side is pushing or pulling.
Ignoring Cable Management
After flipping, wires may route awkwardly, especially if they exit the bottom or side. Re-route cables along the shortest safe path and use zip ties or adhesive clips to secure them away from moving parts. This keeps airflow unobstructed and improves aesthetics.
Leaving Exhaust Fans at the Front
Unless you’re building a custom loop or reverse airflow setup, placing exhaust fans at the front goes against natural convection. Hot air rises and accumulates at the top and rear, so exhausts belong there.
Balance Your Overall Airflow
Changing one fan affects the entire system. A single reversed fan can upset pressure balance and hurt performance rather than help it.
Match Intake and Exhaust Volumes
Use fans with similar airflow ratings measured in CFM. For example, two 60 CFM intake fans balanced with two 60 CFM exhaust fans creates balanced airflow. Three 50 CFM intake fans paired with one 80 CFM exhaust fan creates negative pressure, which is problematic.
Add Filters and Monitor Dust
If you run negative pressure with more exhaust than intake, unfiltered air sneaks in through seams, increasing dust buildup. Install magnetic dust filters on intake vents and clean them monthly. Keep exhaust CFM slightly below or equal to intake for the best balance.
Tools You Will Need
You don’t need much to flip a fan. Here is what helps:
| Tool | Purpose |
|---|---|
| Phillips screwdriver | Remove and tighten mounting screws |
| Small container | Store screws safely |
| Anti-static wrist strap (optional) | Prevent ESD damage |
| Zip ties (optional) | Manage cables after reinstallation |
This is a 5 to 10 minute job for most cases.
When to Consider Advanced Options
While flipping is standard for most fans, some scenarios call for alternatives.
Reversible Fans with Controllers
A few high-end fans from Noctua, Arctic, or Lian Li come with direction switches, external controllers, or smart hub integration. These allow electronic reversal without disassembly, but they are exceptions rather than the norm.
Using Fan Hubs or Splitters
If you’re relocating fans, use a fan hub to manage multiple connections neatly. It does not change direction, but simplifies wiring when moving fans between headers. Never daisy-chain too many fans unless the hub supports load balancing.
Final Checklist: Did You Do It Right?
After flipping and reinstalling, verify each of these points:
- Fan is physically flipped 180 degrees, not just rotated
- Mounted in optimal location, with exhaust at rear or top
- Screws are snug but not over-tightened
- Power cable securely connected
- Airflow tested using the paper or hand method
- Overall case pressure balanced with intake equaling exhaust
- No cables blocking airflow or touching blades
Key Takeaways for Changing Fan Direction
Changing a fan from intake to exhaust comes down to one action: flip it over. No software tricks, no risky wiring. Just unscrew, rotate, and reattach. But do not stop there. Placement matters. Move exhaust fans to the rear or top for effective heat removal. Keep intake fans at the front or bottom to feed cool air where components need it most.
With proper airflow, you will see lower CPU and GPU temperatures, quieter operation since fans do not have to work as hard, reduced dust accumulation, and longer hardware lifespan. So next time your system runs hot, do not just add another fan. Fix the direction of the ones you already have.
Frequently Asked Questions About Changing Fan Direction
Can I change fan direction through BIOS or software?
No. BIOS settings, motherboard software, and third-party fan control tools only adjust fan speed, not airflow direction. Standard case fans cannot be reversed electronically through software.
Does rotating the fan in place change its direction?
No. Rotating the fan 180 degrees around its motor axis while mounted does not change airflow. You must physically remove the fan and flip it over to reverse the direction.
Is it safe to reverse fan polarity by swapping wires?
No. Reversing polarity on standard 3-pin or 4-pin fans can damage the fan motor or motherboard header. This method is not recommended and will void warranties on most equipment.
Where should exhaust fans be placed for optimal cooling?
Exhaust fans should be mounted at the rear and top of the case. This follows natural convection, since hot air rises and accumulates in these areas. Front fans should typically remain as intakes.
How do I test if my fan is now intake or exhaust?
Boot your system and hold a thin piece of paper or your hand near the fan vent. If you feel suction pulling inward, it is intake. If you feel air blowing outward, it is exhaust.
Can all case fans be flipped to reverse direction?
Most standard case fans can be flipped. However, some fans have asymmetric shrouds, anti-vibration mounts, or wire channels that make one side more suitable for external mounting. Check for airflow arrows or logo orientation before installing.
Leave a Reply